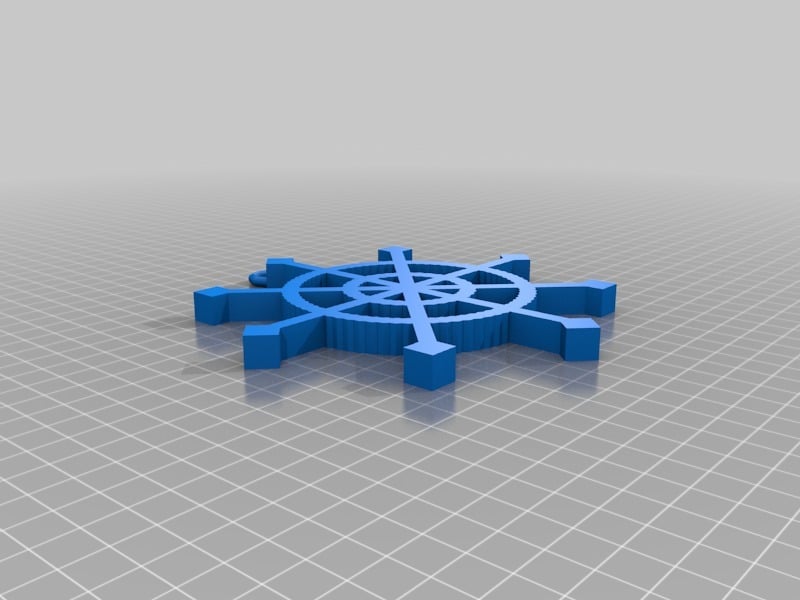
Blocks CAD Snowflake #BlocksCADSnowflake
thingiverse
Here is a snowflake design created using BlocksCAD: Open the BlocksCAD editor and select the "Snowflake" template from the gallery. This will create a basic snowflake shape made up of six identical arms, each with a hexagonal pattern. To add some extra detail to your snowflake, you can use the "Add Block" tool to insert new blocks into your design. For example, you could add a few small circles or ovals to create a decorative border around the edges of your snowflake. Once you've added all the details you want, you can use the "Move" tool to position your snowflake in the middle of the screen. Then, use the "Scale" tool to make sure it's the right size for your design. To print out your snowflake, simply select the "Print" option from the menu and choose the correct paper settings. You can also save your design as a 3D model file if you want to share it with others or work on it later. That's it! With BlocksCAD, creating a beautiful snowflake design is easier than ever.
With this file you will be able to print Blocks CAD Snowflake #BlocksCADSnowflake with your 3D printer. Click on the button and save the file on your computer to work, edit or customize your design. You can also find more 3D designs for printers on Blocks CAD Snowflake #BlocksCADSnowflake.
