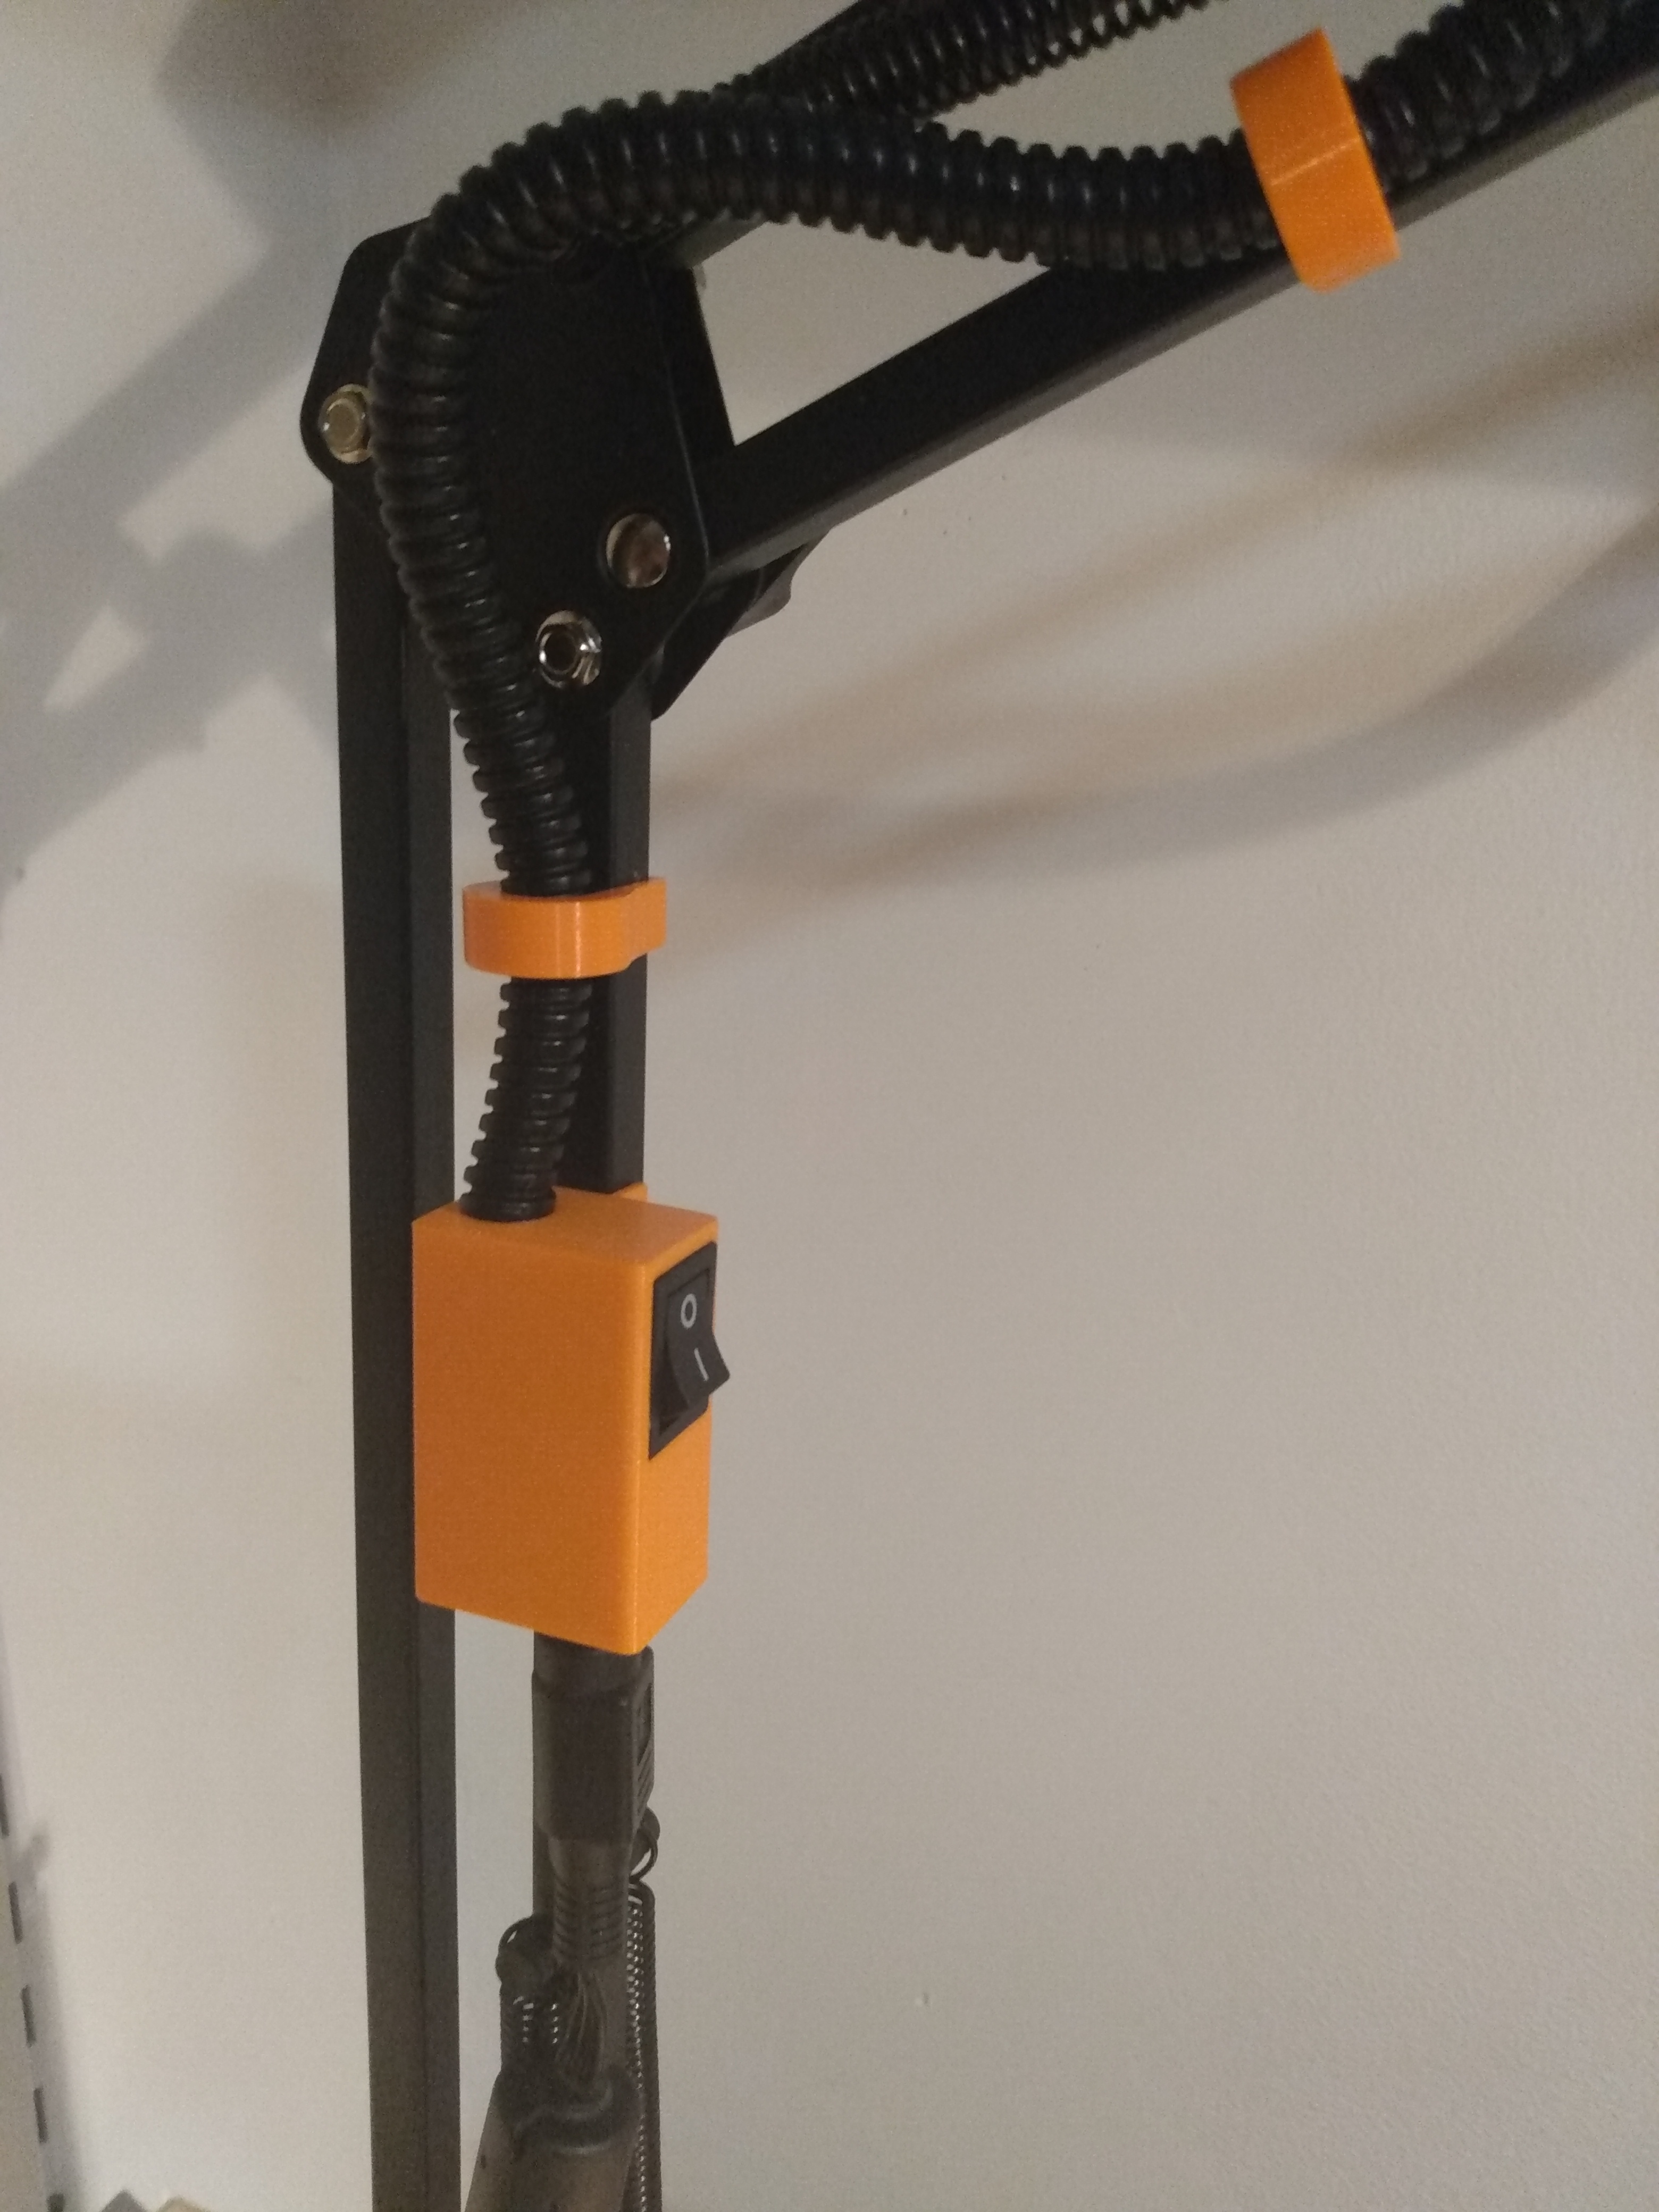
Block with power input and switch
prusaprinters
<p>I designed this around an old external HD adapter that has dual output (12V/5V) on a DIN-422 4-pin connector. I only needed 12V so only <strong>one</strong> circuit can be wired in - there isn't enough room for 4 leads in there, it's very tight.</p><p>The bracket is made for square section 10mm bars. My use case is on a <a href="https://www.amazon.ca/gp/product/B07WHFFJZP/ref=ppx_yo_dt_b_asin_title_o07_s00?ie=UTF8&psc=1">desktop articulated arm</a> for a soldering exhaust fan. I had to disassemble the bar and slide the bracket on, it's not meant to be unclipped as there is no flex.</p><p>This block requires specific parts:</p><ul><li><a href="https://addison-electronique.com/en/products/parts-components/switch-parts-components/rocker-switch/rocker-switch-on-off-2pins-spst-10a-125v-8a-250vac/">2-pin rocker switch</a> (it can be found with model# <i>MRS-2-101A-2</i> elsewhere)<ul><li>the plastic isolating flange on the empty side needs to be trimmed off</li></ul></li><li><a href="https://www.amazon.ca/gp/product/B0839239SG/ref=ppx_yo_dt_b_asin_title_o02_s00?ie=UTF8&psc=1&language=en_CA">4-pin DIN-422 module for PCB</a><ul><li>all the unneeded pins for PCB surface mounting have to be clipped off</li></ul></li></ul><p>Printed with PLA, these parts are interference fit and won't come out without destroying the print.</p><p>You need to solder your wires in a specific order:</p><ol><li>Pass pos. wire from device through the circular opening to switch pin and solder</li><li>Solder pos. wire (short, maybe 6-7cm) on other switch pin</li><li>Pass pos. wire from switch through connector opening</li><li>Push switch into place making sure pos. wire is routed properly</li><li>Pass neg. wire from device side all the way through the block</li><li>Shorten pos. wire on connector side as much as possible and solder to connector (see picture)</li><li>Solder neg. wire to connector</li><li>Push connector in place</li></ol><p>The pos. wire on the connector has to be as short as possible so it doesn't kink badly when you push the connector into place.</p><p>If for some reason the DIN-422 connector doesn't seat completely to the bottom and you are unable to use the cover plate with screws, you can use the alternate that is thinner. It's a friction fit and works fine.</p>
With this file you will be able to print Block with power input and switch with your 3D printer. Click on the button and save the file on your computer to work, edit or customize your design. You can also find more 3D designs for printers on Block with power input and switch.
