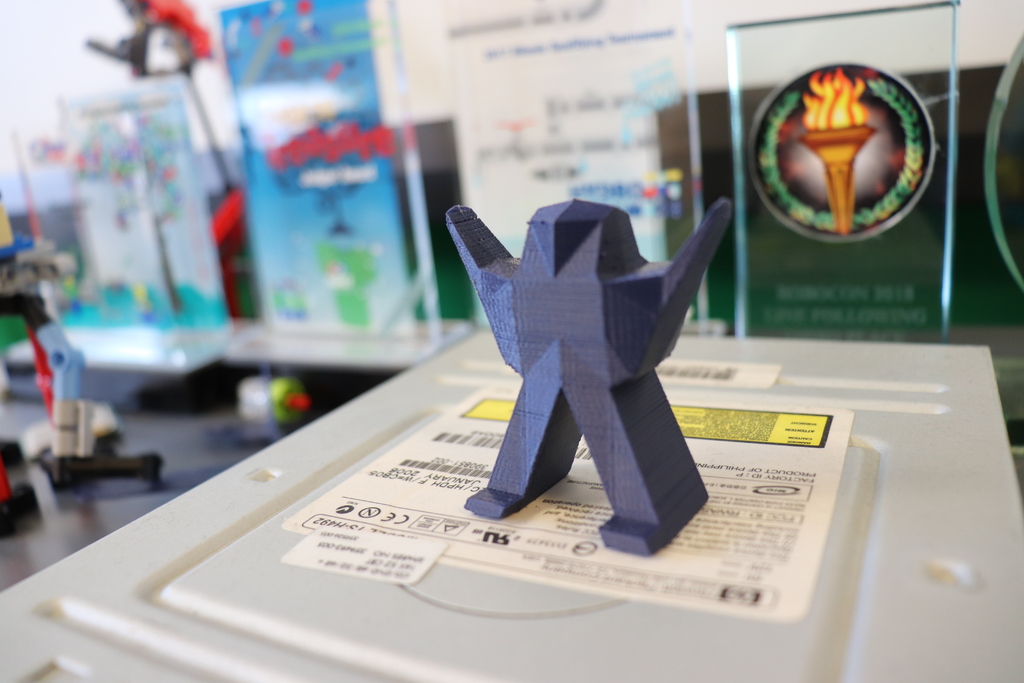
Blender Man
thingiverse
When designing a humanoid model for 3D printing, one essential tool is Blender. In this tutorial, we will explore how to use Blender's features to create a realistic and printable character. First, let's start by opening Blender and setting up the scene. This involves creating a new project, selecting the proper units, and defining the render settings. Next, we'll focus on modeling the head of our humanoid model. Using Blender's tools, such as sculpting and mesh modification, we can create detailed features like eyes, nose, and mouth. We'll also cover how to add texture and normal maps to enhance the model's realism. In addition to modeling, we will discuss how to rig our character for animation. This involves setting up a skeleton, weight painting, and creating keyframe animations. Blender's physics engine can be used to create realistic simulations, such as cloth and hair dynamics. We'll also cover how to export the final model for 3D printing. Throughout this tutorial, we will emphasize best practices for designing with 3D printing in mind. This includes considerations like layer thickness, support material, and print orientation. By following these guidelines, you can create a humanoid model that is not only visually appealing but also functional and printable.
With this file you will be able to print Blender Man with your 3D printer. Click on the button and save the file on your computer to work, edit or customize your design. You can also find more 3D designs for printers on Blender Man.
