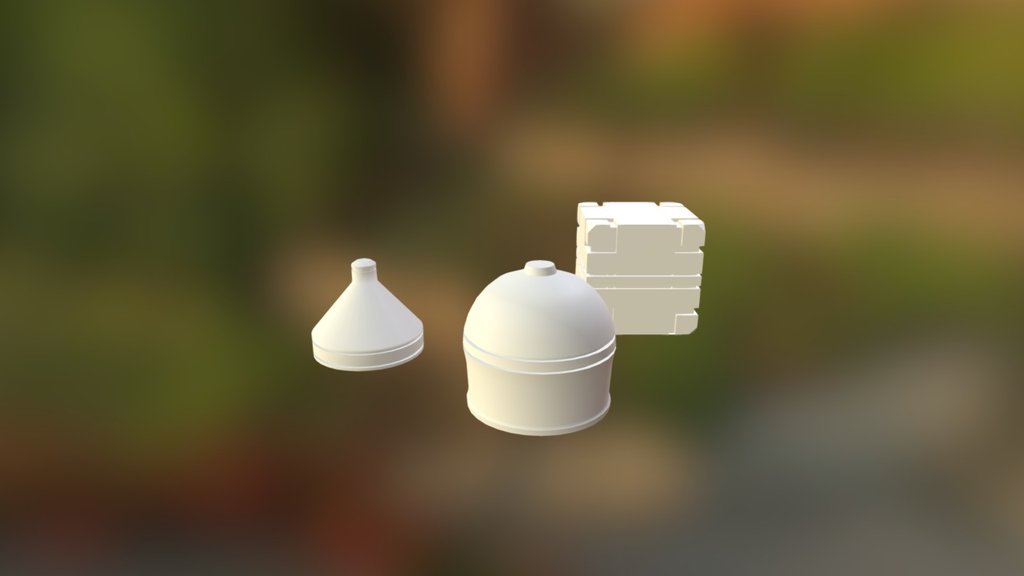
Blender Exercise#1
sketchfab
Creating 3D Meshes from Scratch in Blender: A Step-by-Step Guide to Mastering Fundamentals Are you ready to unleash your creativity and build stunning 3D models from scratch? Look no further! In this comprehensive guide, we'll take you on a journey through the world of mesh modeling in Blender, empowering you with the skills needed to bring your imagination to life. **Understanding Mesh Basics** Before diving into the nitty-gritty of mesh creation, let's cover some essential concepts. A 3D mesh is essentially a collection of vertices, edges, and faces that come together to form a solid shape. Think of it like building with LEGOs – each brick represents a vertex, the connections between them are edges, and the flat surfaces are faces. **Creating Your First Mesh** To get started, launch Blender and create a new project. In the 3D Viewport, click on the "Create" button to bring up the Object menu. From here, select "Mesh" and choose the type of mesh you want to create (e.g., Cube, Cylinder, or Plane). This will generate a basic mesh with vertices, edges, and faces. **Vertex Manipulation** Now that we have our mesh, let's play around with vertex manipulation. Select a vertex by clicking on it in the 3D Viewport. You can then move, scale, or rotate the selected vertex using the navigation tools (G, S, R). As you manipulate the vertices, observe how the edges and faces of the mesh change accordingly. **Edge Loop Selection** To refine your mesh further, let's explore edge loop selection. With an edge selected, press Ctrl+R to enter Edge Loop Select mode. This will highlight all the connected edges, allowing you to select multiple edges at once. Use this feature to tidy up your mesh and ensure smooth transitions between faces. **Face Splitting** Face splitting is another powerful tool for refining meshes. With a face selected, click on the "Split" button in the toolbar or press Ctrl+Shift+S. This will create a new edge along the face's midpoint, allowing you to split it into two separate faces. Use this technique to create complex shapes and detailed textures. **Mesh Smoothing** As you continue working with your mesh, you may notice that some areas look a bit rough around the edges. That's where mesh smoothing comes in! Select the vertices of the area you want to smooth and press Ctrl+Shift+R (or click on the "Smooth" button in the toolbar). This will automatically adjust the vertex positions to create a more even, rounded shape. **Advanced Techniques** With these fundamental skills under your belt, it's time to dive into some advanced techniques. Try experimenting with: * Subdivision Surface modeling: Use this technique to add detail and smoothness to your mesh without altering its underlying structure. * Beveling: Add sharp edges or beveled corners to create complex shapes and detailed textures. * Extrusion: Push out faces from a selected edge to create new geometry. **Putting it all Together** By mastering these fundamental techniques, you'll be well on your way to creating stunning 3D meshes in Blender. Practice makes perfect, so be sure to experiment with different tools and features as you work through this tutorial. Happy modeling!
With this file you will be able to print Blender Exercise#1 with your 3D printer. Click on the button and save the file on your computer to work, edit or customize your design. You can also find more 3D designs for printers on Blender Exercise#1.
