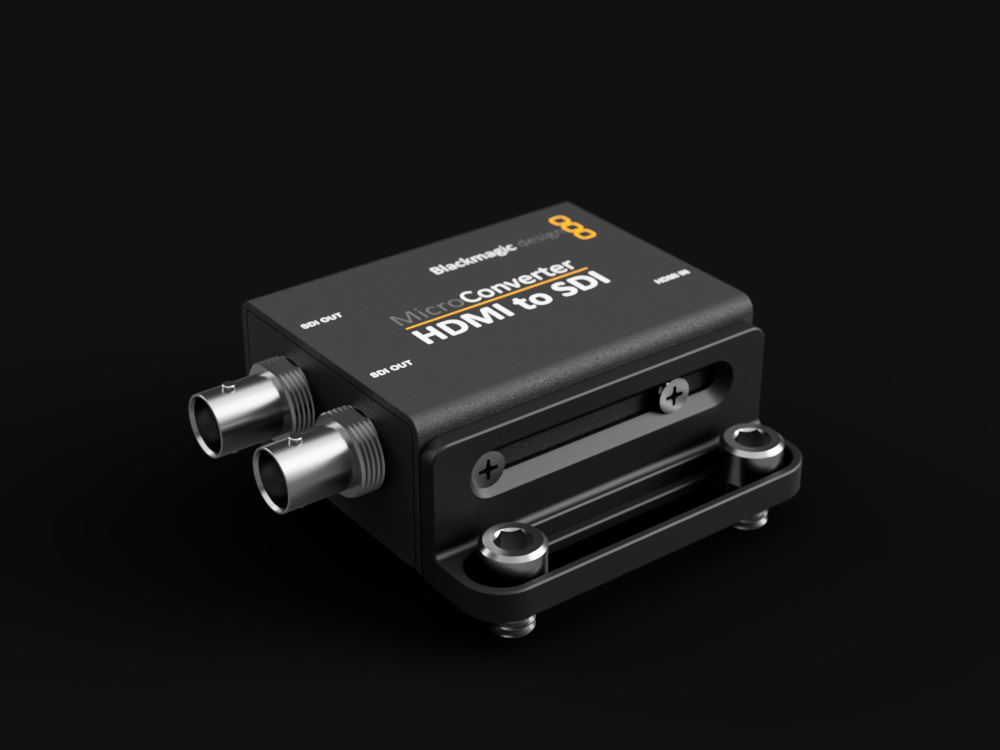
Blackmagic Micro Converter Mount
thingiverse
<h3>Model</h3> This is a right angle bracket and nato rail to help attach a Blackmagic micro converter to your rig, tripod, drone or live streaming station. The bracket uses the original screw holes to securely attach to the adapter. <h3>Print Settings</h3> I would highly recommend printing the nato rail with 4+ walls and a strong, stiff filament like PLA, Nylon or PETG. <h3>Parts needed</h3> 2 x m3 8mm countersunk screws <h3>Installation</h3> (1) Remove the two M3 Phillps screws from either the right or left side (2) Attach the right angle bracket or nato rail (3) Screw in the bracket using longer (6mm - 8mm) M3 countersunk screws to attach the bracket <h3>Disclaimer</h3> Adding this bracket and removing the two screws should not void your warranty, only removing the two screws will still keep the metal cover attached so there is no risk of damaging the converter. (Using screws that are too long will collide with the hdmi and sdi ports, if you tighten them hard enough you can possibly damage these connectors) I have not tested the nato rail yet so its durability or fitment is unknown. <a href="https://www.auroradigitalsystems.com/" title="Website"> Website</a> <a href="https://www.instagram.com/auroradigitalsystems/" title="Instagram"> Instagram</a> <a href="mailto:hello@auroradigitalsystems.com/" title="Email"> Contact</a>
With this file you will be able to print Blackmagic Micro Converter Mount with your 3D printer. Click on the button and save the file on your computer to work, edit or customize your design. You can also find more 3D designs for printers on Blackmagic Micro Converter Mount.
