Black and Decker rotary saw/ spindle mount for ShapeOko 2
thingiverse
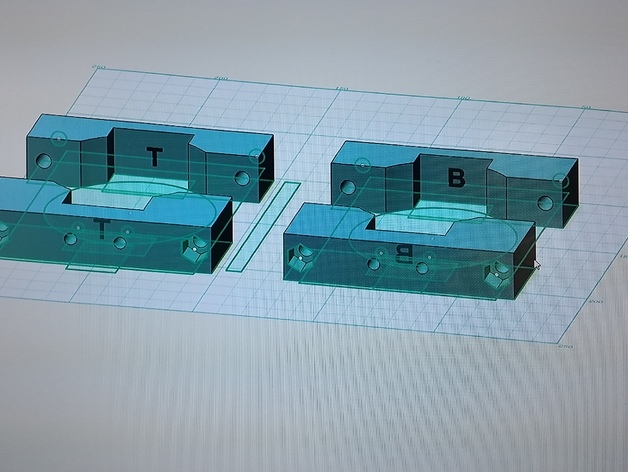
Instructions to Assemble the Black and Decker Spindle Attachment Mount: Attach the Bottom Plate: Print the bottom plate with a 0.24 layer height at 30% infill, using three shell settings. Insert the bolts through the pre-drilled holes, then carefully sink them into position using a soldering iron to keep everything aligned. Secure the Nuts: Use a pair of long bolt handles, such as 4" bolts, and screw them in firmly to lock the bottom plate onto its supporting legs, while also positioning the side clips in their optimal places. Assemble Top Plate: With the nuts now secured firmly with the bolt handles threaded into the attachment holes from the bottom side of each part of this machine, lift up carefully the upper portion which has already been mounted securely on its supports underneath - making sure everything fits together nicely once more.
With this file you will be able to print Black and Decker rotary saw/ spindle mount for ShapeOko 2 with your 3D printer. Click on the button and save the file on your computer to work, edit or customize your design. You can also find more 3D designs for printers on Black and Decker rotary saw/ spindle mount for ShapeOko 2.