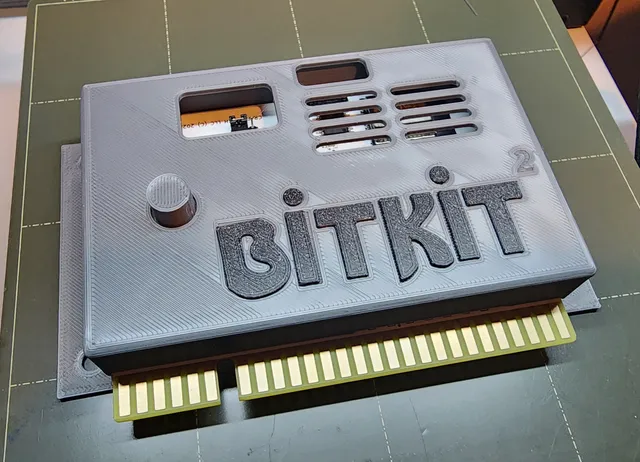
BitKit2 Arcade PCB Enclosure
prusaprinters
My print was done with in PLA and did not need any supports. There are two versions of the case. the first (and my favorite) has two screws that mount the PCB to the front of the case. This one just does a better job of holding everything in place.The holes fit M3 Screws, I used 6mm since that's what I had around. the hole is about 14mm thick so you can use anything in between.The second version has small posts that fit into the mounting holes. they do an good job of keeping the PCB from sliding down but I wouldn't want to tug on it too hard or they may break off. The Volume pot on the board has a flat spot that lines up to the base of the knob. put the knob in the hole first, install the PCB, then turn the dial slowly until it pops into place. Once the back of the case is on the pressure keeps everything in place and the volume knob turns nicely as long as you don't crank past the start or end point.For a decorative touch you can print the “BitKit” letters in a differnt color and paste them into place. I print them face down to give them a more smooth look.
With this file you will be able to print BitKit2 Arcade PCB Enclosure with your 3D printer. Click on the button and save the file on your computer to work, edit or customize your design. You can also find more 3D designs for printers on BitKit2 Arcade PCB Enclosure.
