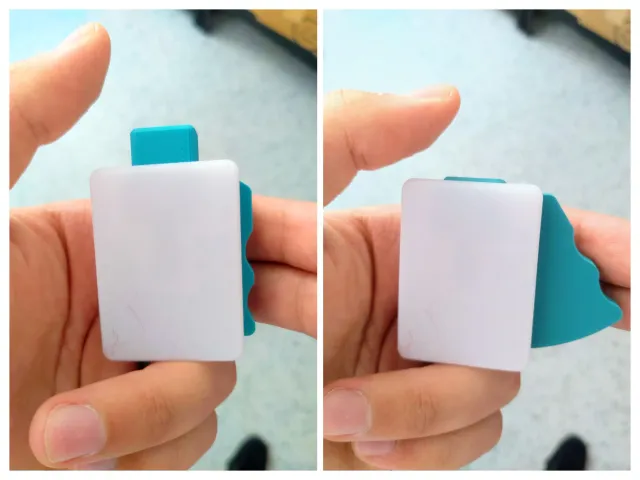
Bistable fidget button
prusaprinters
Another satisfying fidget toy.All parts are printed with 0.4 mm nozzle and 0.2 mm layer height no special settings are required. I simply used pieces of filament for the axes of the moving parts. AssemblyThe image below shows all the parts you needed.Place the button into the bottom part and push a 14 mm long piece of filament in the right upper hole. Use another piece of filament as spring shaft and cut the filament at the height of the spring. Push filament through the arm's lower hole and push the filament through the spring and the button's slot all the way down. Cut the filament at the height of the arm. Don't forget to attach the arm to it's axis. Place on top the top part and make sure that the arm's shaft is inside the hole.Finally glue the bottom and top part together. You might also like:my gyro spinner with replacable middle coin: https://www.printables.com/model/413167-gyrocoin-fidget-toymy new fidget switch: https://www.printables.com/model/272505-fidget-switch
With this file you will be able to print Bistable fidget button with your 3D printer. Click on the button and save the file on your computer to work, edit or customize your design. You can also find more 3D designs for printers on Bistable fidget button.
