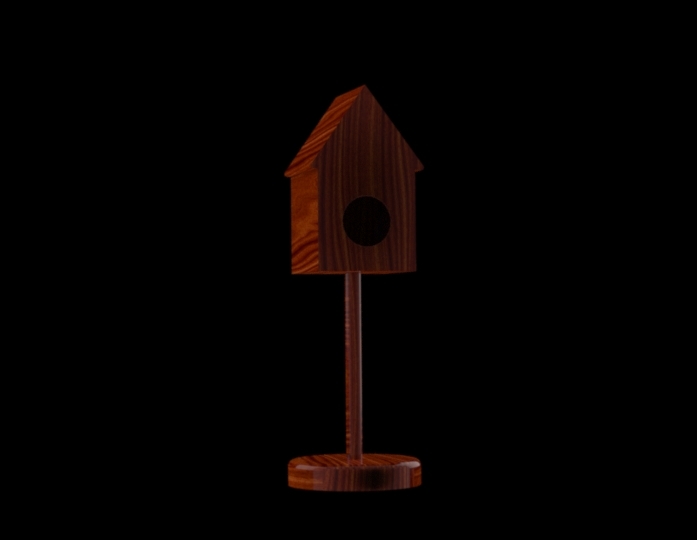
Birds nest
thingiverse
Creating a bird's nest design in SolidWorks involves several steps and requires a good understanding of the software's features. To begin, open up a new part document in SolidWorks and create a sketch on the xy plane that represents the base of the nest. Draw an ellipse or a circle to serve as the foundation for your nest, then use the Extrude tool to give it some thickness. This will form the base of your bird's nest. Next, draw two lines that are perpendicular to each other and centered on the base of the nest. These lines will help you create the sides of the nest. Use the Revolve tool to sweep a curve around these two lines, creating the sides of the nest. You can use a circle or an ellipse for this purpose. To add some detail to your bird's nest design, you can use the Fillet tool to round off any sharp edges. This will give your nest a more natural look. Finally, save your part document and move on to the assembly side of things. Create a new assembly document in SolidWorks and insert the part that contains your bird's nest design. Add some supports or beams to hold up the nest, then use the Mate tool to position them correctly. You can also add some leaves or other details to make your bird's nest look more realistic. Once you have completed these steps, you should have a detailed 3D model of a bird's nest that is ready for rendering or animation.
With this file you will be able to print Birds nest with your 3D printer. Click on the button and save the file on your computer to work, edit or customize your design. You can also find more 3D designs for printers on Birds nest .
