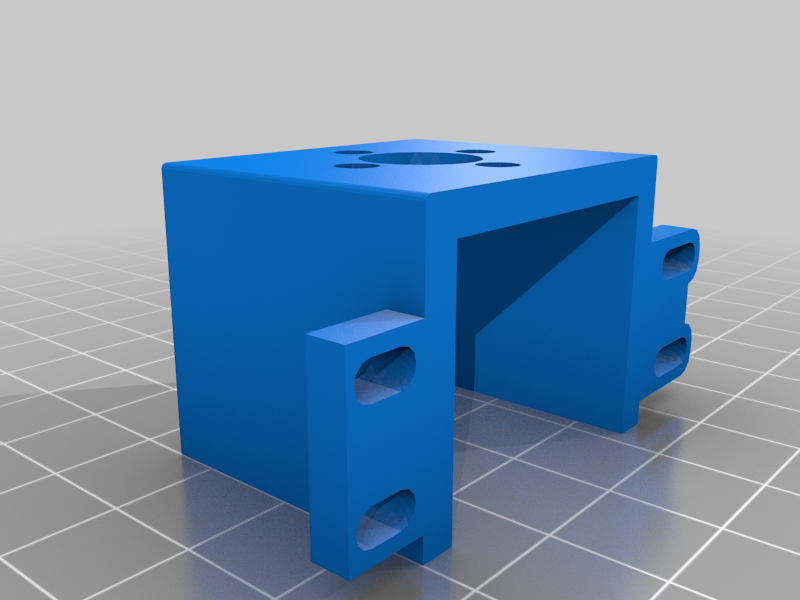
Biqu B1 dual independent Z -axis upgrade
thingiverse
06.02.2021 You can upgrade only the right side to keep the original Bowden setup in place, meaning just print the right side plate and the lead screw bracket and install it. The tutorial is the same for the firmware. - forgot to mention to buy the extra motor with cable. - Also, check first before installing the second lead screw the direction of the motor, some motors might have different connection of the coils and and might need to invert the stepper direction in firmware. - useful video tutorial about the dual Z axis upgrades here: https://www.youtube.com/watch?v=3jAFQdTk8iw - useful tutorials to calibrate your printer here: https://teachingtechyt.github.io/calibration.html - useful tutorial for frame alignment here: https://gist.github.com/looxonline/808a204f4f881462403f2baeefc1f69b THE MOST IMPORTANT THING TO DO BEFORE DOING THE UPGRADE IS TO CHECK IF THE FRAME IS SQUARE OR NOT. TAKE YOUR TIME TO CHECK AND ALIGN THE FRAME AS BEST YOU CAN, IT WILL HELP WITH LOTS OF ISSUES. This is my mod for dual Z axis with independent motors and drivers. A tutorial is included, not the best but you will get it how to install everything. If not, message me here or join the BIQU B1 facebook group for details. You can share, print, remix, improve the design, just mention the original one. The mod can be done only for the right side or for both sides if you want. I've done it for both sides because the original mount won't let me adjust properly the lead screws so I can have the same distance between the top and bottom. Now I have top to bottom 0.5mm maximum deviation. The lead screw holders are a remix from here, the original was with 6000 bearings and wanted to use what I had in the workshop. Print the frame mounts from there and the bearing mount from here. https://www.thingiverse.com/thing:4214242 Bill of materials: 1 lead screw TR8 8mm diameter, 2mm pitch, 8mm lead, 4 starts 370mm minimum 2. 4 x M3 x 10 mm screws with classic nut 3. 8 M3 x 8mm 4. 8 x M3 x 5mm long and 5.4mm outer diameter brass inserts 5. 1 lead screw nut 2mm pitch, 8mm lead, 4 starts identical with the lead screw If you want you can go with anti – backlash nuts same dimensions. 6. 3 x 6mm spacers for M5 screws. 7. 3 x M5 x 35 mm screws 8. 1 x 8x5 coupler ( 8mm diameter hole for the lead screw x 5mm diameter hole for the motor spindle) 9. 1 x Nema 17 motor, identical with the left one ( I used the motor from the extruder since I upgraded to direct drive with a different motor) 10. 1 x motor printed bracket from here : https://www.thingiverse.com/thing:4648103 11. 4 x M3 x 12mm screws 2 with T-nuts for the motor 12. 1 x TMC 2225 stepper driver Lead screw holder 4 x M4 x 8mm screws with classic nuts 6 x M3 x 8mm screws with T-nuts 2 x 608zz 8x22x7mm With this mod and with my X axis carriage upgrade and the Voron Afterburner mount I can say it is now a good printer.
With this file you will be able to print Biqu B1 dual independent Z -axis upgrade with your 3D printer. Click on the button and save the file on your computer to work, edit or customize your design. You can also find more 3D designs for printers on Biqu B1 dual independent Z -axis upgrade.
