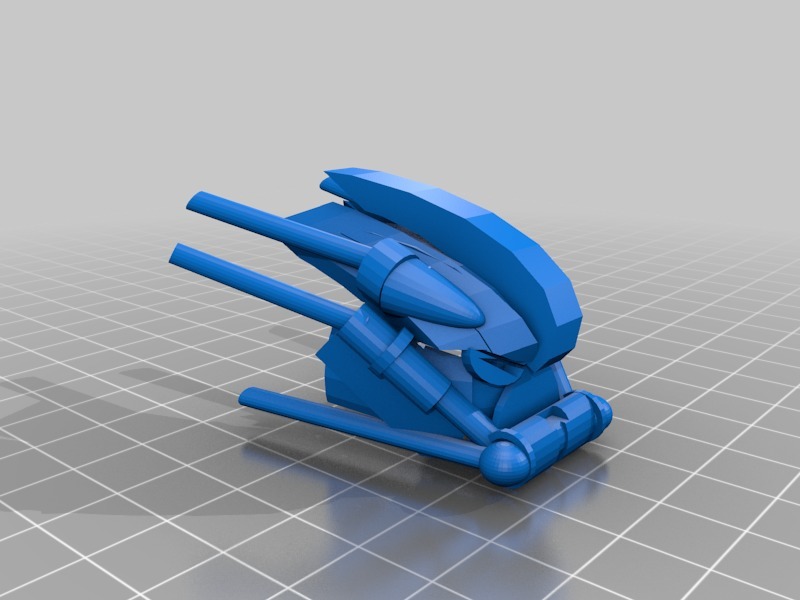
Bionicle Mask Concept
thingiverse
The Evolution of a Project: From Concept to Reality I embarked on this project with a clear vision in mind - to create a Bionicle mask that seamlessly integrated with Lego parts. This ambitious goal set the stage for a series of creative endeavors, as I sought to bring my concept to life. To achieve this, I began by sketching out rough ideas that would eventually serve as the foundation for my design. One key aspect that I focused on was establishing a consistent theme throughout the mask, which led me to create a visually appealing design that would ultimately guide my digital modeling process. Using Tinkercad's powerful software, I brought my design to life, carefully crafting every detail around an axel rod at the heart of the mask - a crucial element that made Lego compatibility possible. As I refined my design and prepared it for 3D printing, I encountered a significant setback: several components protruding from the inside of the mask obstructed the attachment process, while the axel rod was too short to accommodate the necessary connections. This critical failure threatened to undermine my entire project, leaving me with a product that was woefully incompatible with Lego parts. Undeterred by this obstacle, I employed innovative problem-solving skills to address these issues. By digitally emptying the mask's interior and extending the axel rod, I successfully overcame the challenges that had previously hindered my design. This solution not only ensured compatibility with Lego parts but also enabled the mask to function as intended. With these modifications in place, I was able to produce a final 3D print that met all of its objectives. My designing process came to a triumphant close, and I was left with a satisfying sense of accomplishment. Printing Instructions: To bring this design to life, follow these essential guidelines: 1. Scale measurements are crucial: ensure your printer is set to 34.63 mm in height, 47.00 mm in width, and 56.00 mm in length. 2. This model consists of a single component, so you'll need only one print to achieve the complete product. 3. Supports must be enabled during printing, as they will account for a significant portion of the plastic used in the model. 4. When removing supports, use precise tools like knives or needles to carefully extract them from delicate areas. By adhering to these instructions, you'll be able to successfully print and assemble this intricate design, bringing it to life with precision and care.
With this file you will be able to print Bionicle Mask Concept with your 3D printer. Click on the button and save the file on your computer to work, edit or customize your design. You can also find more 3D designs for printers on Bionicle Mask Concept.
