Binder Clip - Office Essentials
prusaprinters
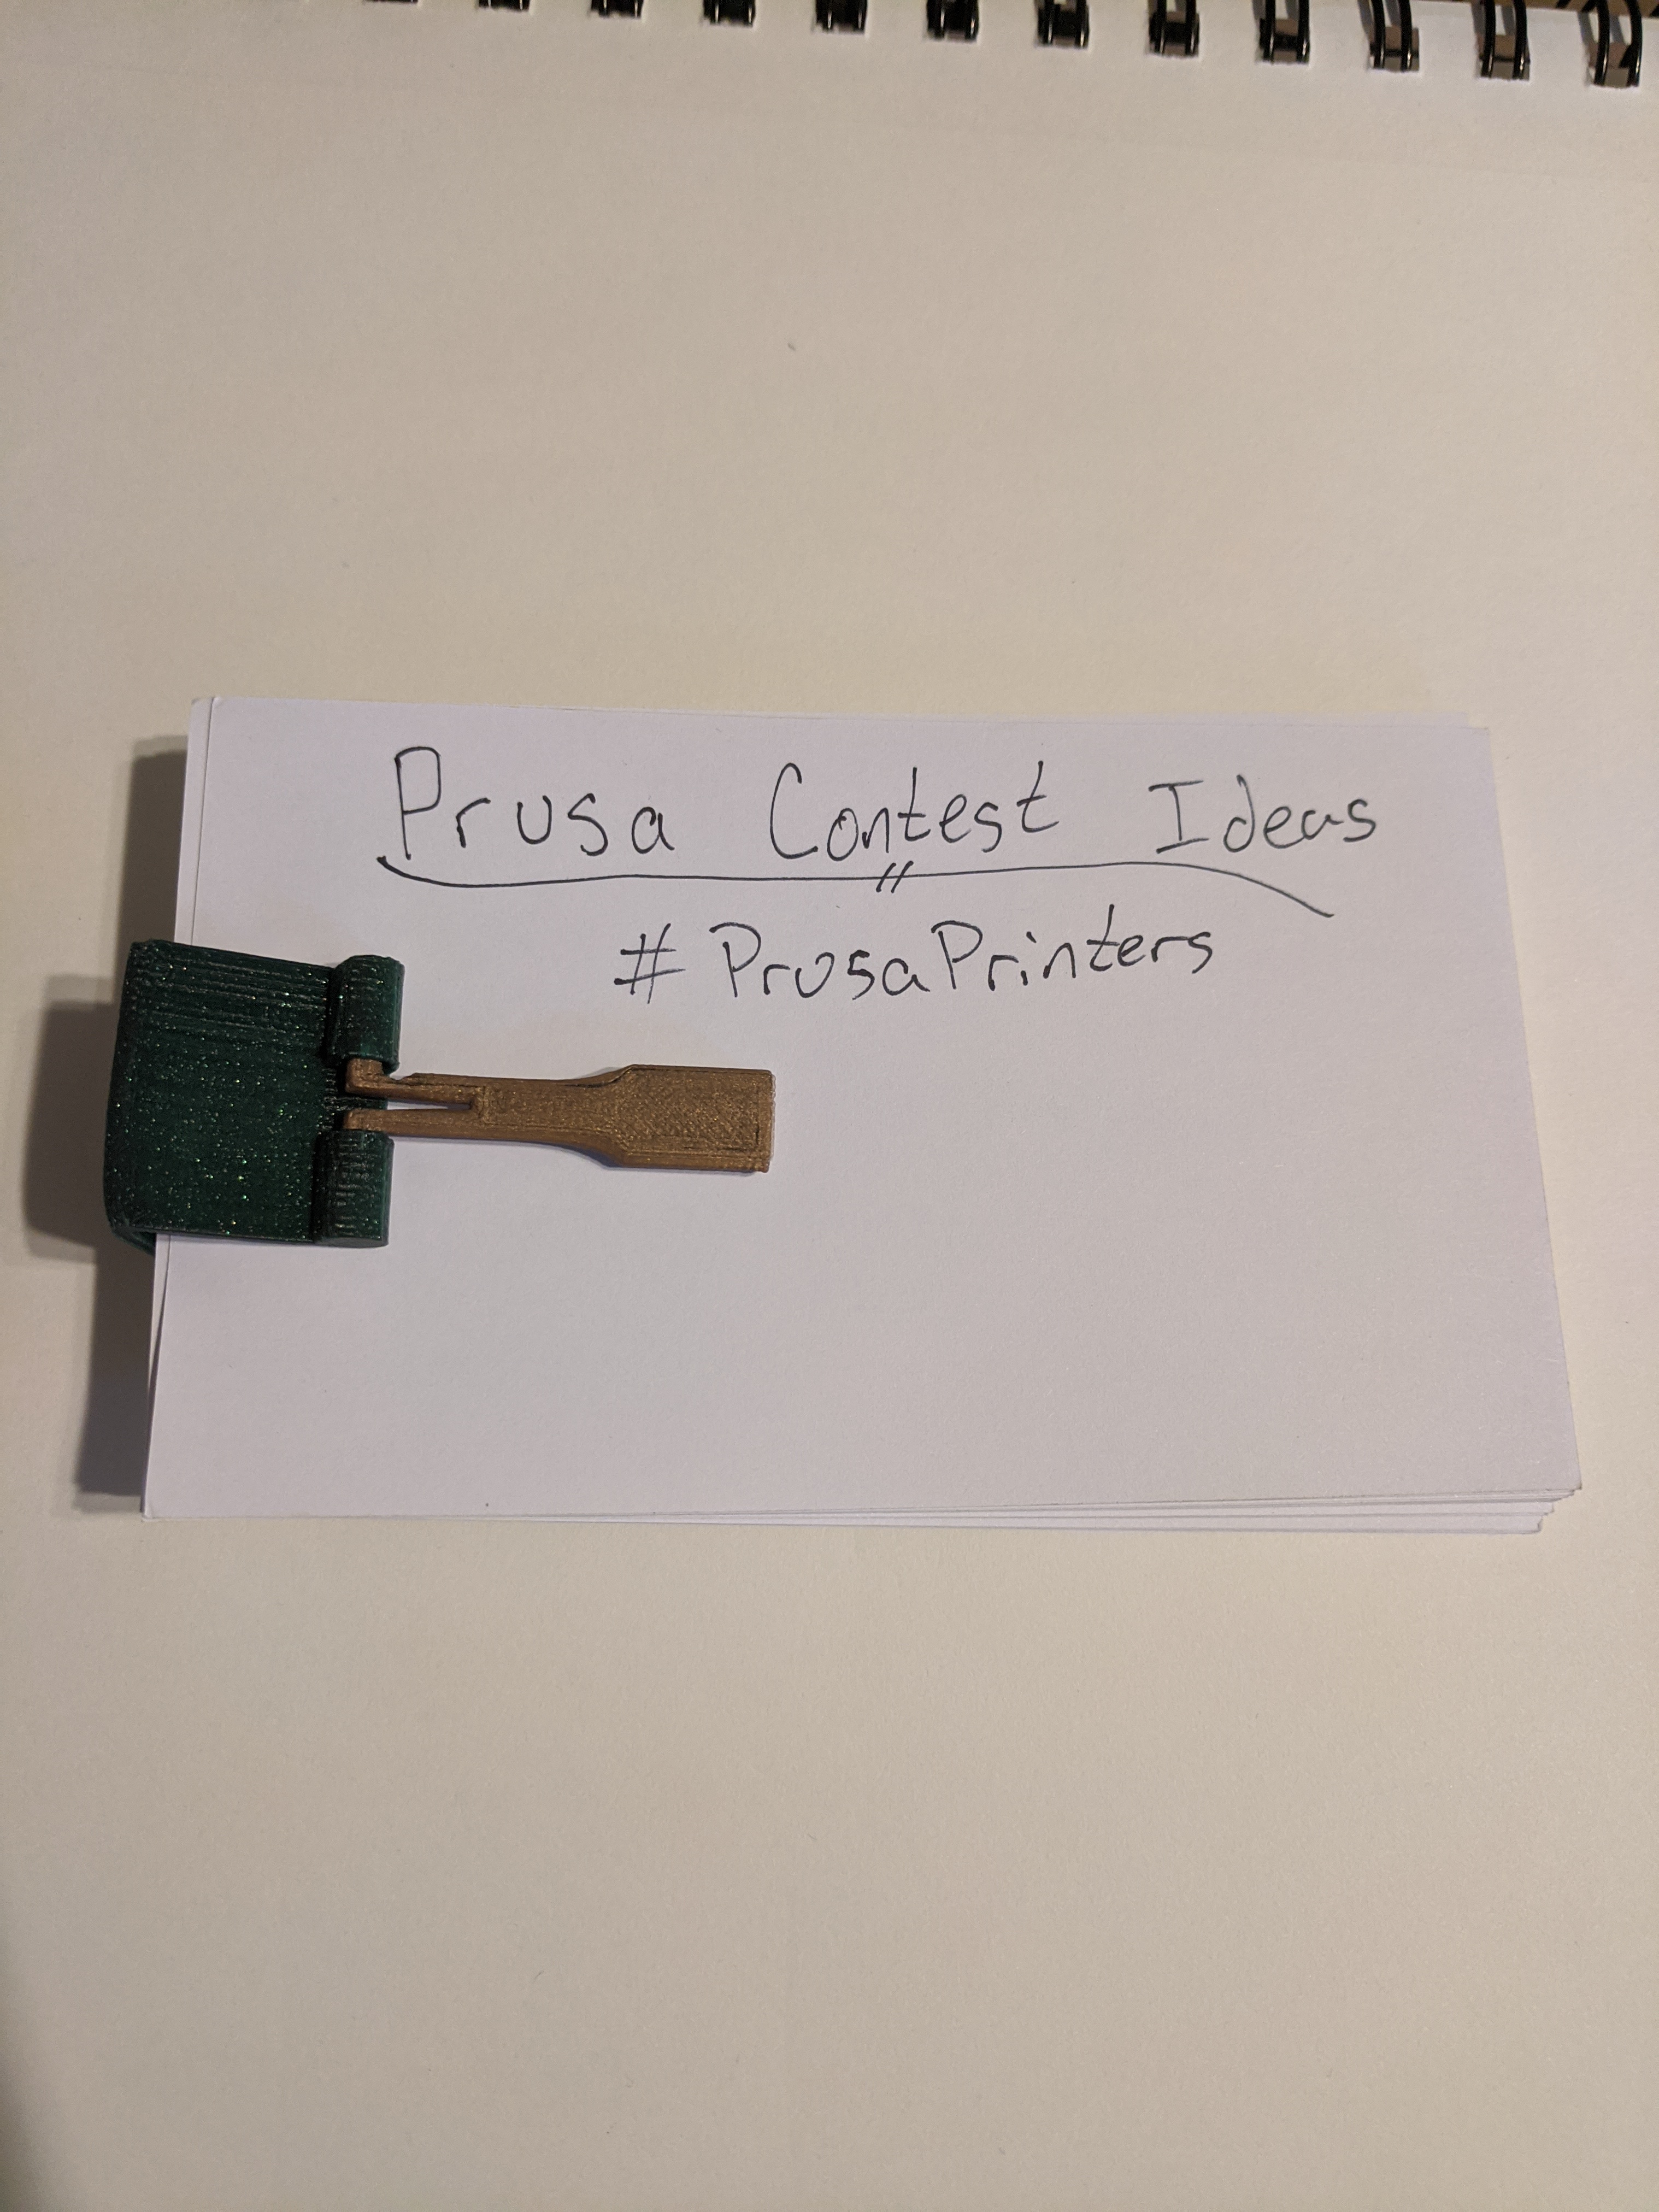
<p>Working from home and caught without enough office supplies? Here is a simple binder clip that you can print yourself! Granted they might not last as long as their metal counterparts, but in your time of need you can print this whenever and save you a hazardous trip out to the store. There are a few different files uploaded, each individual piece of the clip that to assemble the clips yourself and a print in place version so you don't have to wrestle with the small pieces. If you guys like this model other sized can always be made!</p> <p>Assembly:</p> <ul> <li>Take one clip arm and orient it so that the flat side faces down</li> <li>Insert the peg that has a cut in on the side of its arm into one hold of the binder clip body</li> <li>Push the peg in and then push the opposite peg (the one not inserted) towards the inserted peg, squeezing the empty space together. This will make enough room for the second peg to be guided into the other hole</li> <li>Release the peg when you get it inserted into the second hole and center the arm on the body</li> <li>Repeat these steps with the other arm on the opposite side<br/> Note: The clip has some flex, but it does have its limits to how far it can be opened.</li> </ul> <h3>Print instructions</h3><p>I printed all of my clips in PLA but I am sure that PETG or ABS would be suitable as well. My listed print settings are all for PLA and what worked for me. I printed the clip body on its back so I did not need supports, but it can be printed on its side with supports as well, though I did not notice a significant difference in flexural strength.</p> <p>My settings for printing each part separately:</p> <p>Supports = No<br/> Infill = 30%<br/> Quality = Fine (0.1mm)<br/> Build Plate Adhesion = Skirt<br/> Wall Line Count = 3<br/> Print Time = 1hr 5min (for the full set)</p> <p>My settings for printing in place (PiP File):</p> <p>Supports = Yes, Everywhere<br/> Support Interface = Enabled<br/> Support Density = 15%<br/> Overhang Angle = 80%<br/> Infill = 30%<br/> Quality = Fine (0.1mm)<br/> Build Plate Adhesion = Skirt<br/> Wall Line Count = 3<br/> Print Time = 1hr 40min</p> <p>Assembly:</p> <ul> <li>Take one clip arm and orient it so that the flat side faces down</li> <li>Insert the peg that has a cut in on the side of its arm into one hold of the binder clip body</li> <li>Push the peg in and then push the opposite peg (the one not inserted) towards the inserted peg, squeezing the empty space together. This will make enough room for the second peg to be guided into the other hole</li> <li>Release the peg when you get it inserted into the second hole and center the arm on the body</li> <li>Repeat these steps with the other arm on the opposite side<br/> Note: The clip has some flex, but it does have its limits to how far it can be opened.</li> </ul>
With this file you will be able to print Binder Clip - Office Essentials with your 3D printer. Click on the button and save the file on your computer to work, edit or customize your design. You can also find more 3D designs for printers on Binder Clip - Office Essentials.