Biltong Box parts
prusaprinters
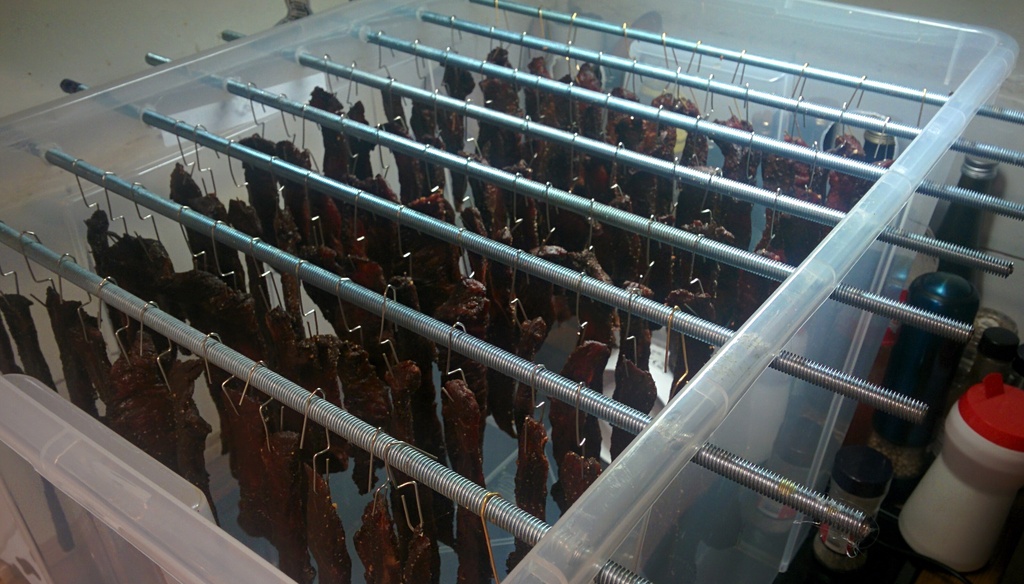
<p>This is 3 parts that I made for my biltong box or quick dryer for meat.</p> <p>You need one fan 100mm</p> <p>some mosquito net</p> <p>8mm rods of some sort</p> <p>large plastic box</p> <p>some screws and cable.</p> <p>The 8mm plug is made to fit in the holes for the rods if you choose to remove some of them to fit larger pieces of meat.</p> <h3>Print Settings</h3> <p><strong>Printer Brand:</strong></p> <p>RepRap</p> <p class="detail-setting printer"><strong>Printer: </strong> <div><p>RepRapPro Mono Mendel</p></div> <p><strong>Rafts:</strong></p> <p>No</p> <p class="detail-setting supports"><strong>Supports: </strong> <div><p>No</p></div> <p><strong>Resolution:</strong></p> <p>0,2</p> <p><br/> <p class="detail-setting notes"><strong>Notes: </strong></p> </p><div><p>You shouldn't need support for any of the parts.</p></div> Post-Printing ============= <p><strong>Outlets</strong></p> <div><p>After printing 1 or 2 of the outlets cut some fine net like used in windows to avoid getting mosquitos in to fit on the back of the outlets. Use hotglue to fasten it to the flat backside.<br/> Make 50mm holes into the box where you want the outlets and fasten it with 4 screws through the box. <p class="detail-title"><strong>Inlet fan</strong></p> <div><p>Make a 100mm hole for the fan and fasten it in the side of the box. This printed part is to direct airflow to the lower part of the box to get some more even drying of the meat.</p></div> <p class="detail-image"><img src="https://cdn.thingiverse.com/assets/01/7d/61/4a/fe/IMG_20151209_161543.jpg"/></p> <p class="detail-title"><strong>Final steps</strong></p> <div><p>Add some rods or hooks to hang the meat from in the lid or upper part of the box. Some like to add a lightbulb to help remove any moisture but for me it works just with the fan.</p> Google some recipes for jerky or biltong, heck I'm doing some Italian breasola in it right now. <p>Hang the meat, put on the lid and then just wait! I found that Jerky took about 1½ day (36-48) hrs depending on the thickness. Doing larger parts around 300g use a timer so the fan is on and off in 60 minute intervals for example, that helps from making the outside of the meat dry up to fast.</p> </div></p></div></p></p> Category: Household Supplies
With this file you will be able to print Biltong Box parts with your 3D printer. Click on the button and save the file on your computer to work, edit or customize your design. You can also find more 3D designs for printers on Biltong Box parts.