Bike
thingiverse
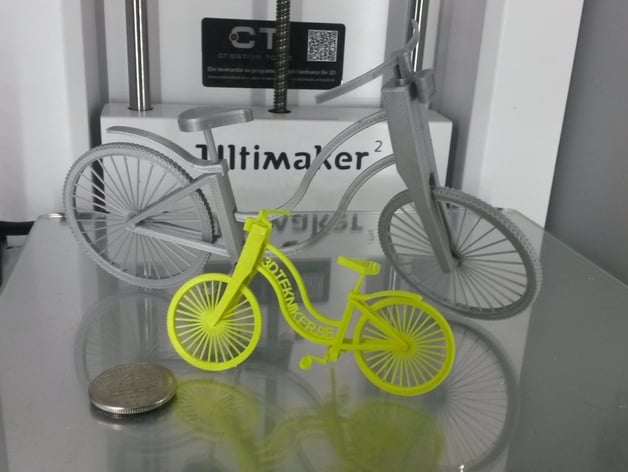
A bicycle I built while learning IronCAD is now a reality thanks to my new 3D printing skills on the Ultimaker2. Printing out several in PLA, it snapped together easily - or at least that was the case with all the parts for the large bike model. With just one glance, you should be able to assemble the entire thing without ever needing any instructions whatsoever. The bicycle design comes in two versions - one where everything fits onto a single 0.4mm nozzle and another where it is scaled down to just half size, fitting perfectly on a 0.25mm nozzle. There's no text visible anywhere on the frame of either version. To make things even easier for anyone looking to mix-and-match components, I've included every individual part that makes up the entire bicycle design - and they're all available in their original sizes so you can pick and choose which ones you want to use. If you want to add your own custom text or a name to the frame, simply take the file called "frame_text.stl" over to Tinkercad or another similar software program and start adding your chosen text wherever you'd like it to be placed. Take a look at frame_text_example.stl for a good idea of how the placement should work out. Before you print any of these parts, make sure to give them one last check in your slicing software first. This will help ensure that everything prints out perfectly as expected. Here are some suggested print settings: Printer Brand: Ultimaker Printer: Ultimaker 2 Rafts: No Supports: No Resolution: 0.1 Infill: 20%
With this file you will be able to print Bike with your 3D printer. Click on the button and save the file on your computer to work, edit or customize your design. You can also find more 3D designs for printers on Bike.