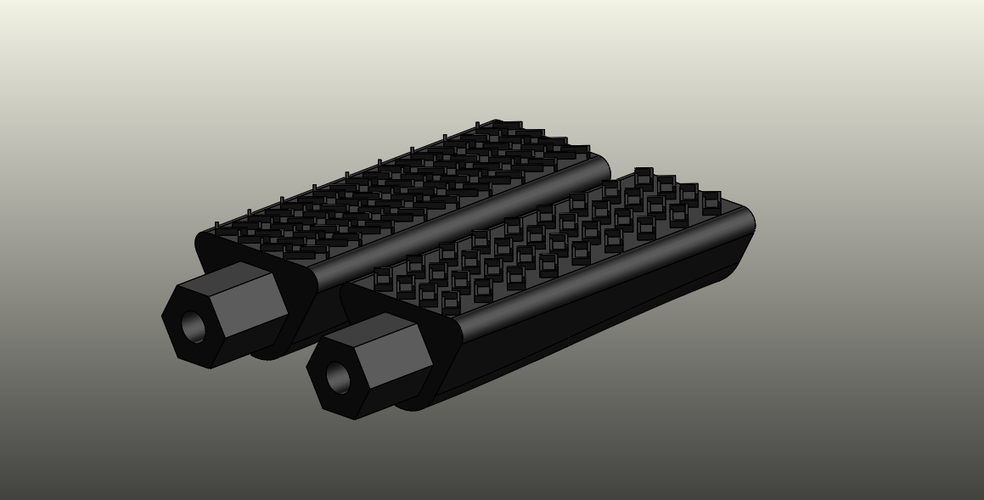
Bike Pegs
pinshape
I wanted to bring some nostalgia back to bike accessories by creating something everyone can relate to... bike pegs! Some design inspiration came from motorcycle pegs, and the top grip hashing is a pattern I made up that can provide a lot of grip. To print: 1) Set your printer to low-medium quality print settings. 2) Use an infill of 20% honeycomb or 25% rectilinear - I recommend honeycomb because it can withstand over 200 pounds. 3) Let the print job run for around 6-8 hours. 4) Install on a bike, leaving about an inch for installation space. Secure by twisting the part clockwise, so the grooves dig into the part for stability. 5) Pick up your friends with your new print! Update: I tested it with a friend who weighed around 245 pounds and it passed.
With this file you will be able to print Bike Pegs with your 3D printer. Click on the button and save the file on your computer to work, edit or customize your design. You can also find more 3D designs for printers on Bike Pegs.
