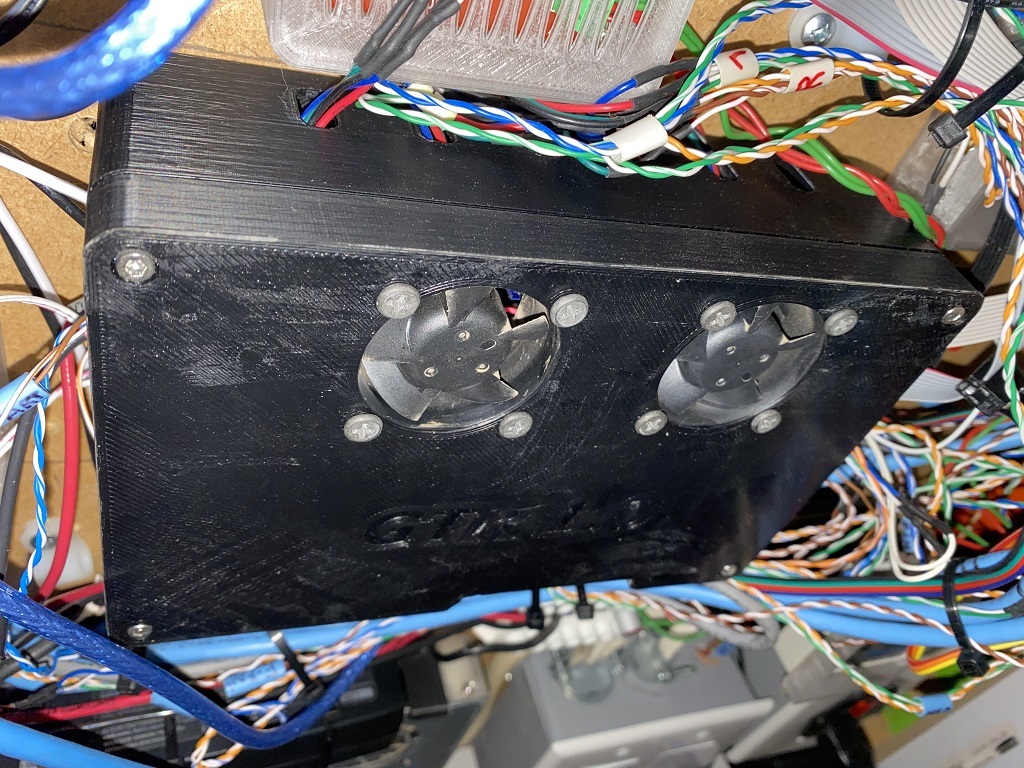
Bigtree GTR v1.0 Enclosure
thingiverse
I just got a GTR board to upgrade my printer, but could not find a case that would work for me. So I sketched this up, and it works quite well. The 2x 40mm fans are centered on drivers 2 and 5, giving optimal cooling where it's needed. The large exit hole near the screw terms brings the air across the fets and bec in case you get those hot too. I mounted my external bed fets right outside that hole; this way those controller fans are doing double duty. Printing... pretty simple and standard. No supports needed, and otherwise no tricks required. I drew in support for the large opening on the screw terminal side. Be sure you slicer is rendering that before printing; also it is easy to knock out with your fingers later on. The M1 version has a large single slot on the side to fit a 40pin cable and the usual wires. The 4 smaller holes on the non-M1 version offer an option with improved strain relief and organization vs the single slot. To assemble, use fan screws to screw your fans to the lid, M3 bolts to install your GTR inside, and some more M3 bolts to hold the lid on top. Motor plugs fit through the sides near the motor sockets. Fan and heater wires should be routed out above the screw terminals (so they stay away from the signal wires on the other side). Enjoy! [Update 8/24/21: I uploaded 2 more stl's, bttGtr1boxM1wifi & bttGtr1boxWifi. These versions have a thinned out area above the USB port, which can be cut out with a knife to give clearance for an esp01s wifi module on the GTR board. ]
With this file you will be able to print Bigtree GTR v1.0 Enclosure with your 3D printer. Click on the button and save the file on your computer to work, edit or customize your design. You can also find more 3D designs for printers on Bigtree GTR v1.0 Enclosure.
