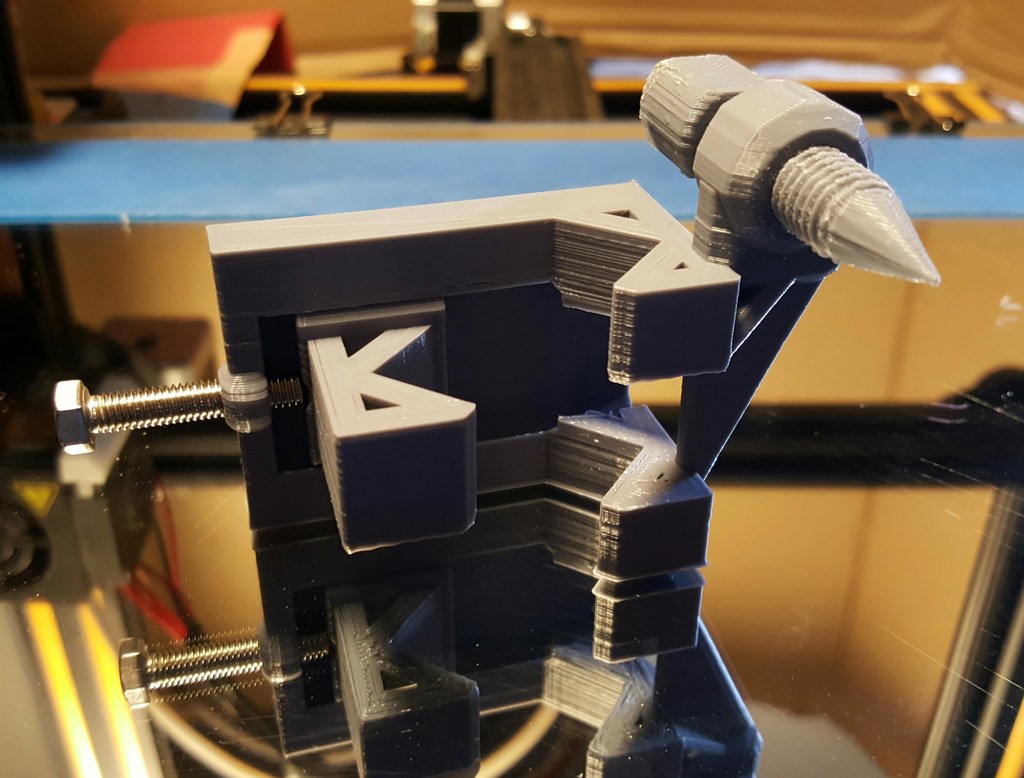
bicycle wheel truing gauge clamp
thingiverse
To measure the warp in a bicycle wheel's rim, you'll need to tighten the spokes and get it back to being true again. Pay close attention to roundness as well - make small adjustments working your way around the wheel until it looks good. The nipple is like a nut, with the end of the spoke threaded into it, so from outside the rim, remember that lefty loosy righty tighty. You want to straighten mostly by tightening, as spokes tend to stretch over time, but don't over tighten - if you have any missing or broken spokes, you'll need to replace them in order to get it very true. The M10 bolt is used as a gauge, and you can counter-tighten an M10 nut to fix this gauge pin in place. The M5 bolt tightens the clamp. Both M5 and M10 threads should match standard bolts and nuts - 0.8mm pitch for M5 and 1.5mm pitch for M10. This is the second iteration of the clamp, with the gauge threads moved closer to the open side of the clamp, the clamp fingers trimmed up, and some shaved off the inside of the sliding carriage so it doesn't get fused to the body. It now breaks free quite easily. A steel M5 bolt is being used for the clamp bolt instead of printing fine threads that don't work well. Next, a knob might be made to go on the head of the M5 bolt to make it easier to turn.
With this file you will be able to print bicycle wheel truing gauge clamp with your 3D printer. Click on the button and save the file on your computer to work, edit or customize your design. You can also find more 3D designs for printers on bicycle wheel truing gauge clamp.
