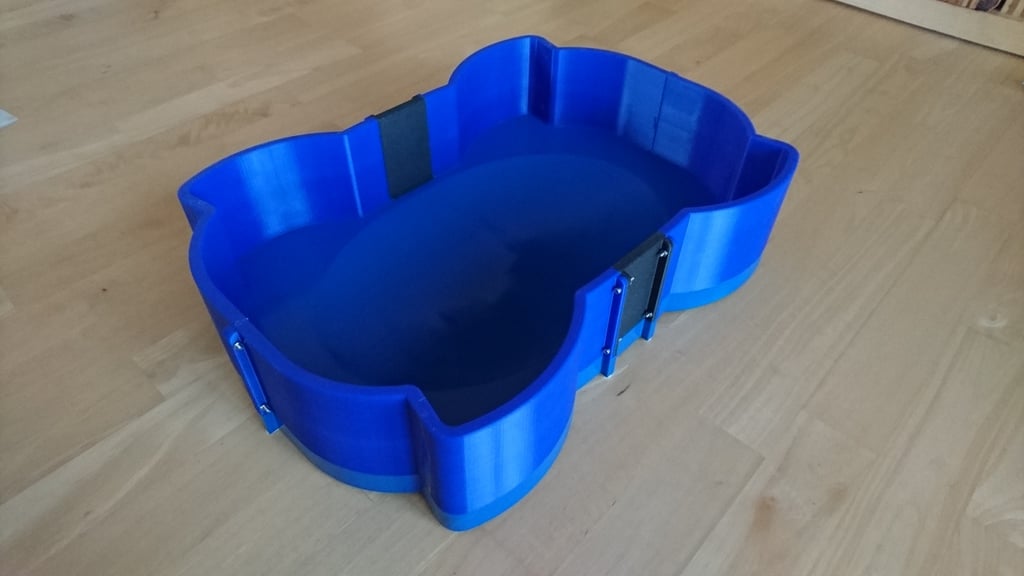
Beyblade Arena
thingiverse
My biggest self-designed 3D printing project yet measures 536 x 371 x 120mm overall. I crafted and built a beyblade arena for my kids, a challenging task that required careful planning and execution. The arena is comprised of multiple parts, designed to minimize material usage while still achieving the desired level of complexity. Although this project consumed a significant amount of filament, the end result is well worth it - my children are thrilled with their new playground. After printing all the components, I applied 2-part adhesive to the floor and let it cure before filling in any imperfections with filler material. A thorough grinding process ensured a smooth surface throughout, especially in the arena's central area. To complete the look, I coated the floor with aerosol lacquer, giving it a sleek finish. To assemble the arena, you'll need two sets of each part, along with M3 screws and nuts (3x20 is recommended). Epoxy resin will also come in handy for bonding the parts together securely. UPDATE: A detailed guide to assembly and maintenance can be found on Instructables, courtesy of my profile at https://www.instructables.com/member/Legufix/instructables/.
With this file you will be able to print Beyblade Arena with your 3D printer. Click on the button and save the file on your computer to work, edit or customize your design. You can also find more 3D designs for printers on Beyblade Arena.
