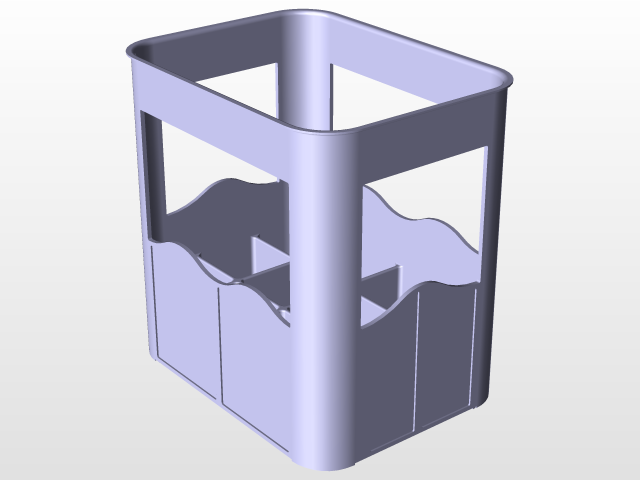
beverage crate
grabcad
Designing a Beverage Crate in CATIA V5 is a straightforward process that requires attention to detail and understanding of the software's capabilities. Begin by launching CATIA V5 and creating a new project, selecting "Part Design" as the template. Next, navigate to the "Assembly Design" workspace and create a new assembly, naming it "Beverage Crate". Within this assembly, create a new part, renaming it to "crate body". To design the crate's exterior, use the "Sketcher" tool to draw a rectangular shape with rounded corners. Apply dimensions to the sketch, ensuring that the overall length, width, and height of the crate are in proportion. Switch to the "3D Design" workspace and extrude the sketch into a 3D solid body. Use the "Fillet" feature to round off any sharp edges or corners on the crate's exterior. To add a lid to the crate, create another part within the assembly, naming it "crate lid". Draw a similar rectangular shape with rounded corners, but this time with a slightly smaller size than the crate body. Use the "Assembly" tool to attach the lid to the crate body, positioning it on top and aligning it with the edges of the crate. Secure the lid in place using the "Fasten" feature, selecting a suitable fastener type such as screws or rivets. Finally, add any necessary features to the crate design, including ventilation holes or handles, and save the assembly as a CATPart file for further modifications or analysis.
With this file you will be able to print beverage crate with your 3D printer. Click on the button and save the file on your computer to work, edit or customize your design. You can also find more 3D designs for printers on beverage crate.