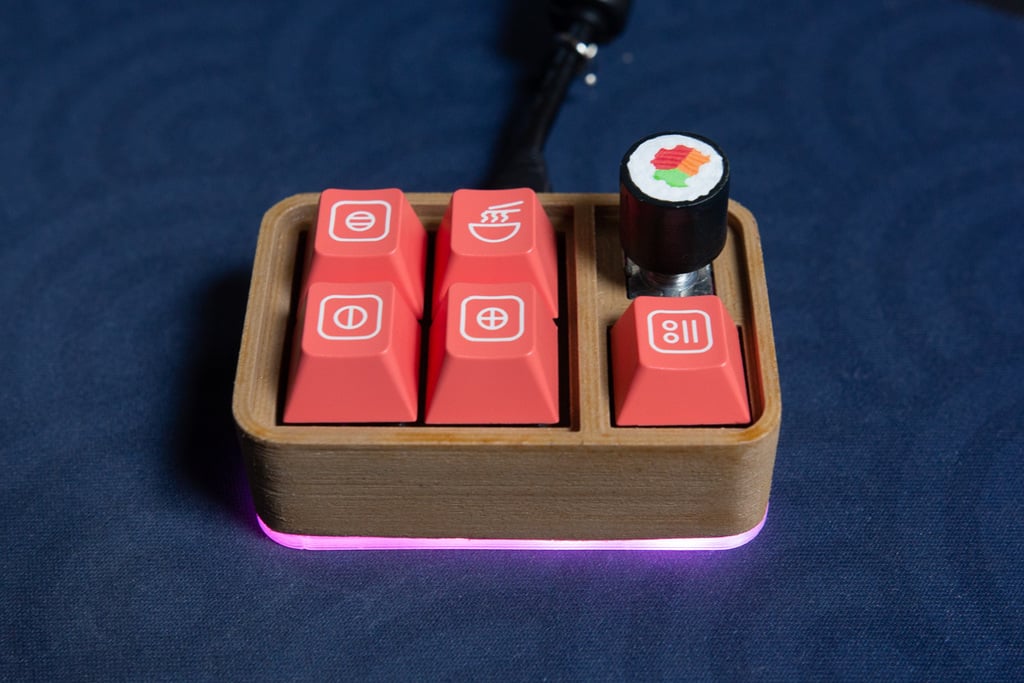
Bento Mechanical Keyboard Macropad
thingiverse
A little handheld keyboard that you can take anywhere! Includes a rotary encoder slot perfect for volume control, page scrolling, and more. Note: EC11 rotary encoder is free floating therefore you may want to glue your encoder in or print a support for the bottom of the encoder if you plan to use its push-down switch feature. Built on QMK Firmware using BDN9 keyboard files as a base. You can find more information about QMK here. **Handwiring** Each switch must be connected to a different pin on the controller. I will be referring to a Pro Micro for this project. Please see the Pro Micro pinout. D7 will correspond to Pin 6 on the Pro Micro, B1 to Pin 15, and so on and so forth. Each Cherry MX-style switch has two metal pins located on the bottom housing. These are the parts of the switch that you will be soldering. I've made a wiring layout below: Link Please note that the rotary encoder is on the top right of the diagram. Follow the lines to see how to connect each switch to the controller (I didn't draw lines for the encoder as it was getting a tad bit messy). **Creating a keymap and flashing** Set up your QMK Environment and install QMK Toolbox via this guide: QMK Guide Go into your 'qmk_firmware' folder and find the BDN9 keymaps at qmk_firmware/keyboards/keebio/bdn9/keymaps You may choose to edit the default keymap or copy the folder and create your own unique folder. Edit the keymap using your favorite text editing software (I like Sublime Text). Note that if you wired the keyboard according to my wiring diagram, the only relevant keys to alter on the keymap file are Row1Column1 (for encoder), R2C1, R2C2, and all of Row 3. There will be 3 unused keys if using the BDN9 keymap. After setting up your preferred keymap, create your HEX file according to the guide and flash your Pro Micro! Other parts you'll need to finish this build: - 5x Cherry MX-style switches - 5x MX-compatible keycaps - 1x EC11 Rotary Encoder - 1x Rotary Encoder knob - 1x Pro Micro Controller or equivalent (Elite-C, Teensy, etc.) - Lead wires for handwiring switches to controller - Appropriate USB cable EDIT: Changed bottom plate design to allow for friction fit opposed to gluing/using double-sided tape to connect the two parts.
With this file you will be able to print Bento Mechanical Keyboard Macropad with your 3D printer. Click on the button and save the file on your computer to work, edit or customize your design. You can also find more 3D designs for printers on Bento Mechanical Keyboard Macropad.
