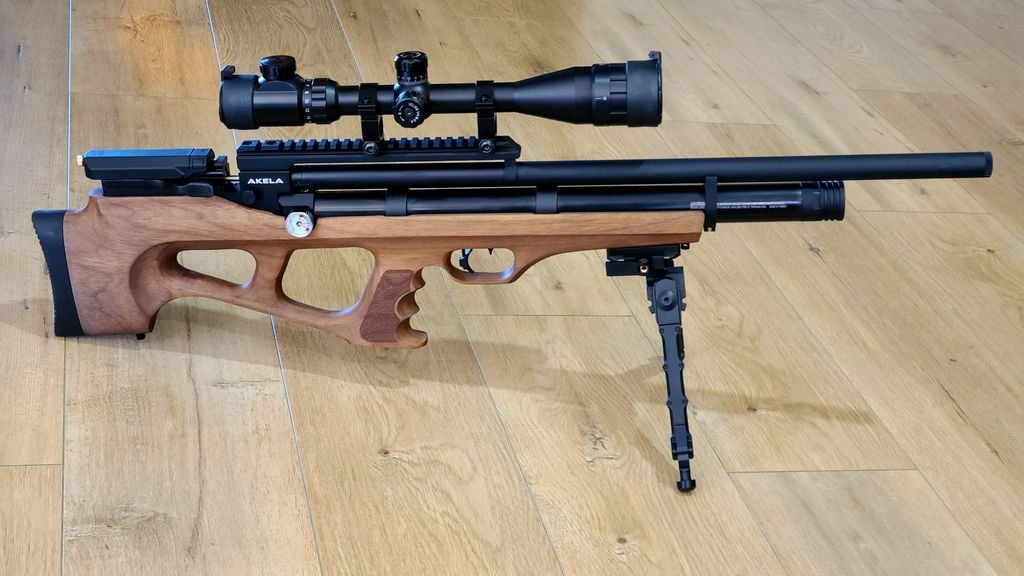
Benjamin Akela Barrel and Rail Support
thingiverse
After researching the effectiveness of installing a barrel strap on my Benjamin Akela, I decided to make one. I quickly realized there are actually 2 potential gun related sources of shot wander in the Akela: barrel shift, and scope rail flex. Both can happen due to jarring (bumps when handling or firing) and thermal expansion. Ultimately, you want your scope and barrel to remain aligned with each other, regardless of minor jostling and temperature changes. The best case is with a floating barrel that is rigidly affixed near the breach to the same reference as the scope mount, with no deformations due to temperature variations. The Akela is good at this, but far from ideal, and can benefit from additional bracing. Note: While following these instructions, you might notice what appear to be scuffs on your barrel shroud. If you use PLA like I did, you will discover they are simply powdered plastic deposited in the rough anodized surface, and they wipe off easily. Instructions: FIRST 1. Print all 3 sizes of each part. 2. Sand the barrel and rail supports wherever they will make contact with the barrel shroud, tank, and scope rail. I used 600 grit. Wipe the parts clean. 3. Install the shortest rail support. It should require light pressure on the barrel shroud to deflect the shroud downward enough to fit the rail support under the rail. If the rail support is loose, try the next size up. The rail support should be lightly wedged between the shroud and the rail when you no longer press downward on the barrel shroud. THE EASY WAY 1. Remove the rail. 2. Fold a piece of paper enough times that it fits snugly (with only enough pressure to cause upward shroud deflection) between the front air tank strap and the barrel shroud. The idea is to deflect the shroud upwards, enlarging the space between the air tank and the shroud. 3. Perform steps 2-4 of THE HARD WAY. 4. Reinstall the rail. 5. Perform steps 5-7 of THE HARD WAY. THE HARD WAY 1. Fold a piece of paper enough times that it fits tightly between the front air tank strap and the barrel shroud. The idea is to deflect the shroud upwards, enlarging the space between the air tank and the shroud. 2. Remove the air tank cap. 3. Attempt to install the nominal size barrel support. Slightly spread the barrel support open at the screw location, so it can slide over the end of the air tank, and gradually work it into position. If you find it requires significant upward force on the shroud to make the barrel support fit between the tank and the shroud, then try one of the shorter barrel supports. 4. Remove the folded paper wedge. 5. Wiggle the barrel support while very lightly squeezing the barrel shroud towards the air tank in order to completely seat everything. 6. Install an M3 screw and nut in the barrel support, and tighten. 7. Test for fit by gently wiggling the barrel shroud up/down and left/right. It shouldn't budge, and the rail support should still be firmly wedged. If no combination of these supports fits properly, then you will need to experiment with slicer scaling and/or sanding. The nominal sizes were designed specifically for my gun, but manufacturing variations do occur.
With this file you will be able to print Benjamin Akela Barrel and Rail Support with your 3D printer. Click on the button and save the file on your computer to work, edit or customize your design. You can also find more 3D designs for printers on Benjamin Akela Barrel and Rail Support.
