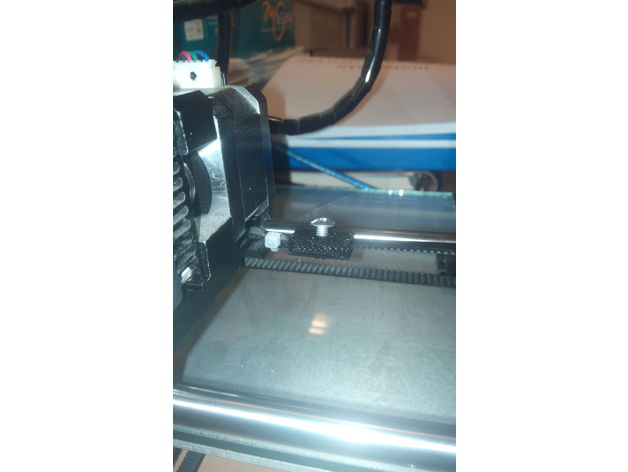
Belt tensioner for 3D printer
thingiverse
Here's a DIY simple belt tensioner solution for your Anet A6 3D printer. The design is easy to make and requires minimal materials. To start, you'll need some basic tools like a drill press, jigsaw, sandpaper, and a hot glue gun. You'll also require the following components: * 1 piece of 1/4" plywood (approximately 2 x 2 inches in size) * 1 small metal bracket or clip * 2 screws * 1 rubber grommet * Hot glue Begin by cutting out a rectangular shape from the plywood. This will serve as the base for your tensioner. Next, use a jigsaw to cut a curved slot in the top of the rectangle. The curve should be about 3/4 inch long and centered. Now, take the metal bracket or clip and attach it to one end of the rectangle using screws. Make sure it's securely fastened so that it won't come loose during use. Cut a small notch at the other end of the rectangle to accommodate the rubber grommet. This will help keep the belt in place when tightened. To assemble everything, apply hot glue to the top of the rectangle and attach the rubber grommet. Then, slide the metal bracket or clip onto the bottom of the rectangle and secure it with screws. Finally, attach the tensioner to your Anet A6 printer's X-axis using the provided screws. Adjust the tension as needed by tightening or loosening the screws. With this simple belt tensioner, you'll be able to achieve smooth and consistent prints on your Anet A6 3D printer.
With this file you will be able to print Belt tensioner for 3D printer with your 3D printer. Click on the button and save the file on your computer to work, edit or customize your design. You can also find more 3D designs for printers on Belt tensioner for 3D printer.
