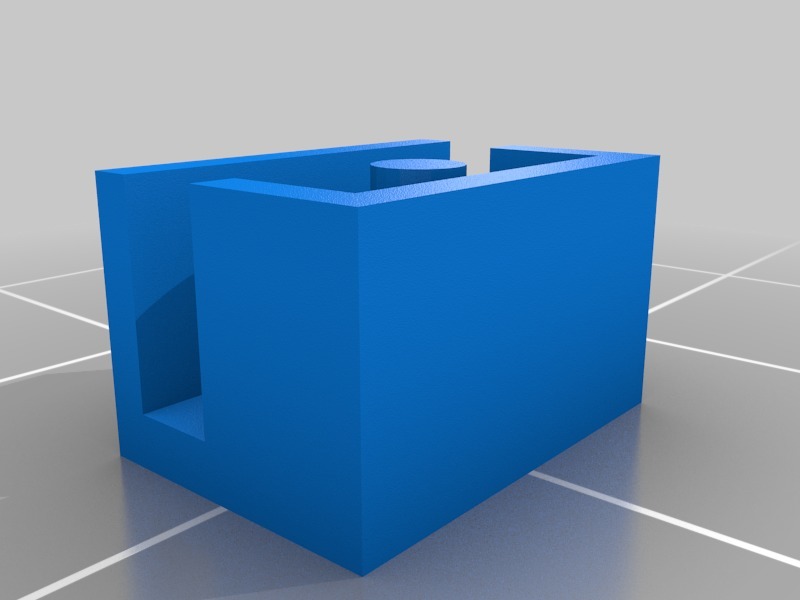
Belt Tensioner Anet A8
thingiverse
Adjusting the tension on your Anet A8's belt is a straightforward process that requires minimal tools and expertise. Begin by locating the motorized spindle and disconnecting it from power to prevent any accidents or injuries. Next, proceed to the rear of the printer where you will find the tensioner assembly. This part can be tricky to access, so take your time and work carefully around the surrounding components. Now, locate the set screw that holds the belt in place. Turn this screw counterclockwise until it comes loose, then remove the old belt from the tensioner pulley. Take a moment to inspect the new belt for any damage or defects before installing it. With the old belt removed, insert the new one onto the tensioner pulley and make sure it is properly seated. Then, turn the set screw clockwise until it snugly fits into place. Make sure not to overtighten this screw, as it can damage the surrounding components. Once you have tightened the set screw, reconnect the motorized spindle to power and test your printer to ensure that everything is working smoothly. If you encounter any issues during the tension adjustment process, refer to your Anet A8 user manual for further guidance.
With this file you will be able to print Belt Tensioner Anet A8 with your 3D printer. Click on the button and save the file on your computer to work, edit or customize your design. You can also find more 3D designs for printers on Belt Tensioner Anet A8.
