Belt sized Pokeball
thingiverse
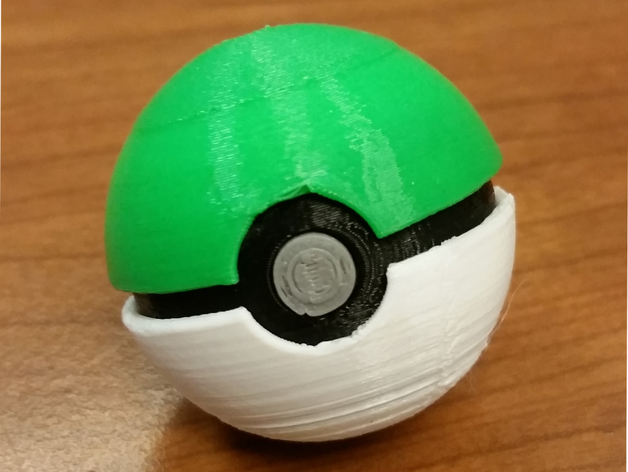
A trainer's best friend: a custom Pokeball for Cosplaying your own trainer. Attach it to your belt using velcro, a hairtie loop, magnets or any other creative method that comes to mind. Print Settings MakerBot Printer Brand MakerBot Replicator Z18 Rafts Doesn't Matter Supports No Resolution .1-.2 Infill Any Notes Print the ball center in black, the button in gray or white, and the top of the ball in your favorite colors for the top and bottom. The alignment tool is completely optional. I print with a raft since they turn out better, but you can safely do without one depending on your build plate. Support should not be necessary. Post-Printing Assembly After printing, decide how to attach the balls to your belt (if applicable) and whether or not to use the alignment tool. For my attachment method, I used a soldering iron to poke a small hole at the back of the ball center, then glued a stretchy hairtie halfway through the hole. If using the alignment tool, snap it onto the ball center first using the long insert to center the tool through the button hole and make sure the arms are mostly centered/parallel. Press both ball tops against the tool, making sure to center the button cutouts, and pull off one half. Use superglue along the center & top seam to secure one half. Remove the tool and glue in the button. For the other half, use the reverse side of the tool to keep spacing consistent and spread glue along the top edge of the center. Align the button cutout with the other half and press the other ball half together. Enjoy your new Pokeballs!
With this file you will be able to print Belt sized Pokeball with your 3D printer. Click on the button and save the file on your computer to work, edit or customize your design. You can also find more 3D designs for printers on Belt sized Pokeball.