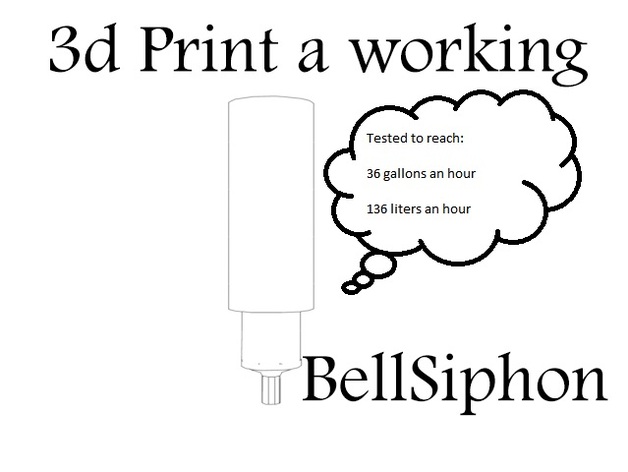
Bell Siphon with Snorkel
thingiverse
A 3D printed bell siphon that works from the start! Print Settings Printer Brand: LulzBot Printer: TAZ 5 Rafts: No Supports: No Resolution: .5 Infill: 20% Notes: Used Brim Post-Printing Designed in my mind, I thoughtfully created this device. Visit: Intservo: http://www.intservo.com My website: http://getwireddaily.com/ Design is the biggest step in the process and also the easiest. Currently, I offer a design that I made through several mediums such as Thingiverse and Shapeways so you can print the device yourself. If you choose to make your own model, I recommend searching various types of bell siphons or simply copying my design. I believe I explain it thoroughly enough in the video for proper reconstruction. My model is rather simplistic in terms of bell siphons but works nonetheless. Further additions to this model can be done such as adding a rock/gravel guard depending on the situation. As it stands, the model should work fine in most situations while being fully automated. I would also like to point out that I do not know how long the siphon will operate and may truly be dependent on circumstances such as algae build up. The bell siphon has five main sections: siphon pipe, drain pipe, snorkel, cap, and the pipe stand. I integrated all of these parts into a single object allowing the printer to make a water-tight seal. This is extremely important because any leaks in the print will cause the siphon to not function. As it stands, the siphon can be as large as you want given that the printer can accommodate the size. I have not personally tried a multipart print but assume this would cause an issue due to the need for a perfect seal on each part. If a part needs to be long then simply stretch the model to their maximum print capacity. If the siphon needs to drain faster, then simply print more than one siphon so they work in conjunction. If a multi-siphon system is made it is essential that all siphons are equally levelled so that the vacuum process starts simultaneously on each siphon. Print that bad boy Skip this step if you don't have access to a printer or you just wanna see the final step either is cool. The picture shows the inside section of the Cap/SiphonStand with the (broken) snorkel attached on the side. I use a Lulzbot printer with a 0.5mm nozzle and PLA+ filament from eSun. The settings for my printer are as follows: Rafts: No Supports: No Infill: 20% Speed setting: Fast Brim: Yes Temp: 210 BedTemp: 60 Adhesive to print bed: Purple Glue Anxiety: High Test your dream The moment of truth has finally come, but you can feel your gut sinking thinking, "Did I just waste 4+ hours printing on a siphon that has a chance to not work based solely on some stranger on the internet?" The answer to that is yes, yes you did... But the siphon should work! At least I hope it does... Troubleshooting: Siphon doesn't work: Take siphon and blow through the drain outlet. Does air hit you in the face? Good that means its working that way. Put the siphon in a cup of water so that the snorkel is submerged, but the Bell isn't under water. Blow into the outlet drain again and look for bubbles popping up around the cylinder. If there are bubbles then you have a hole somewhere. The snorkel will be the only area with bubbles coming out. If this is the case I recommend reprinting the snorkel or gluing the holes closed. Siphon doesn't drain all the way: Attach a hose or extension to the bottom of the drain pipe. Siphon doesn't stop at snorkel: The snorkel is clogged... clean it... Or print a new one! This wasn't funny at all: Neither is Comcast customer service... So... How I Designed This I used some 3ds max to get the models looking pretty.
With this file you will be able to print Bell Siphon with Snorkel with your 3D printer. Click on the button and save the file on your computer to work, edit or customize your design. You can also find more 3D designs for printers on Bell Siphon with Snorkel.
