Bell-mouth fan inlet
thingiverse
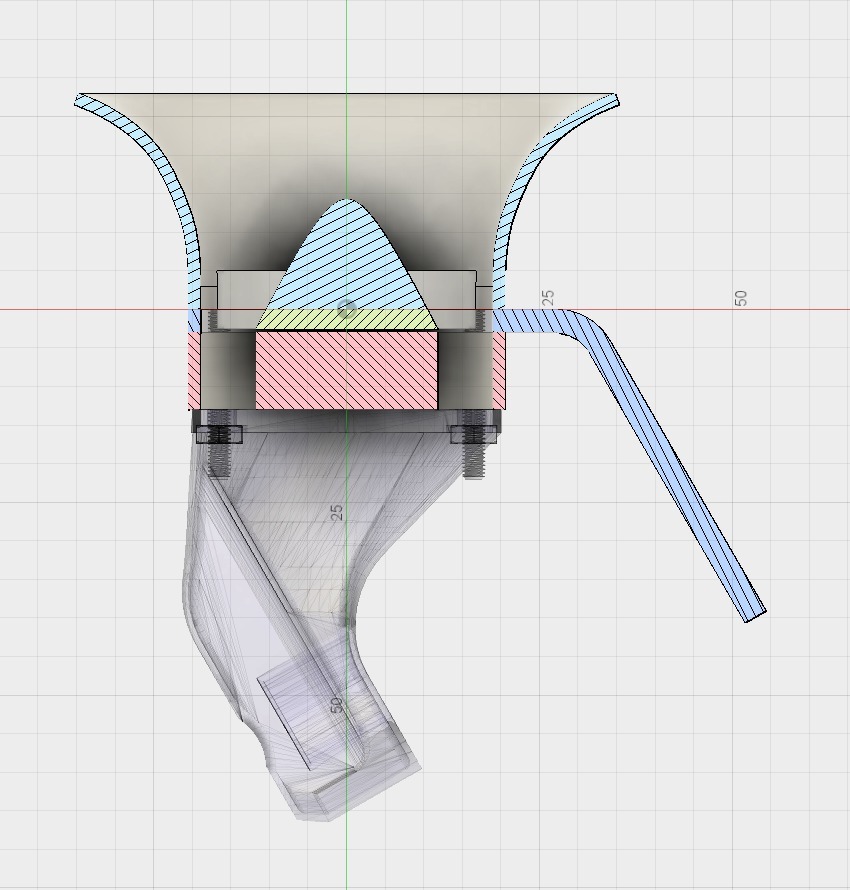
There are some fantastic aftermarket ducts for the Printrbot that significantly outperform the standard duct - one such option is [this one](https://www.thingiverse.com/thing:356001). Nonetheless, every single one I've tried seems to suffer from a common issue, where the fan struggles to push enough air through the duct due to insufficient airflow input. The shape of the fan and its mounting setup greatly hinder airflow coming in. To tackle this problem, I opted for a traditional bell-mouth inlet and central body design - a proven strategy used in wind tunnels and other applications that prioritize efficiency and smooth flow. My qualitative observations (using my fingers to gauge air pressure; listening to airflow sounds; feeling the airflow at the extruder tip) suggest that using this inlet yields considerable improvements. Even if it didn't enhance performance, this modification still makes your Printrbot look incredibly impressive. For attachment purposes, you'll need slightly longer M3 screws to secure the inlet to the fan. I attempted to trim down the flange for compatibility with stock screws but found it too thin. To attach the inlet, leave machine screws loose enough to insert the inlet and then rotate them 45 degrees into position while securing other hardware first. The spacer is an optional component that fills a few millimeters of gap between the bottom of the central body and the fan. If used, simply glue it to the underside of the upper inlet.
With this file you will be able to print Bell-mouth fan inlet with your 3D printer. Click on the button and save the file on your computer to work, edit or customize your design. You can also find more 3D designs for printers on Bell-mouth fan inlet.