Bed Levelling Print
thingiverse
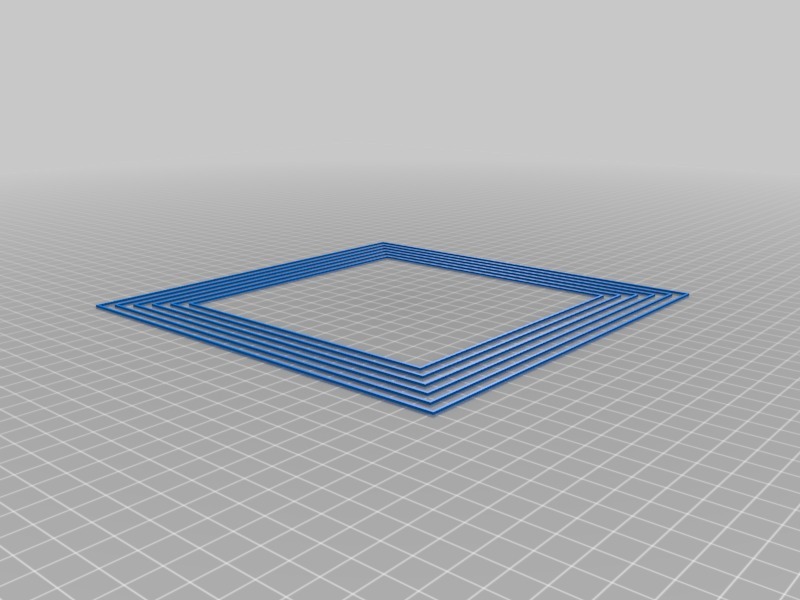
I really wanted a test that would confirm my bed was perfectly level, so I went ahead and designed one after using a basic levelling method with a sheet of paper.\r\n\r\nBefore printing out the design, it's essential to stretch it to fit snugly around your bed shape, allowing for about 5mm on all sides to prevent your extruder from skipping off the bed.\r\n\r\nUsing this test, you can precisely adjust each corner of your bed until the plastic extrusion is consistent and stable across your entire bed.\r\n\r\nThe design consists of several squares that allow you to quickly check the first square's position, make any necessary adjustments to your bed, then move on to the second square, making further adjustments as needed.\r\n\r\nIf required, you can safely remove completely failed squares from the print without interrupting it, just be sure not to get the failed material tangled around your extruder. It's a good idea to pause the print first and carefully cut away the failed section once your hands are clear of the build area.\r\n\r\nFinally, kill the print when you're satisfied that your bed is perfectly level.\r\n\r\nThis test needs to be printed with 100% infill for accurate results.\r\n\r\nIf you have any suggestions or improvements, feel free to share them.
With this file you will be able to print Bed Levelling Print with your 3D printer. Click on the button and save the file on your computer to work, edit or customize your design. You can also find more 3D designs for printers on Bed Levelling Print.
