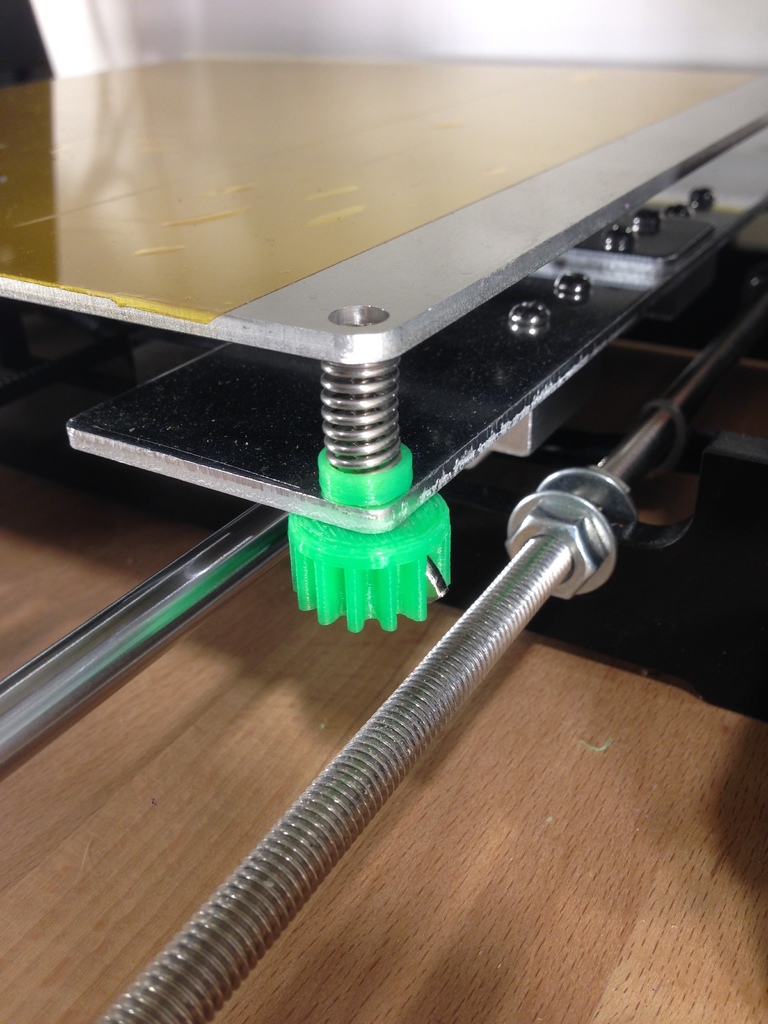
Bed Leveling Knob Anet A8
thingiverse
I was disappointed after printing some Bed Leveling Knobs from others. All the Bed Leveling Knobs I printed didn't fit snugly onto the wing nut. I decided to create this small helper with extra space myself. If you have any problems or improvements for this thing, please let me know it. 2019-01-23 Update: Manual for the Knob: - First read the Manual completely because there's no going back once you've installed it. Installation 1 Print the four Knob's and the Spring Houlder Take off the wing nut. Unscrew all of the long Bed Screw's clockwise a little bit at a time to prevent the spring from bending them. (Pic 001) Install the Spring, Spring Houlder (Pic 002) and screw in the Screw's clockwise a little bit at a time onto the Bed Support (Pic 003), to prevent the spring from bending them. Install the Knob with the Wing Nut (Pic 004) Bed leveling with an Screwdriver (like before) Finish Installation 2 (No way back) Print the four Knob's and the Spring Houlder Take off the wing nut. Unscrew all of the long Bed Screw's clockwise a little bit at a time to prevent the spring from bending them.(Pic 001) Now you need four nuts to secure the Screw's on the Hotbed (usually there are some left)(Pic 005) Install the Spring, Spring Houlder onto the Screw (Pic 006) With the small Screwdriver (From the Anet Tools) you eliminate the thread on the Bed Support.(Pic 007 till Pic 009) Install the Hotbed on the Bed Support.(Pic 010) Squeeze the Hotbed and the Bed support and Install the Knob with the Wing Nut.(Pic 011) Bed leveling with the Knobs(no need for tools anymore) Finish
With this file you will be able to print Bed Leveling Knob Anet A8 with your 3D printer. Click on the button and save the file on your computer to work, edit or customize your design. You can also find more 3D designs for printers on Bed Leveling Knob Anet A8.
