Bed Leveling and Z offset calibration G-Code files for Ender 3
thingiverse
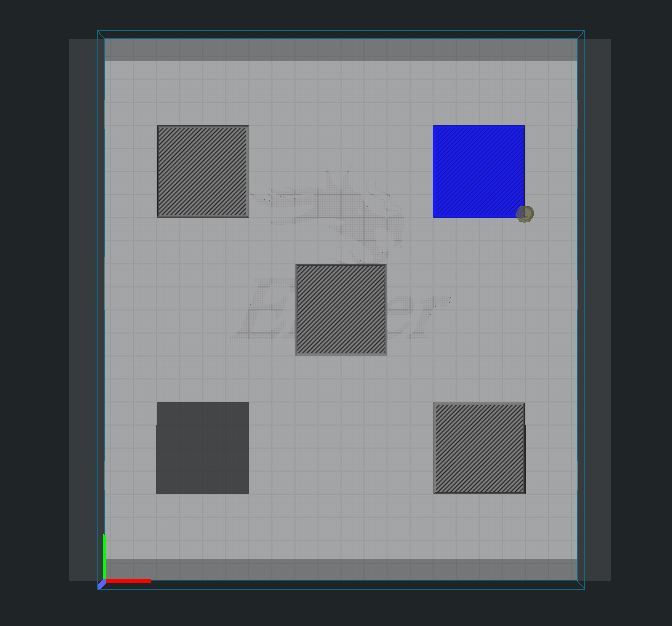
Human: G-code files from Cura stock profiles for Ender 3 are provided to test bed leveling, along with Z-offset files to calibrate the ideal Z offset that results in a perfect first 0.2 mm layer - the squares are 0.2mm high. On each Z offset model, the negative offset used is written; closely inspect what appears to be the perfect layer and enter this value into your slicer (download the Cura Z offset plugin from their marketplace or access it under printer settings in Prusa Slicer). Firstly: Print the CE3_Z_BedLeveling.gcode and examine the difference between the squares. Rotate the bed leveling knobs until all of them look similar, even if they are initially split lines - the next step will address the Z offset. As you can see from my image, my left side bed was too low, resulting in split lines. Secondly: Begin with CE3_Z_offset_0.gcode and increment through to CE3_Z_offset-1.gcode until your print displays a perfect layer appearance. Finally: Update your slicer with the Z offset that yielded the best results for you. For my printer, I found that -0.075mm was the ideal setting; I entered this value into the slicer (Z offset -0.075), and now I can achieve a perfect first layer.
With this file you will be able to print Bed Leveling and Z offset calibration G-Code files for Ender 3 with your 3D printer. Click on the button and save the file on your computer to work, edit or customize your design. You can also find more 3D designs for printers on Bed Leveling and Z offset calibration G-Code files for Ender 3.