Bed Level Calibration Ruler
thingiverse
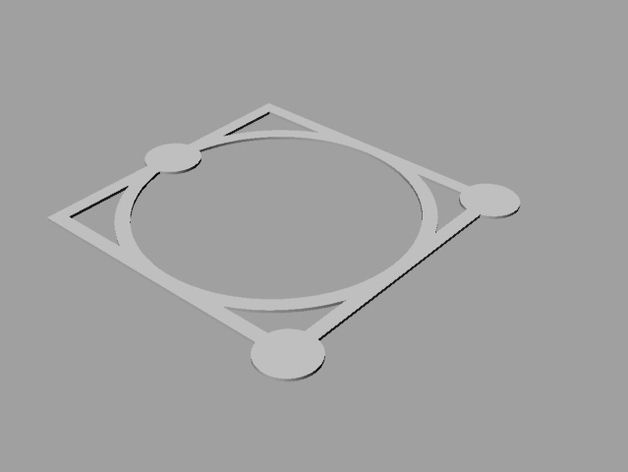
A Simple, Comprehensive Ruler to Check Your Build Platform Leveling To achieve a truly precise and finely adjusted surface for your prints, use this straightforward ruler. Follow these easy steps: Measure Up Scale the model in your slicer software to match your layer height. First Layer Height Set the first layer height to 100%. Print It Out Let the build platform cool down completely before carefully peeling off the print. Caliper Check Using calipers, measure across the three circular areas. On my Powerspec Ultra 3D printer, these locations correspond to the set screws for the platform. These measurements should be within +/- .03mm of your layer height and no more than +/- .05mm from each other. Adjust as Needed If necessary, adjust the set screw beneath that circular area by one-eighth turn and repeat step three. Check Infill Consistency Otherwise, inspect the infill consistency throughout the print. It should be consistent across the entire print. Inconsistencies will be most apparent opposite the set screws. Make Adjustments If there are inconsistencies and they're opposite a set screw, adjust the two set screws closest to that corner by one-quarter turn and repeat step three. You've Got It Right Otherwise, your bed should be level within +/- .05mm!
With this file you will be able to print Bed Level Calibration Ruler with your 3D printer. Click on the button and save the file on your computer to work, edit or customize your design. You can also find more 3D designs for printers on Bed Level Calibration Ruler.