Bed leg load sensor
prusaprinters
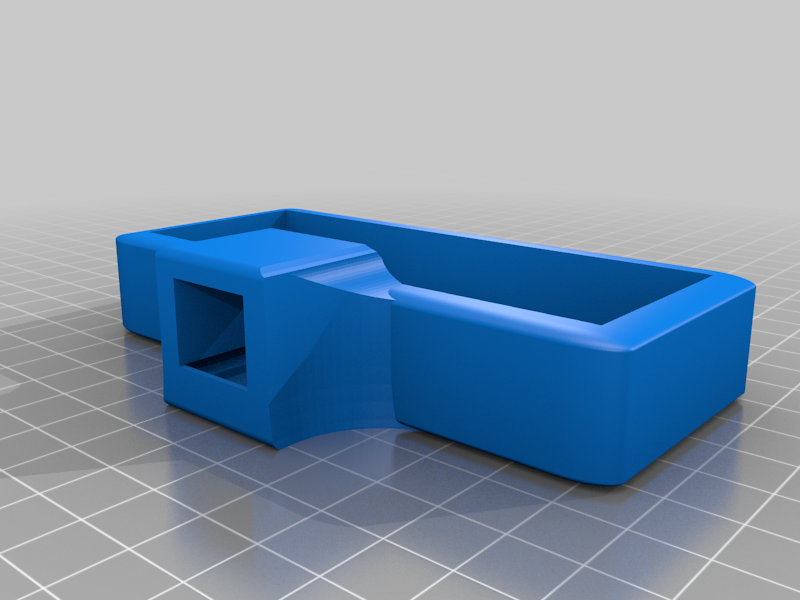
<p>I wanted a sensor that could tell which half of my bed was occupied, so of course I built a double wifi scale that sits under my bed....?</p> <p>Parts list:</p> <p>2x [https://www.amazon.com/gp/product/B086ZHXNJH] HX711 Amplifier and strain gauges. I use one set for each half of the bed.</p> <p>1x [https://www.amazon.com/gp/product/B081PX9YFV] ESP8266 wifi chip.</p> <p>1x [https://www.amazon.com/gp/product/B08HGS5G8N] RJ45 connectors for the bed legs.</p> <p>I had plenty of Cat5 cable and a crimper to make custom cables for this project.</p> <p>What to print:</p> <p>4x Bed leg load sensor - This is the base unit that holds 2 load cells.</p> <p>4x Bed leg load sensor cap - This is custom shaped to my bed frame wheels, your mileage may vary.</p> <p>2x Dummy leg - my California King bed frame has 2 middle legs. These are wide for stability.</p> <p>1x Bed sensor case - Holds 1 wemos d1 mini (or clone) and 2 HX711 load cell amplifiers. This case design should probably be redone to include proper RJ45 sockets but I haven't gotten that far yet. Mine contains a liberal amount of hot glue.</p> <p>Supplied an example YAML for this project for use with [<a href="https://esphome.io">https://esphome.io</a>] firmware.</p> <h3>Print Settings</h3> <p><strong>Printer Brand:</strong></p> <p>Creality</p> <p class="detail-setting printer"><strong>Printer: </strong> <div><p>Ender 3</p></div> <p><strong>Rafts:</strong></p> <p>No</p> <p class="detail-setting supports"><strong>Supports: </strong> <div><p>No</p></div> <p><strong>Resolution:</strong></p> <p>200</p> <p class="detail-setting infill"><strong>Infill: </strong> <div><p>20</p></div> <p><strong>Filament:</strong> Sunlu PETG</p> </p></p></p> Category: Electronics
With this file you will be able to print Bed leg load sensor with your 3D printer. Click on the button and save the file on your computer to work, edit or customize your design. You can also find more 3D designs for printers on Bed leg load sensor.
