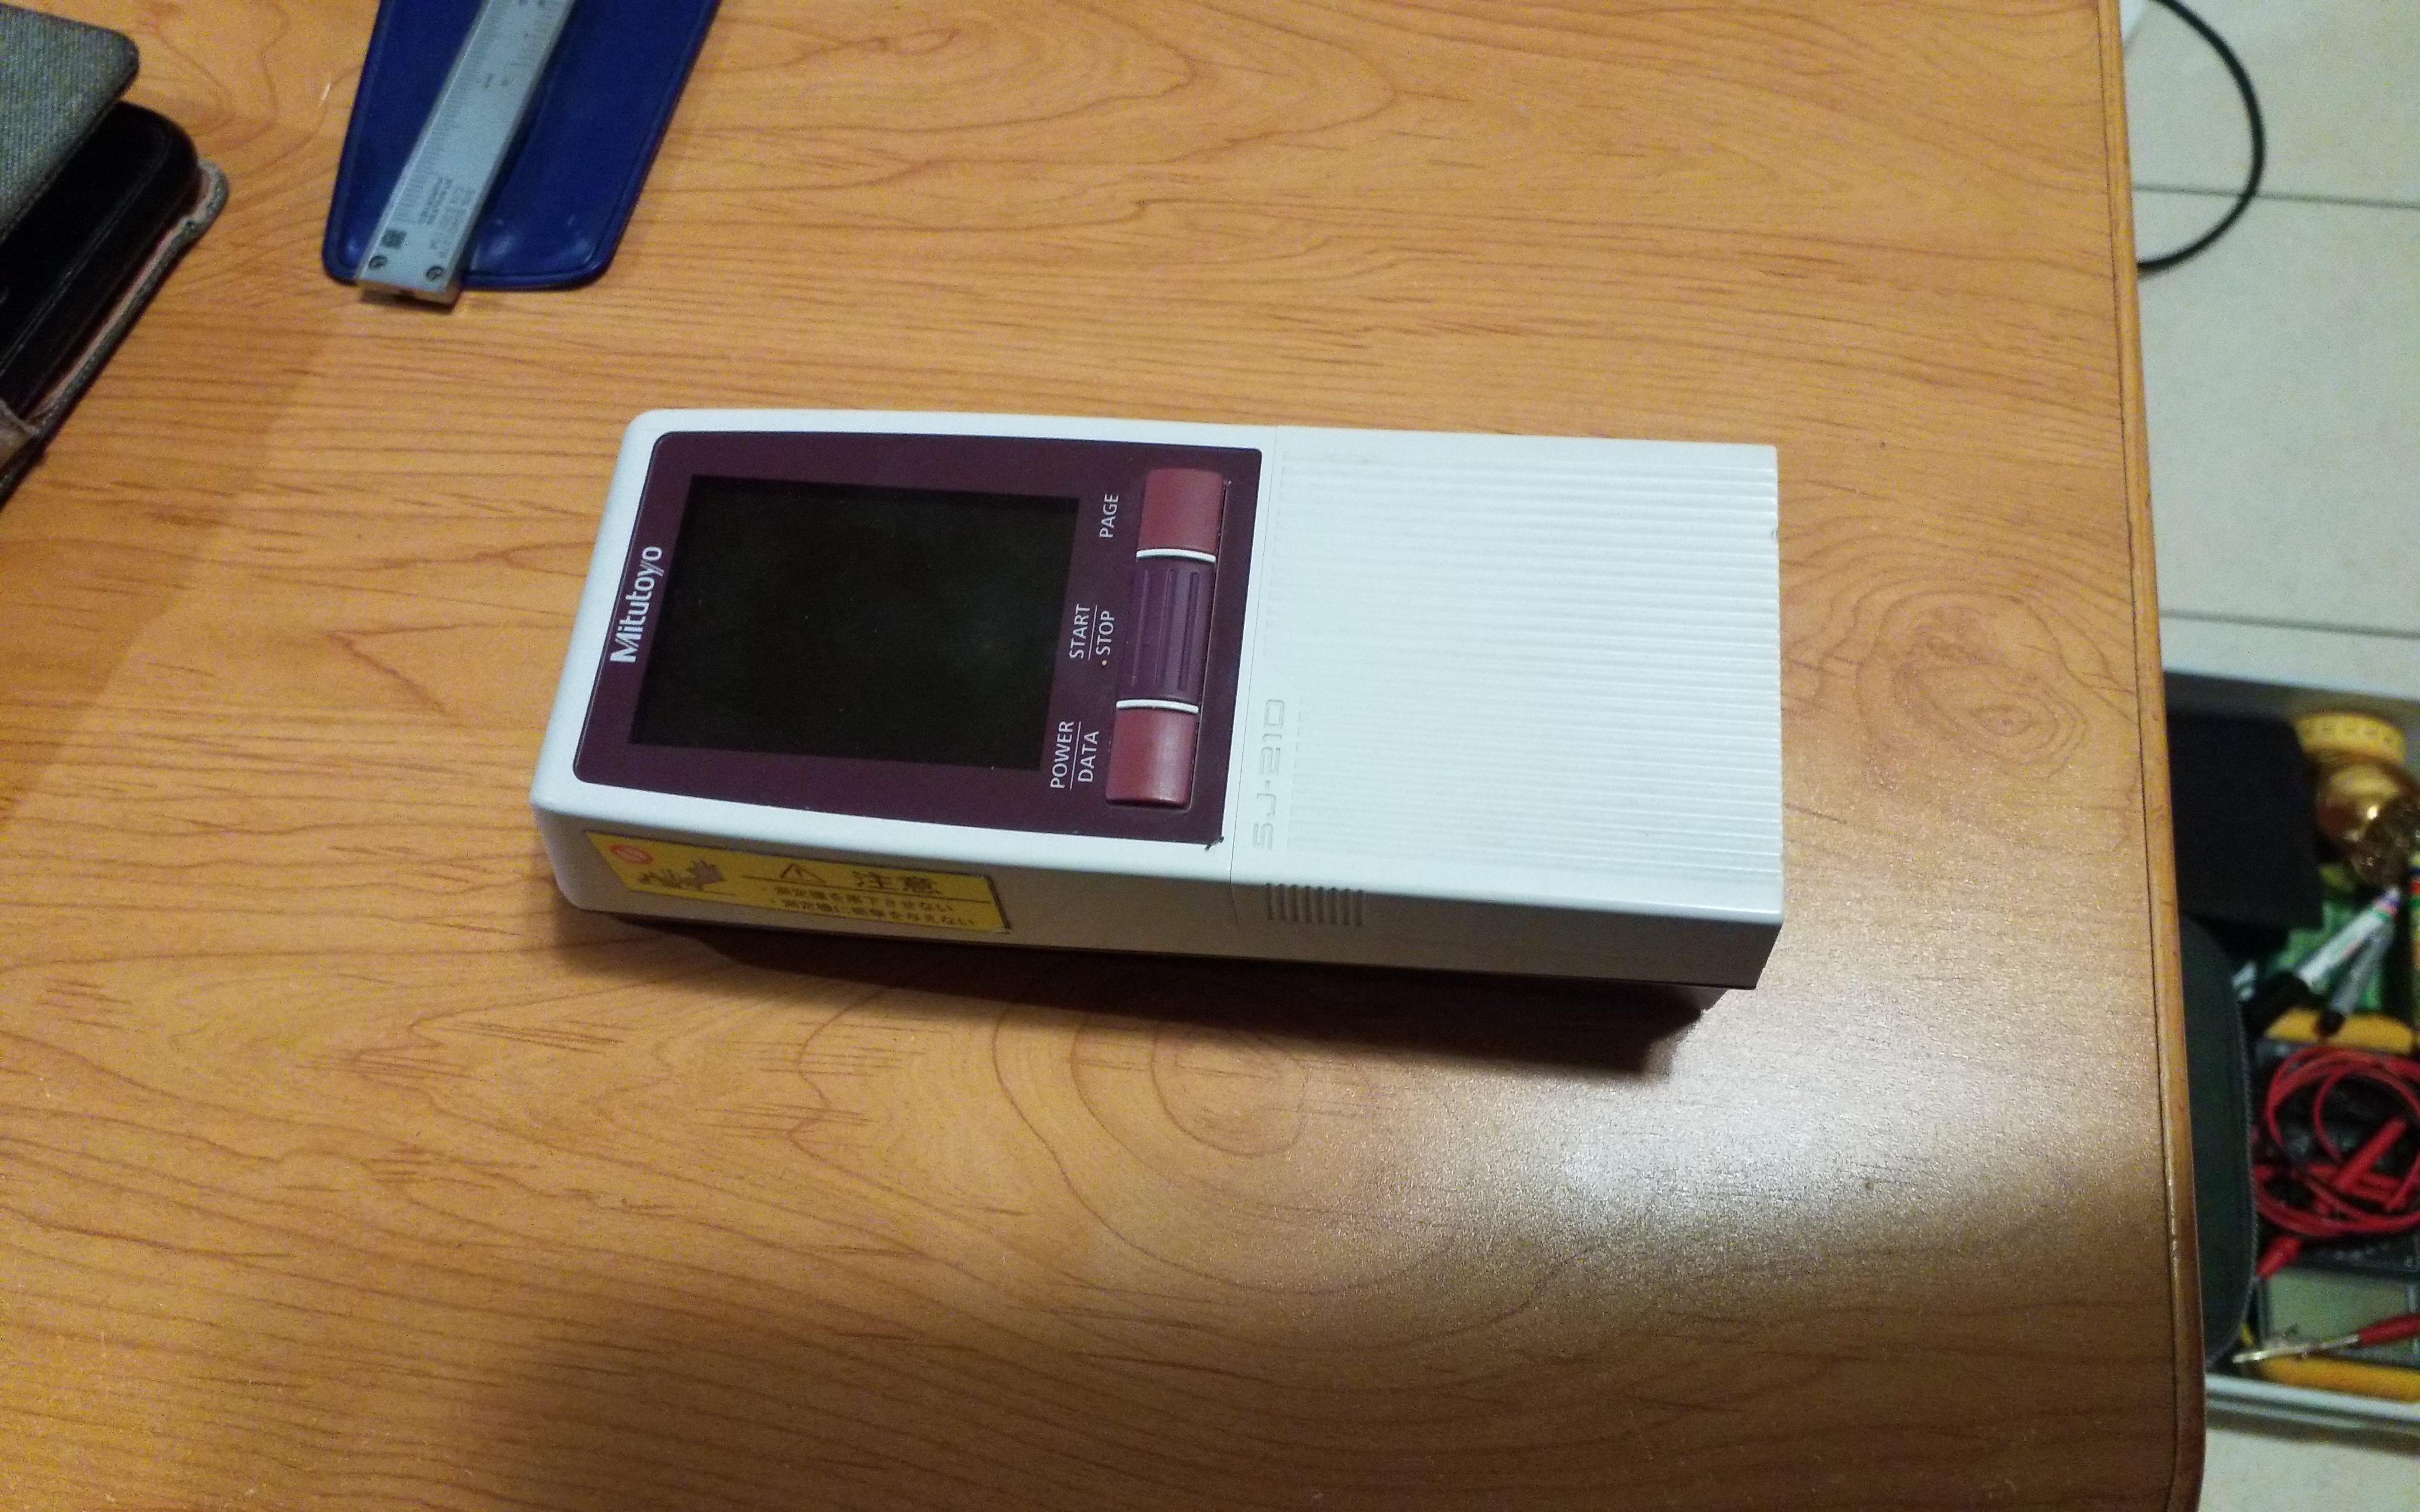
Battery Holder for Mitutoyo SJ-210
prusaprinters
<h5><strong>1. Introduction</strong></h5><p>As passionate engineer, I often try to find new tools for my personal lab. A good way is to look for companies' clearances and liquidations.</p><p>One day, I found out a Mitutoyo roughness meter SJ-210, which I got for 300€ by auction while a brand-new device is sold around 2500-3000€ here. Good deal then ! The only issue I had was the dead battery pack, which is often the problem of rechargeable devices let discharged in stocks.</p><p>For devices before 2010, the battery pack is usually made of standard NiCd or NiMh batteries. But nowadays, they are less and less used and tend to be difficult to find or quite expensive for our old devices. </p><p>In the case of the Sj-210, the battery pack contains 6 AAA batteries and cost around 100€ when you can find it on the web…..while 6 AAA batteries cost 5€.</p><p>So, I decided to fix my new device with a specific design for a battery holder that will fit the SJ-210 battery compartment. It was quite difficult and required some iterations because the compartment is curved everywhere and very tight. But it works in the end ;)</p><p>I hope this will help some people who own the same device !</p><p><strong>NB: </strong>You will need to adjust the slots in the 3d model according to the size of your battery contacts.</p><p> </p><h5><strong>2. Revision History</strong></h5><figure class="table" style="float:left;height:105.344px;width:689.75px;"><table style="background-color:rgb(255, 255, 255);border:1px double rgb(179, 179, 179);"><thead><tr><th style="background-color:rgba(0, 0, 0, 0.05);border:1px solid rgb(191, 191, 191);padding:0.4em;vertical-align:bottom;"><strong>Version</strong></th><th style="background-color:rgba(0, 0, 0, 0.05);border:1px solid rgb(191, 191, 191);padding:0.4em;vertical-align:bottom;"><strong>Description</strong></th><th style="background-color:rgba(0, 0, 0, 0.05);border:1px solid rgb(191, 191, 191);padding:0.4em;vertical-align:bottom;"><strong>Date</strong></th></tr></thead><tbody><tr><td style="border:1px solid rgb(191, 191, 191);height:3px;padding:0.4em;text-align:center;vertical-align:top;">A.1</td><td style="border:1px solid rgb(191, 191, 191);height:3px;padding:0.4em;vertical-align:top;">Initial Release</td><td style="border:1px solid rgb(191, 191, 191);height:3px;padding:0.4em;text-align:center;vertical-align:top;">18/10/2022</td></tr><tr><td style="border:1px solid rgb(191, 191, 191);padding:0.4em;vertical-align:top;"> </td><td style="border:1px solid rgb(191, 191, 191);padding:0.4em;vertical-align:top;"> </td><td style="border:1px solid rgb(191, 191, 191);padding:0.4em;vertical-align:top;"> </td></tr></tbody></table></figure><p> </p><h5><strong>3. Printing Instructions</strong></h5><ol><li>Element<ul><li>PLA or PETG.</li><li>Layer Height: 0,2 mm</li><li>Min 2 perimeters</li><li>No supports</li><li>Min 15% infill (Grid or Gyroid or Rectilinear)</li><li>Seam (retraction): random</li></ul></li></ol><p> </p><p><strong>4. Materials for Assembly (BOM)</strong></p><ul><li>The printed part</li><li>Your Mitutoyo SJ-210</li><li>Battery contacts for AAA batteries</li><li>Electrical tape</li></ul><p> </p><h5><strong>5. Assembly Instructions</strong></h5><ol><li>Remove the sensor, the connectors lid.</li><li>Unscrew both screws below the device to open it carefully. Pay attention to the wires.<img src="https://media.printables.com/media/prints/297395/rich_content/cf082fce-a961-4ed0-8acb-b039d4a46560/20221018_010556.jpg#%7B%22uuid%22%3A%224470a0f6-cc60-4089-b739-05b5bd6e7532%22%2C%22w%22%3A4128%2C%22h%22%3A2580%7D"></li><li>Unmount the old battery pack and remove the plastic protection with a cutter.</li><li>Get out the supply wires with the thermal sensor (unsolder them if necessary) and the shunt at the other end of the batteries.</li><li>Now, get your 3d printer part. Insert battery contacts in the slots and trim them with a wire cutter according to your batteries. They need to be pressed sufficiently to stay in place…but not too much to stay straight and be able to add your wires too ;) In my case, I trim them to 1mm and adjust with some solder.</li><li>Once trimmed, unmount the contacts and solder the supply wires and shunt (optional).</li><li>Insert all contacts in their slots and put your batteries in. Adjust everything to keep the shunt flat, the thermal sensor flat and between the batteries and the wires out. I know that it is a bit tricky but tell that to Mitutoyo ;)</li><li>Secure the assembly with some electrical tape. (It is the best thing I found as it is very thing and stable in case of heat or electricity).<img src="https://media.printables.com/media/prints/297395/rich_content/60f0558d-35a9-4410-a3c9-0650f7cc0592/20221018_011502.jpg#%7B%22uuid%22%3A%22e97ae254-d399-43de-945a-8413764ba95b%22%2C%22w%22%3A4128%2C%22h%22%3A2580%7D"></li><li>Put the assembly inside the SJ-210 in the right way (check the picture).<img src="https://media.printables.com/media/prints/297395/rich_content/745691c0-e482-4c2b-9ac9-34bbe7e90d23/20221018_011011.jpg#%7B%22uuid%22%3A%22812024d5-94ac-469b-b929-8bcc723cc3f8%22%2C%22w%22%3A4128%2C%22h%22%3A2580%7D"></li><li>Reassemble everything.</li></ol><p> </p><h5><strong>5. Notes</strong></h5><ul><li>G-code file only made for MK3S+. The file contains some custom lines to add a pre-heating before the printing to avoid oozing during the mesh bed levelling. And a timer at the end of the print to buzz a sound once the parts has cooled down. </li><li>Do not use the g-code file on other machines than MK3S+ ! In any case, I recommend you to slice the .stp files by yourself to make your own g-code files.</li></ul><p> </p><p>Have a nice print !</p><p>And don't forget to like, rate and donate !</p>
With this file you will be able to print Battery Holder for Mitutoyo SJ-210 with your 3D printer. Click on the button and save the file on your computer to work, edit or customize your design. You can also find more 3D designs for printers on Battery Holder for Mitutoyo SJ-210.
