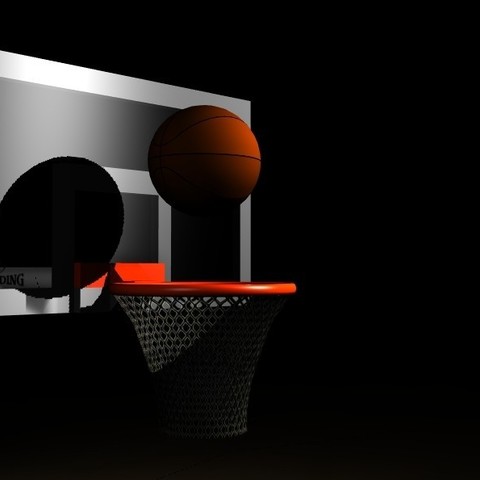
BASKETBALL ANIMATION
cults3d
Creating Basketball Animation in Autodesk Maya To develop a captivating basketball animation using Autodesk Maya, we need to start by setting up our scene properly. First, create a new project and set the units to feet and inches. This will ensure that our measurements are accurate throughout the animation process. Next, we'll import the basketball model into the scene. You can either use a pre-made model or create your own from scratch using Maya's modeling tools. Once imported, position the ball at the center of the court, making sure it's aligned with the court's dimensions. Now, let's set up our camera. We want to capture the action on the court, so we'll place the camera above and slightly behind the basket. This will give us a dynamic view of the game without being too close or too far away. With our scene set up, it's time to animate the ball movement. Start by creating a keyframe at the beginning of the animation, where the ball is stationary. Then, create another keyframe at the end of the animation, where the ball has moved to its final position. Maya will automatically fill in all the frames between these two points. To add some realism to our animation, we can use Maya's physics tools. Enable the "Gravity" and "Friction" options to simulate how the ball interacts with the court. You can also adjust the "Bounciness" setting to control how high the ball bounces after hitting the floor. As we continue animating, don't forget to add some subtle movements to the camera. This will create a sense of dynamism and keep the viewer engaged. You can use Maya's "Camera Follow" tool to track the action on the court, or manually adjust the camera position and rotation for more control. Finally, let's add some visual effects to enhance our animation. Use Maya's particle system to simulate the crowd's reaction, creating a swarm of particles that move in response to the ball's movement. You can also add some glowing effects to highlight key moments in the game, such as when the ball goes through the hoop. With these steps completed, we have a compelling basketball animation that showcases the excitement and energy of the sport. By using Autodesk Maya's powerful tools, we've been able to bring this scene to life and create an engaging visual experience for our audience.
With this file you will be able to print BASKETBALL ANIMATION with your 3D printer. Click on the button and save the file on your computer to work, edit or customize your design. You can also find more 3D designs for printers on BASKETBALL ANIMATION.
