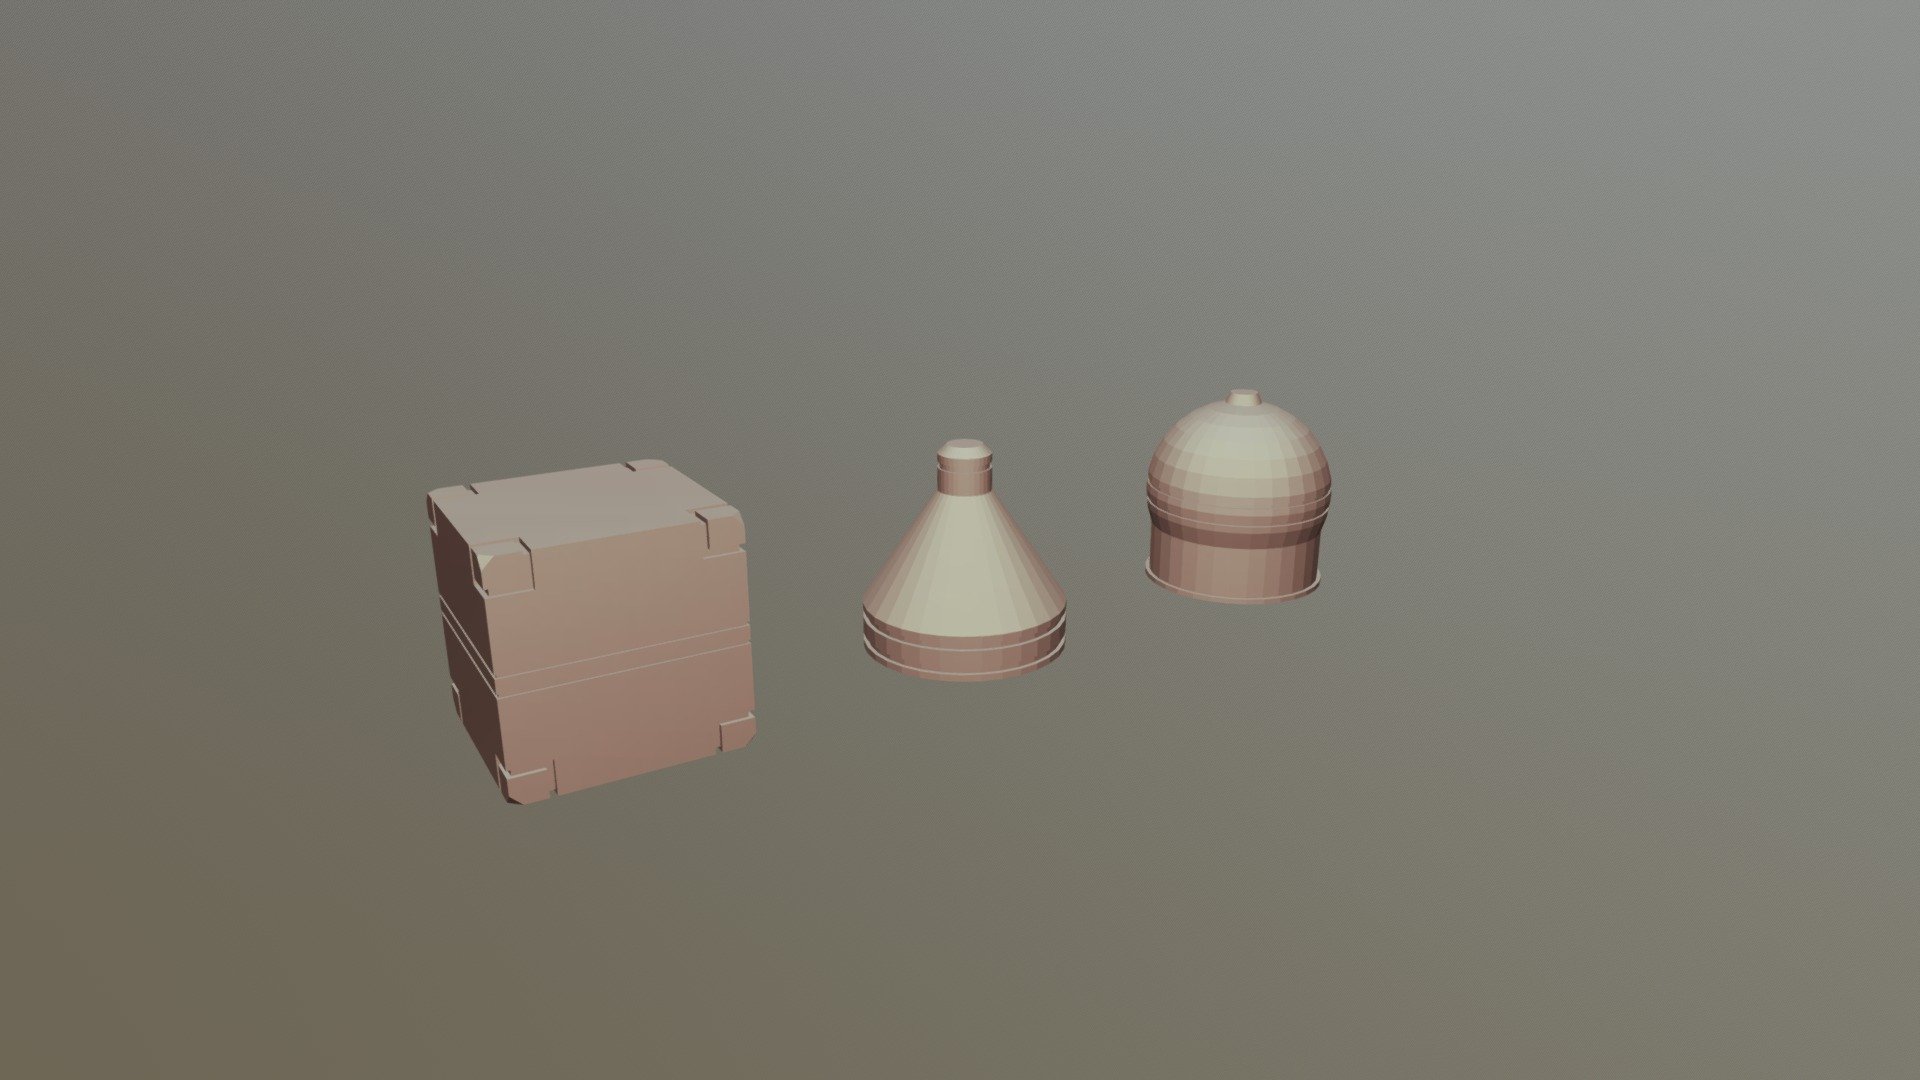
Basic Modeling exercise
sketchfab
A Little Exercise from CGCOOKIE. Hey Everyone, If you're like me and have been experimenting with Blender and its Python API, you might know that it's not always easy to get started. But don't worry, I've got a little exercise for you today that will help you learn how to animate objects in Blender using the Python API. This exercise assumes you already have some basic knowledge of Python programming and are familiar with Blender. If that's not the case, then this might be a good opportunity to brush up on those skills before diving into more complex topics like animation. The goal of this exercise is to create an animated sequence where objects move across a scene in a predictable manner. To achieve this, we'll use the following steps: 1. First, let's define our object and its properties. 2. Next, let's animate the object by changing its position over time. 3. Finally, let's render out the animation. Sounds simple enough, right? Let's get started! **Step 1: Define Our Object** Let's start by defining our object and its properties. We'll create a cube with a blue material and place it at the origin (0, 0, 0). ```python import bpy # Create a new cube bpy.ops.mesh.primitive_cube_add(location=(0, 0, 0)) # Select the cube cube = bpy.context.object # Set the object's name cube.name = "MyCube" # Add a material to the cube mat = bpy.data.materials.new("BlueMaterial") mat.diffuse_color = (0.2, 0.4, 1) # Assign the material to the cube cube.active_material = mat ``` **Step 2: Animate Our Object** Now that we have our object defined, let's animate it by changing its position over time. We'll use a simple linear animation where the object moves from the origin to a point (10, 0, 0). ```python # Create a new action action = bpy.data.actions.new(name="MyAction") # Add a keyframe for the object's location bpy.context.scene.objects.active = cube cube.keyframe_insert(data_path="location", frame=1) # Move the object to its final position cube.location = (10, 0, 0) cube.keyframe_insert(data_path="location", frame=100) # Set the animation duration bpy.context.scene.frame_end = 100 # Link the action to the cube's animation data block cube.animation_data_create() cube.animation_data.action = action ``` **Step 3: Render Out The Animation** Finally, let's render out our animation. We'll use the default Blender render settings and save the animation as a PNG image sequence. ```python # Set up the rendering settings bpy.context.scene.render.engine = "CYCLES" bpy.context.scene.cycles.device = "GPU" bpy.context.scene.render.resolution_x = 800 bpy.context.scene.render.resolution_y = 600 # Render out the animation bpy.ops.render.render(animation=True) # Save the animation as a PNG image sequence bpy.ops.render.view_show() ``` That's it! You now have an animated sequence where objects move across a scene in a predictable manner. I hope you found this exercise helpful and had fun learning how to animate objects in Blender using the Python API. If you're interested in exploring more complex animation topics, be sure to check out my next post where we'll dive into more advanced techniques like physics-based animation and dynamic simulations.
With this file you will be able to print Basic Modeling exercise with your 3D printer. Click on the button and save the file on your computer to work, edit or customize your design. You can also find more 3D designs for printers on Basic Modeling exercise.
