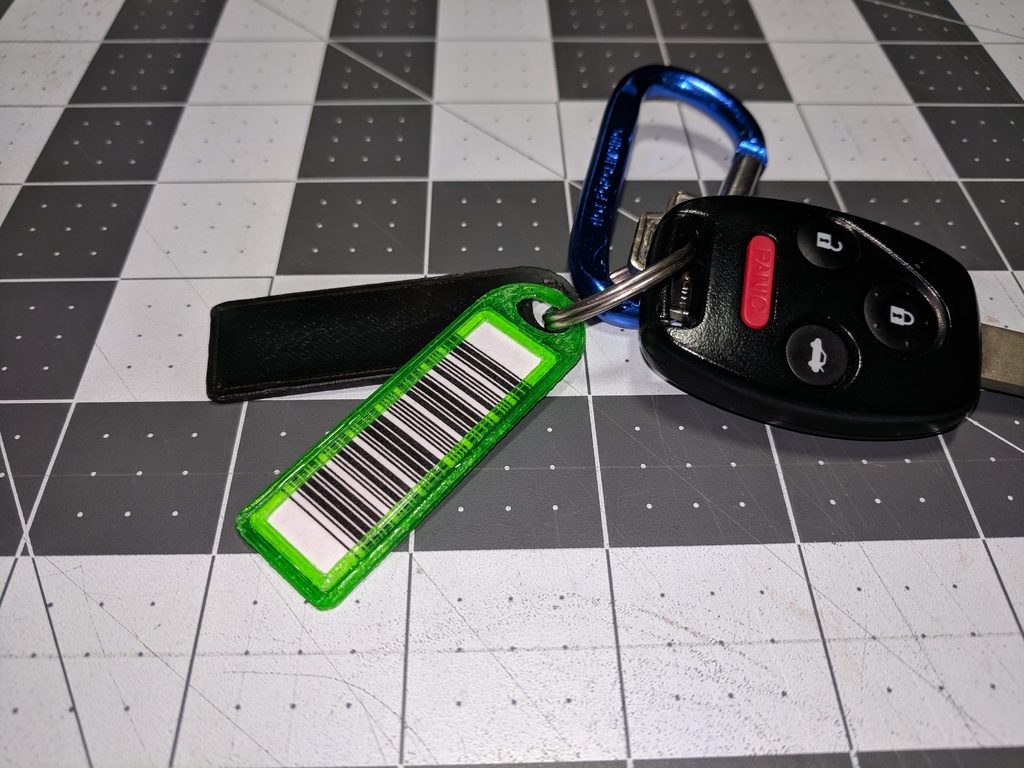
Barcode Key Fob
thingiverse
If you enjoy what you see here, consider showing your appreciation with a tip. This compact key fob is perfect for labeling keys or making a duplicate of an ID card. Instructions: 1. Print out the key fob frame and label retainer, ensuring that the retainer fits snugly within the frame. You may need to resize the retainer model before printing to achieve a precise fit. 2. There are many online tools available for creating barcodes. I used TEC-IT.com to generate a code-39 barcode matching my rock climbing gym membership. 3. Download the barcode image and open it in an image editing software. I use GIMP. If you want to remove the characters at the bottom of the image, crop them off and resize the image. 4. Barcodes require some white space before and after the image for optimal quality. Set the image resolution to your printer's highest capable resolution and print the barcode using your printer's highest quality black & white setting. 5. Trim the printed label slightly smaller than the inside dimensions of the key fob frame. 6. I recommend laminating the paper with clear packing tape for added protection against water damage. 7. Test fit the label in the frame, ensuring that the retainer piece fits securely before gluing it in place. Trimming the corners of the label can help improve the fitment. I prefer using a slow-cure two-part epoxy for bonding 3D printed parts. 8. With the retainer in place, lay the frame face down on waxed paper and place a flat weight on top. Allow the glue to cure. 9. When the glue is fully cured, remove the weight and attach the fob to a key ring. You're now ready to go!
With this file you will be able to print Barcode Key Fob with your 3D printer. Click on the button and save the file on your computer to work, edit or customize your design. You can also find more 3D designs for printers on Barcode Key Fob.
