Banksy VANDALISED PHONE BOX (2005)
prusaprinters
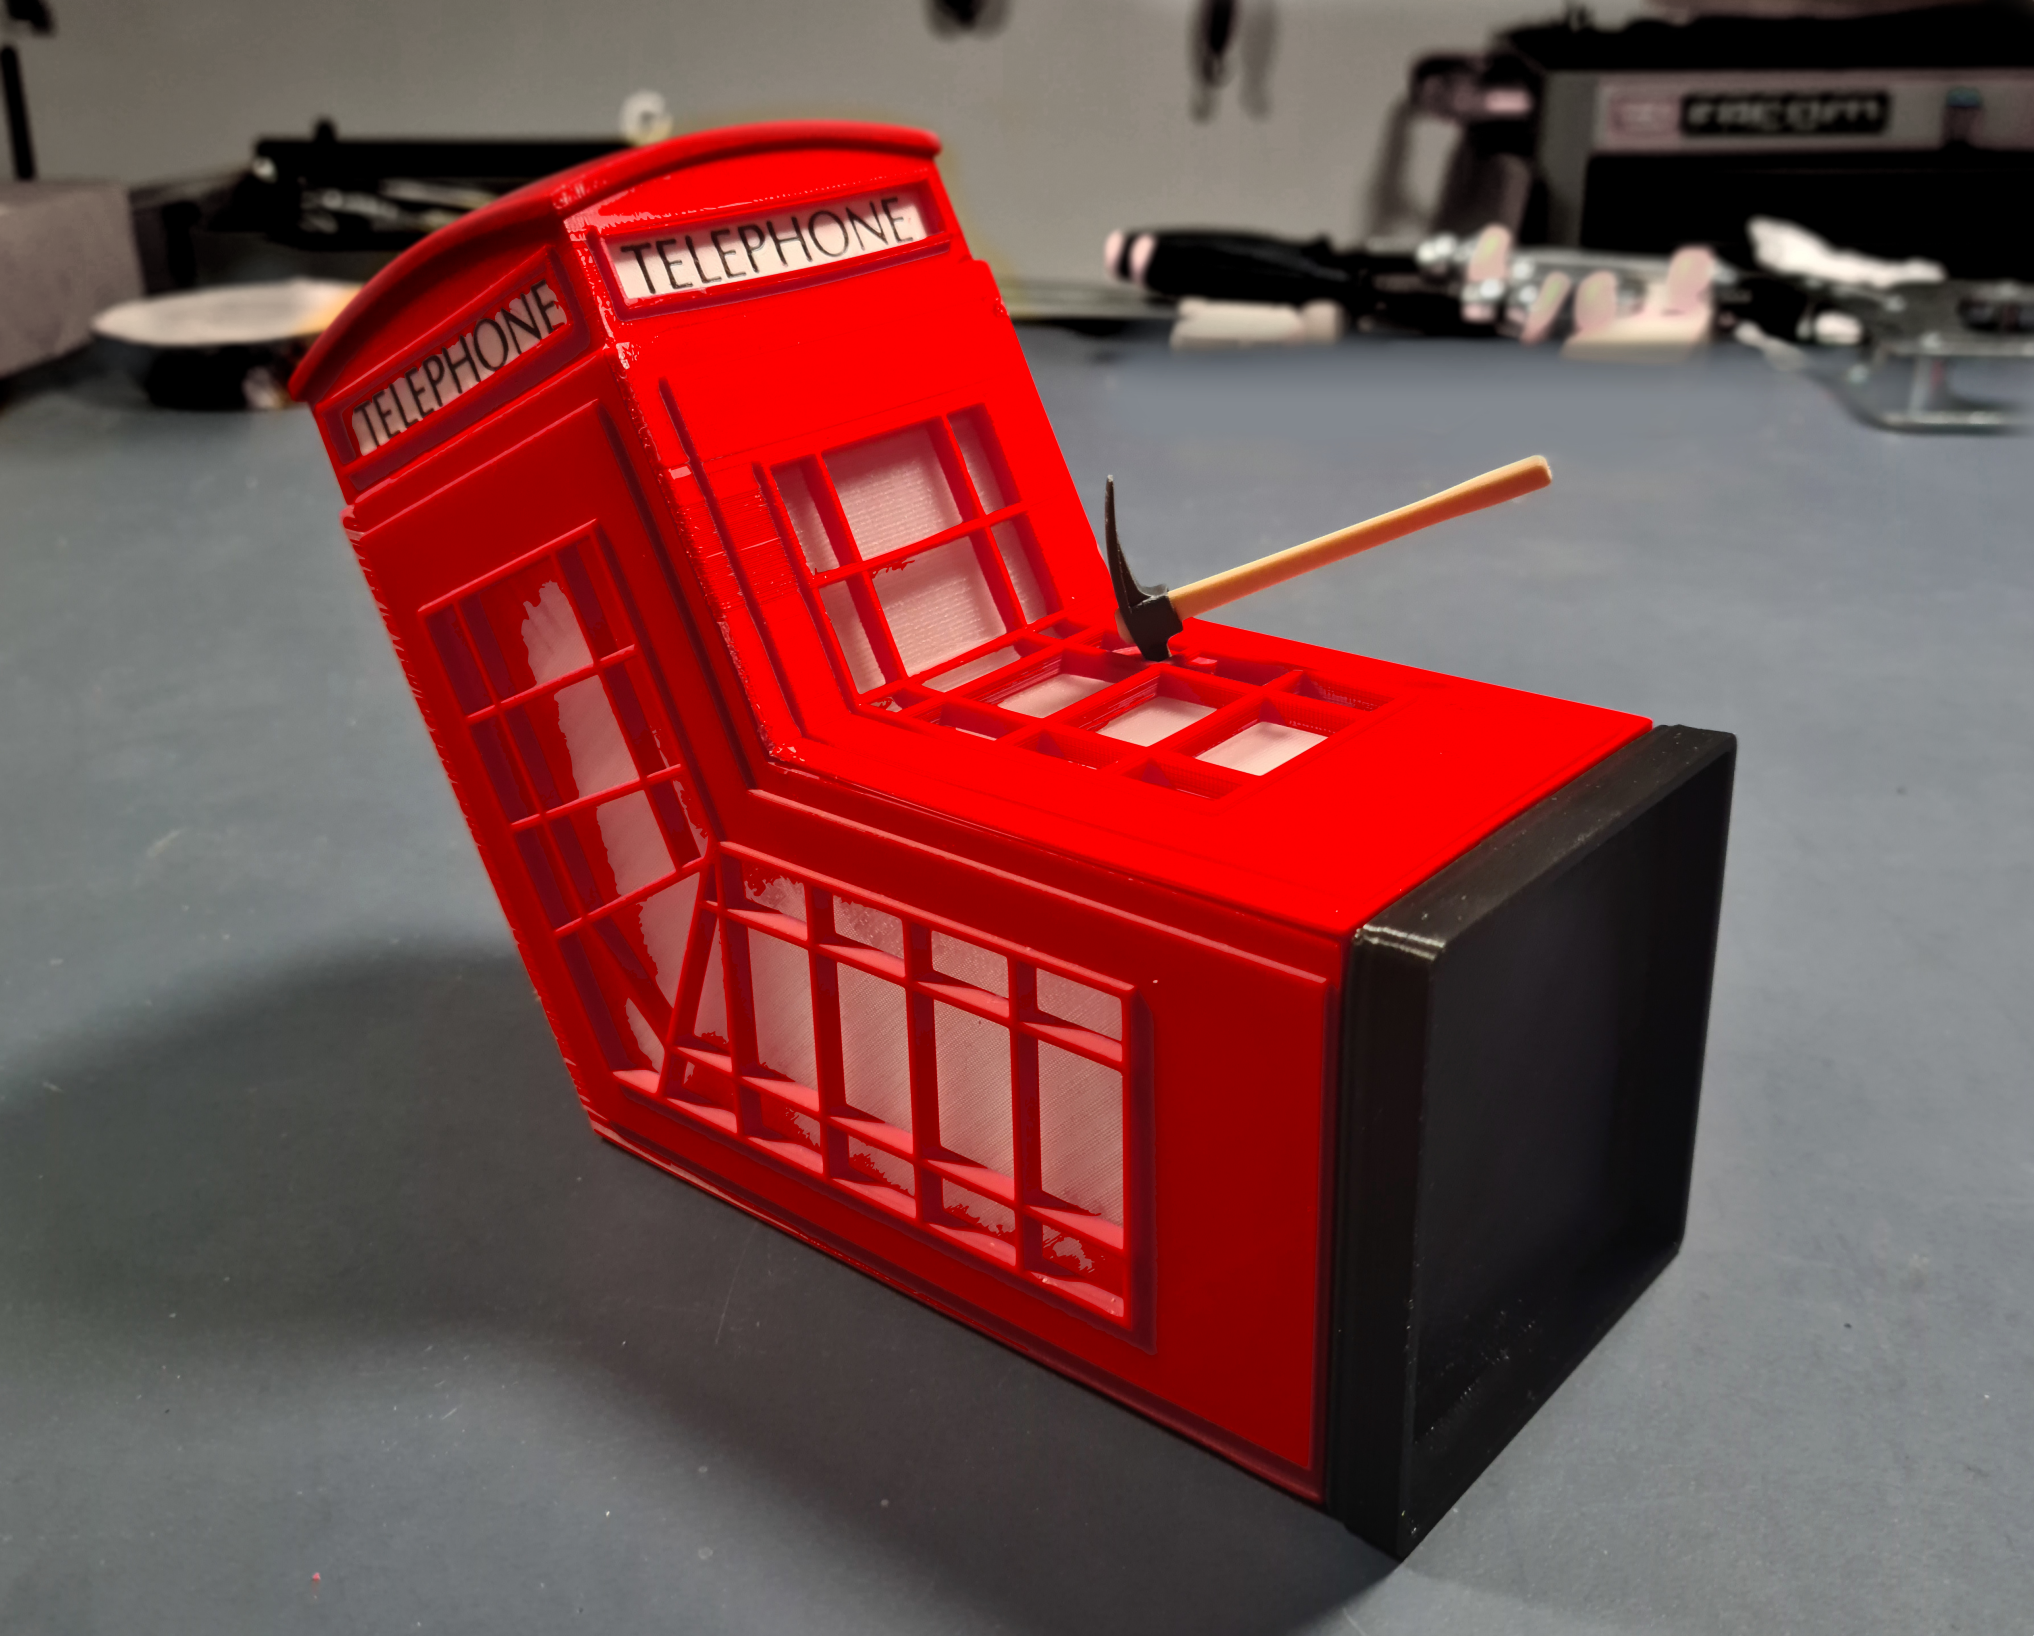
<p>Banksy</p> <p>VANDALISED PHONE BOX<br/> telephone box and pickaxe<br/> Executed in 2005.</p> <p>This work was installed in Soho Square, London 2005 and later recovered from Westminster Environmental Services.</p> <p>On 14 Feb 2008 it was auctioned in New York for 605,000 USD by Sothebys.</p> <p>This is a remix modified and combined from two other works:</p> <p>1.) pickaxe and inspiration from<br/> <strong>Murdered telephone booth by Banksy</strong> (Leon Maryasin)<br/> <a href="https://grabcad.com/library/murdered-telephone-booth-by-banksy-1">https://grabcad.com/library/murdered-telephone-booth-by-banksy-1</a></p> <p>2.) I've used this as the geometry basis<br/> <strong>English Phone booth</strong> (by Nawin)<br/> <a href="https://grabcad.com/library/english-phone-booth-1">https://grabcad.com/library/english-phone-booth-1</a></p> <p>Other than 1.) this is modified to consist of different parts for easier printing. I've made some geometry enhancements.</p> <p>The pickaxe may stay unglued for repeated hacking joy.</p> <p>In the files section, you will find three data alternatives:<br/> gcode for direct printing - mind the correct nozzle and ABS material<br/> 3mf for your individual adaption (recommended)<br/> STEP for geometry hacks</p> <h3>Print instructions</h3><p><em>This print is a little more demanding due to different nozzles used, and the assembly by gluing. I do recommend to adjust the geometry shrinkage in your slicer.</em></p> <p><strong>Material:</strong><br/> All parts printed in ABS<br/> Colours used in model on the photos:<br/> red, black, transparent, white, beige, dark grey</p> <p><strong>Printing:</strong><br/> Parts #11, #12, #13 were printed using a 0.25mm nozzle; all others use a 0.40mm nozzle.</p> <p>Gcode files include filament-specific shrinking compensation by scaling X/Y/Z appropriately. Please use .3mf files to adjust to your filament's shrinkage.</p> <p>Multicoloured parts are printed without MMU, but with manual change using multi-tool settings in PrusaSlicer. Take note: there will be one redundant filament change at the beginning of each print. Ie. even if the correct filament is loaded, it will ask you to change it once after the standard purge is finished. Just re-insert.</p> <p><u>Find more about this method here:</u> <a href="https://forum.prusaprinters.org/forum/prusaslicer/manual-multicolor/#post-188236">https://forum.prusaprinters.org/forum/prusaslicer/manual-multicolor/#post-188236</a></p> <p>I sanded the parts of the pickaxe and the rooftop for better effect.</p> <p><strong>Assembly:</strong><br/> See the BOM picture, there are 16 individual parts, of which 13 are different. #09 and #10 can be the same, but I've printed them in opposite direction in order to have a consistent window surface.</p> <p>Part #05 needs trimming on the extended print contact surfaces.</p> <p>I have used ABS and acetone to glue. I've glued in multiple steps with curing in between.</p>
With this file you will be able to print Banksy VANDALISED PHONE BOX (2005) with your 3D printer. Click on the button and save the file on your computer to work, edit or customize your design. You can also find more 3D designs for printers on Banksy VANDALISED PHONE BOX (2005).