bandera
thingiverse
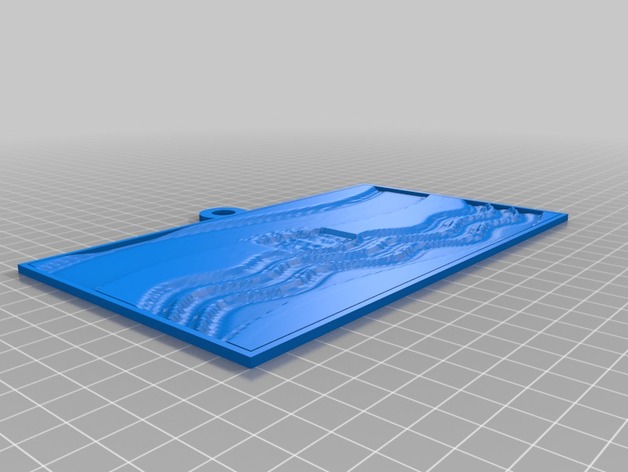
Here's a lithopane image created with the Customizer tool at Thingiverse. The design uses a dat file to produce a precise and detailed picture. Instructions Using the options: Text Vertical Position: This setting adjusts where the text appears within the image. I've set it to 0, which places the text directly on top of the image. Custom Text: Line 5: ____________________ Line 4: ____________________ Line 3: ____________________ Line 2: ____________________ Line 1: ____________________ Image File: The dat file used for this lithopane design is named 'lithopane_new20150318-24125-1ixay44-0.dat.' It's the source of the detailed image you see before you. Text Reverse Option: When turned on, text will be reflected in its reverse form. I've set it to No. Include Hole: If Yes is selected, a circular hole appears at the center of the design, visible only when illuminated from behind. Picture Orientation: The lithopane's orientation can either be Horizontal or Vertical, but I have set it to the former. Text Size: Adjusting this value alters the text's font size, ranging from 1 point to an unspecified higher number. I chose 10. Pane Size and Layer Details: Number of Layers: For precision and high image quality, twelve thin layers create the intricate lithopane picture. Layer Height: The thickness of each layer can be modified, and in this design it's set at a value slightly more than nothing - a staggering 0.2! Hole Diameter: Finally, setting this value at ten defines how wide or narrow a hole should be visible within your final result when using the appropriate backlight to bring it all together.
With this file you will be able to print bandera with your 3D printer. Click on the button and save the file on your computer to work, edit or customize your design. You can also find more 3D designs for printers on bandera.
