Bambulab hotend drill guide
prusaprinters
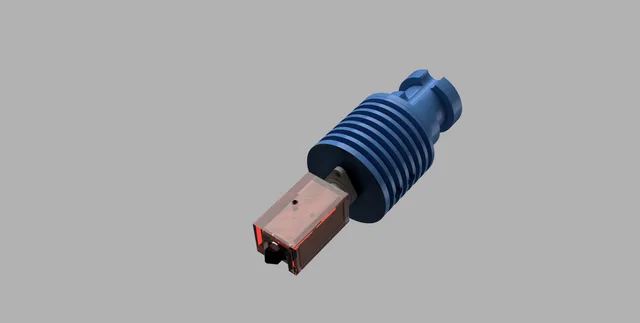
If you compare the E3D Bambulab high flow hotend with an OEM or clone, you will see that the position or the thermistor is changed to the other side of the hotend.The placement of the original is directly by the heater and will provide a fast control loop but won't take the rest of the hotend into account.E3D placed the thermistor far away of the heater like you know it of the standard V6 heatblock. This will put the nozzle in between the heater an thermistor and could lead to a better temperature control.I modded my TZ-V6 and it gave me a bit more headroom in terms of flow.As I broke a drill bit in this process I created this guide to make it easier for you to modify your own. You will need a Ø1.3 or maybe better a Ø1.4mm drill and ve to drill 6mm deep. Have fun and please share your results in the comments. //Please give feedback on the fit, I'm not so sure about the quality control of the 3rd party hotends. ///The result of my second testing gave me 31mm³/s instead of 27mm³/s on my X1C, I added a picture with the result.Sunlu PLA+ @ 220°C, OrcaSlicer Flow test 25-40mm³/s, same gcode, same thermistor and heater.////Update 10.05.24: I found 1.3 a bit to tight for 3rd party thermistors, so maybe you should aim for 1.4mm to be safe.
With this file you will be able to print Bambulab hotend drill guide with your 3D printer. Click on the button and save the file on your computer to work, edit or customize your design. You can also find more 3D designs for printers on Bambulab hotend drill guide.