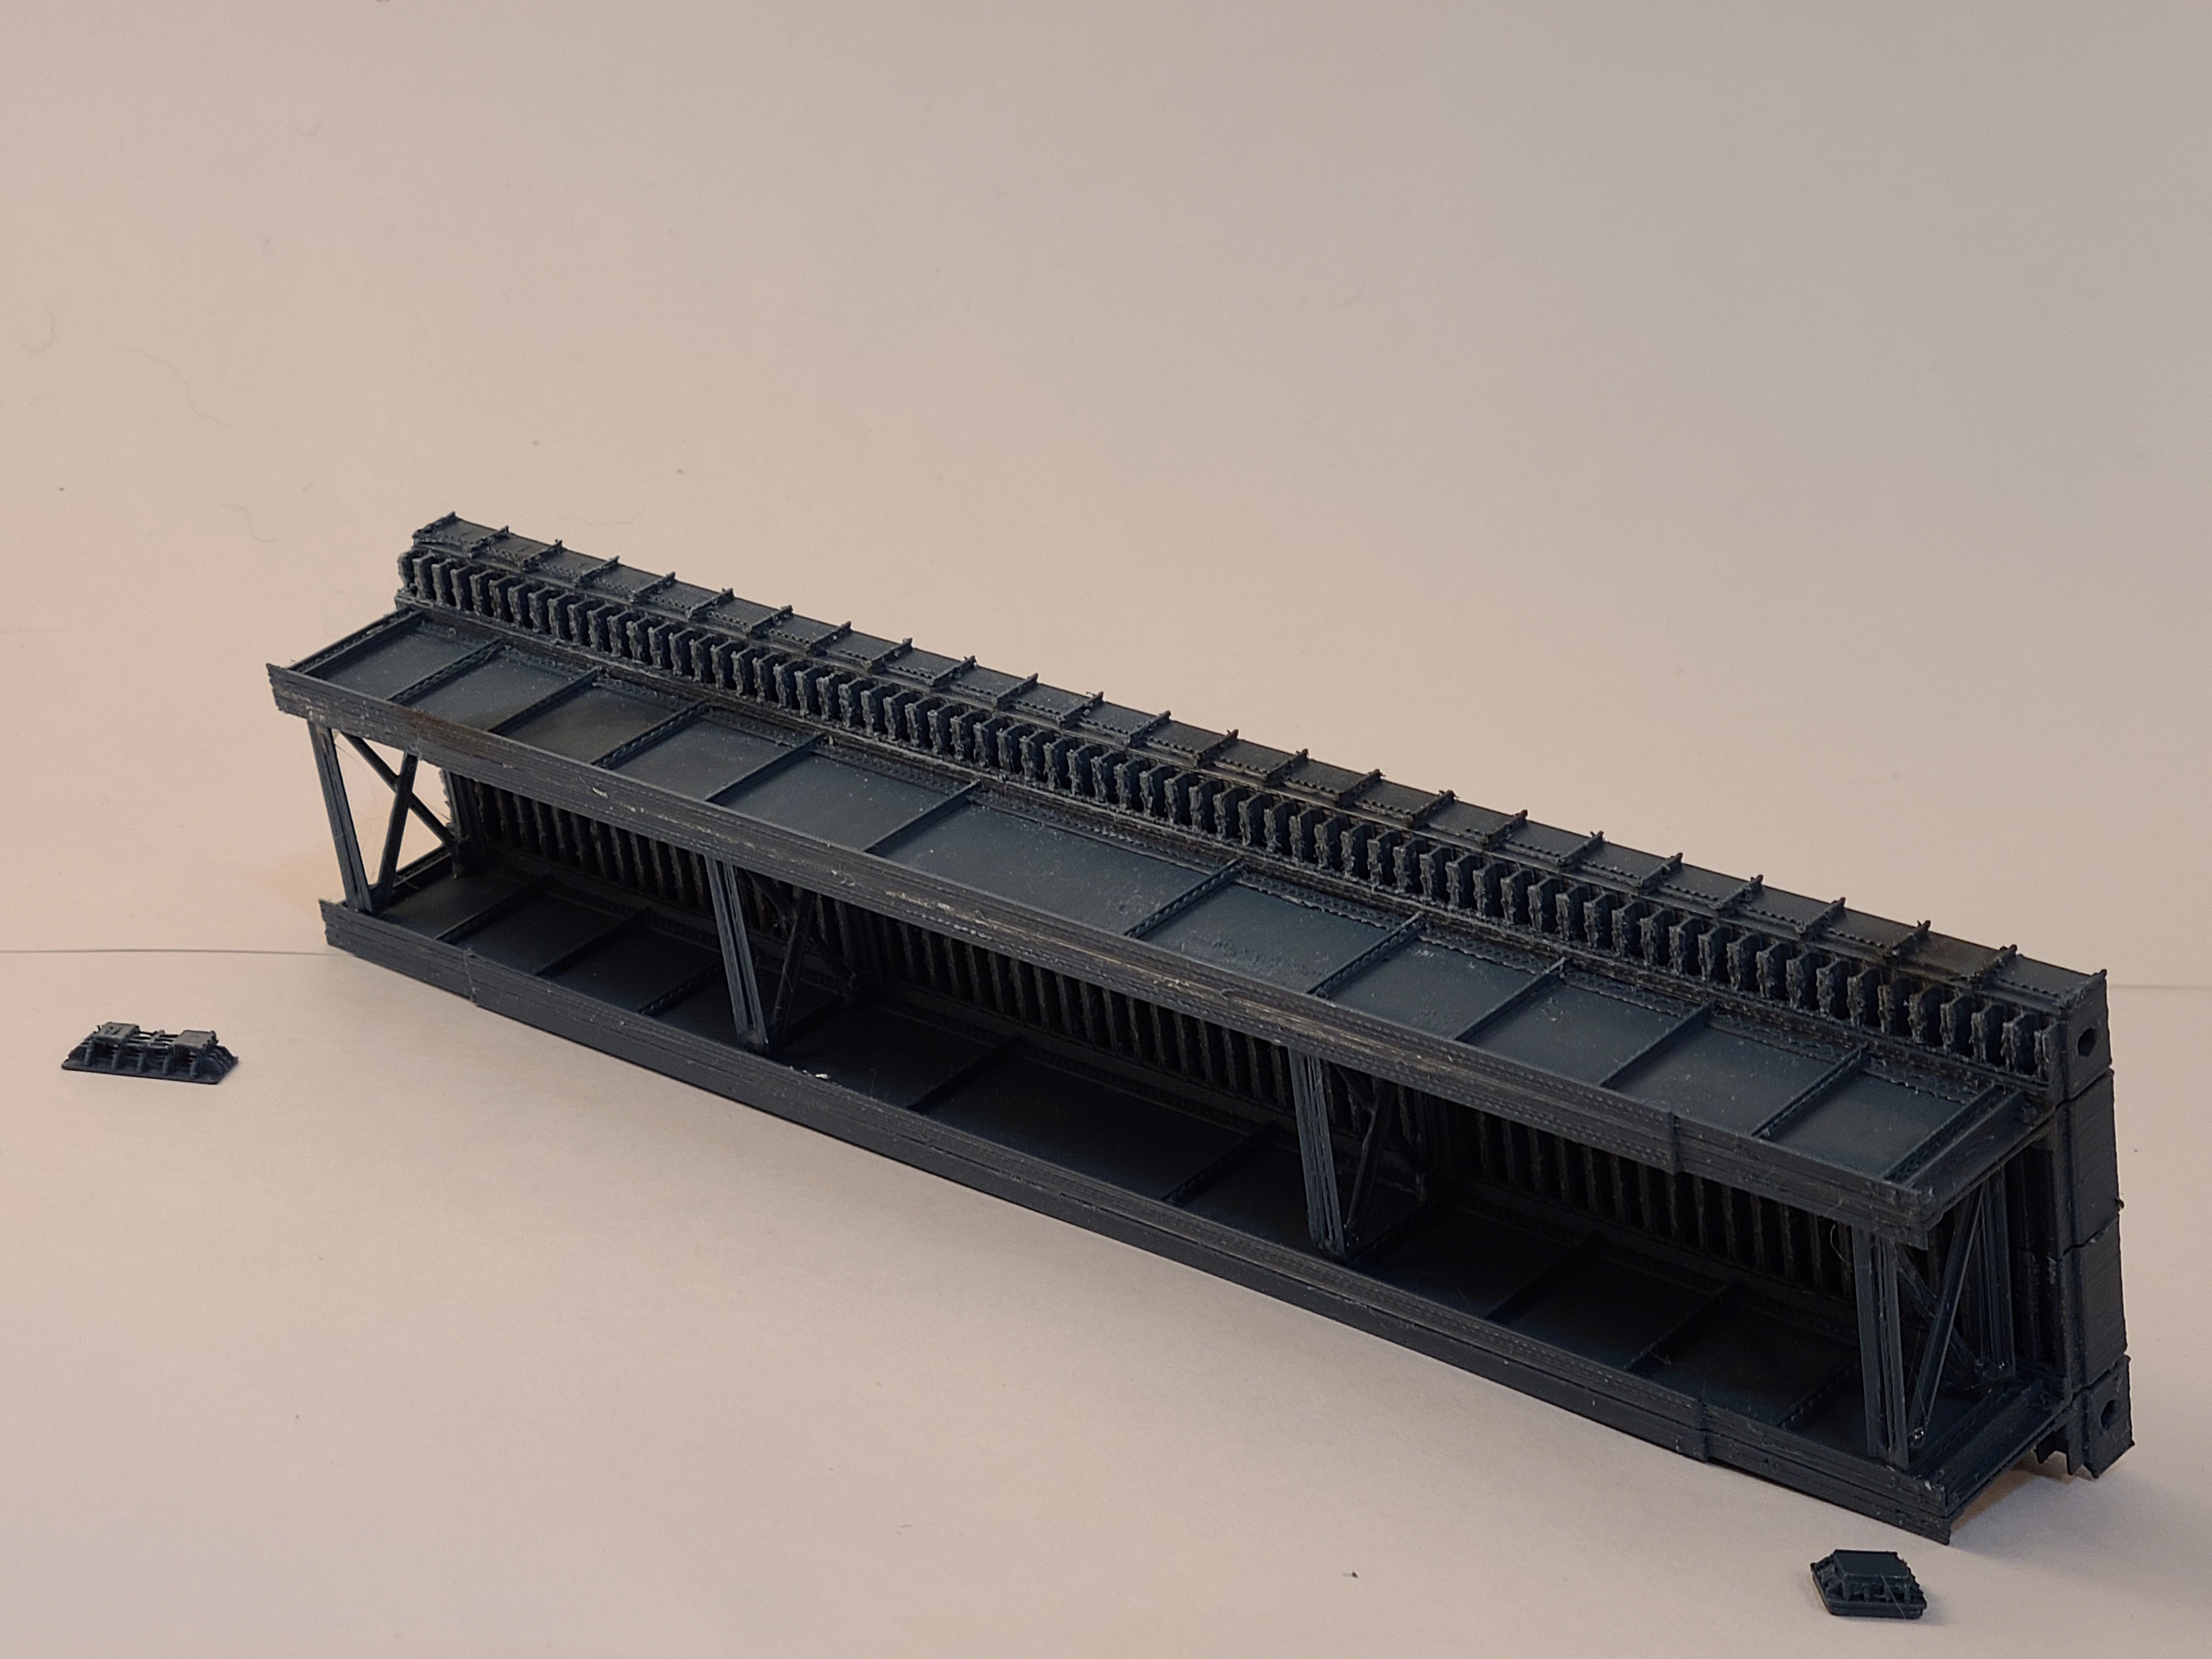
Ballast Deck Girder Model Railroad Bridge
prusaprinters
<p>This is a somewhat detailed girder bridge model of a design that is common on the Michigan Central railroad line along the Huron River, which it crosses frequently. This particular bridge is next to the Barton Dam and is a little unique because the stiffeners are not spaced uniformly along the girder giving it a “gaped tooth” look. Amtrak's Wolverine line is still using this track, along with a few Norfolk Southern freights. The New York Central RR appears to really like the ballast deck approach, and I saw similar bridges at the NYC National Museum in Elkhart, Indiana. To explain, the top of the bridge is sort of a bath tube filled with ballast, and the track is laid on the ballast. This way the track is not going from ballast support to structural steel and then back to ballast. I could not find any commercial kits of this design and thought it would be an interesting project to use to learn OpenSCAD. GirderBridgeMakerV4.0.scad is sort of a library for girder bridges, and I made OpenSCAD scripts for two other bridges, also near dams, but these are not complete and need more work. There are many unique railroad bridges that are based on riveted girders, so there is a lot of potential with this. </p><p>All of this should be considered a work in progress. Hopefully I will find time to enhance the maker file, and I think it should not be too hard to make a few examples of through girder bridges. I did actually print the Barton Dam bridge and assembled it, see the photos. I only have a UP locomotive, but its better than a banana. I printed the test bridge with recycled PLA, and I have been having humidity problems in the room with my printer, so this model is not as nice as I wanted. Earlier in the development of the model I printed parts of it and they came out much cleaner. So I expect that a well tuned printer with quality dry filament would produce very acceptable models. A smaller than 0.4 mm nozzle potentially could also be used to increase the detail.</p><p>The biggest concern about printing this type of model is the thin size of the details, particularly beam ends and the protruding parts of angles. I have an option for FFFprinting, which if true increases the size of the thinnest sections. The other concern is the surface finish, so I printed each girder in two pieces and used ironing.</p><p>I have included the 3mf file so you can see the print settings I used. Note that the girders need to be printed twice, the sliding anchor types need to be printed four times, the center anchor twice, and the half x brace 16 times for the two spans to match the prototype. Also dowels are included to keep the pieces in alignment, 18 are needed.</p><p>Assembly of the pieces is a challenge because they are somewhat fragile and do not have flat clamping surfaces. The stl file includes clamping blocks with appropriate labels. </p><p>I used Super Clamp with customizer, by Erick Neilson of Vancouver B.C., 100mm tall and 60mm deep, which is a remake of DIY Clamp (customizable) by Jes jj of Rivne, Ukraine from Thingiverse-</p><p><a href="https://www.thingiverse.com/thing:3075868">https://www.thingiverse.com/thing:3075868</a></p><p>This clamp is able to stand up on a table by itself, which is nice because its hard to get the blocks into place and avoid smashing the details. If its too hard to fidget with all the blocks, some two sided tape probably could be used to keep them in place. I sanded the faying surfaces and used a very thin layer of slow setting epoxy. For the prototype I used two clamps, but four would have been better. Not much pressure is needed, just enough to squeeze out the excess glue. Cleaning off the excess epoxy immediately seemed to be the best approach.</p><p>First glue each girder together, the two sides are identical. The prototype is a two span bridge, so a total of four girders are required. Dowels needed to be sanded and are quite small, but are a big help to keep it straight. Also glue two x brace halfs together to form 8 x braces.</p><p>Next glue each pair of girders together and glue the x braces inside to a stiffener. I just dabbed epoxy onto the four gussets on one side and pressed it gently onto the stiffener. </p><p>Update August 8, 2022 - I made some minor improvements to the x bracing, and updated the ArgoDamBridge quite a bit, including adding piers and anchors. This is still very much a work in progress. I still need to add piers and abutments to the other bridges, and format the files to work better with the Customizer.</p><p>Update August 10, 2022 - making the Customizer usable was easy, obviously all dimensions are available in the scad files, but if you just want to make the models its easier now.</p><p>Updated August 19, 2022 - added the SchuykillRiverBridge, which is a composite steel thru girder and concrete ballast deck type bridge, which completes the concrete arch bridge I posted separately. Since this added more variables I had to update all of the files to V4. I also included a thru girder type with I beams, which is a common type although this is not modeled after any specific prototype. </p>
With this file you will be able to print Ballast Deck Girder Model Railroad Bridge with your 3D printer. Click on the button and save the file on your computer to work, edit or customize your design. You can also find more 3D designs for printers on Ballast Deck Girder Model Railroad Bridge.
