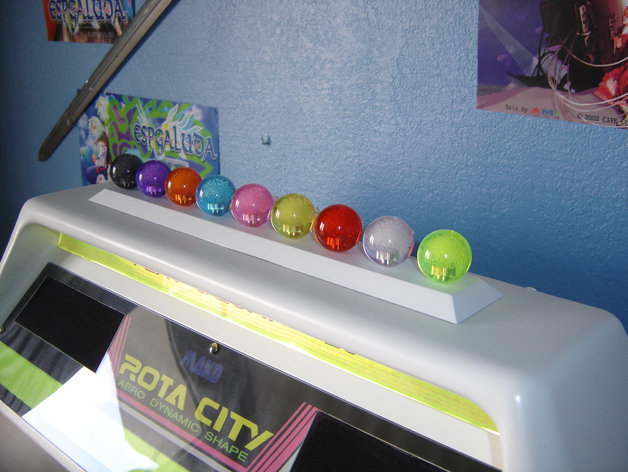
Ball Top Stand Seimitsu
thingiverse
When holding in one's hand the entire collection of "Ball Top Seimitsu" and thinking it's too silly to organize the ones that aren't being used on the joystick, then imagine a kind of display stand with neatly aligned holes for attaching the balls, just like that, for decoration... http://burogu.makotoworkshop.org/index.php?post/2014/09/03/presentoir-ball-stick Instructions To print, arrange the object diagonally in a 194x194mm square. Using the four STL files I generated, nothing to do; each object is already placed in a diagonal position. Nothing special to say about printing settings... But one precaution to take for removing the objects from the print bed surface: wait until they have completely cooled down! The printed objects look great, but the surface finish isn't nice. Furthermore, it's unavoidable that the joint between the two parts will be very visible. After gluing the two parts with cyanolite, it's time for some serious sanding using Sintofer brand standard paste. Then it's sandpaper time with 400-grit and water; this prevents a dust explosion everywhere and makes sanding smoother. Next, apply a white primer coat with an airbrush before painting the entire assembly. Calculating LED wiring is easy with this online tool; just know that the assembly will be powered by 12V from the console. Here are three sets of three LEDs in series connected in parallel; each protected by a 120Ω resistor. The wires are placed inside the grooves and the legs of the LEDs are folded inward so they fit neatly in place. When closing the hinged top, they'll be at the correct height to illuminate the ball.
With this file you will be able to print Ball Top Stand Seimitsu with your 3D printer. Click on the button and save the file on your computer to work, edit or customize your design. You can also find more 3D designs for printers on Ball Top Stand Seimitsu.
