Ball-powered pendulum timer (parts variation/update)
thingiverse
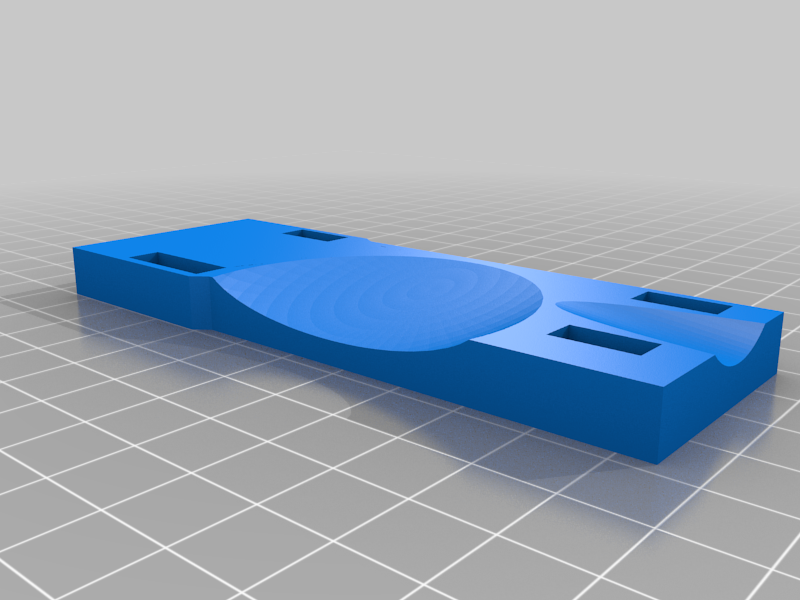
My son and I wanted to build Shiura's awesome "ball-powered pendulum timer" for the tech fair. The good news is that we got it to work- but it wasn't easy! For anyone wanting to do the same, I've put our adjustments to some of his parts here. Honestly, it's all about getting things drilled perfectly - which is beyond me. Using these parts as needed makes things a bit more forgiving. Here is a quick run down: Washer v4: I've included the new washers I made that work right off the bed. One is double thick. Space things as needed to account for the slight discrepancies in your drilling. New Base v1: The wider base gives more room for the mechanism to do its thing. (This was a suggestion of Shiura.) New Lever: I adjusted the lever to firmly fit into the eject rail making gluing the two together about million times easier. New Pen: This pendulum is deeper so that it can reach the escape wheel if/when things get too spread out. New Pen Pin: I think this is just the "axis fix" but with a wider hole to make things easier... but it's ben a while since I've messed with it. Anyway, I hope this helps someone. We also built a ramp that we used as a fun way to introduce more balls. The support settings were tricky but with some luck I got it to work. I would redesign it if I had the time... but who has the time. ;)
With this file you will be able to print Ball-powered pendulum timer (parts variation/update) with your 3D printer. Click on the button and save the file on your computer to work, edit or customize your design. You can also find more 3D designs for printers on Ball-powered pendulum timer (parts variation/update).