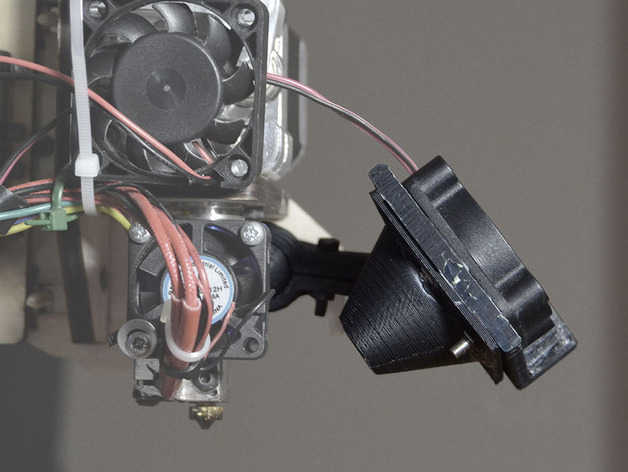
Ball Joint Fan mount for Printrbot Simple
thingiverse
I took inspiration from ei8htohms' Articulated Ball Joint Fan Mount located at http://www.thingiverse.com/thing:139984 and reworked it to replace the original cooling fan on my Printrbot Simple 1401. I had to modify some of the wood pieces in order to accommodate the clips holding my hotbed together. The existing model from ei8htohms was not designed with room for those clips, so I swapped out the cup joint with a bigger one that fit the bill. In addition, I added a new component known as the Middle Piece made from 2x ball joints to lengthen the arm even further. When printing this FanMount, I highly recommend printing it upright just as designed, and including support material where needed. Printing ball joints in an upright position proved to be essential, which is why the MidPiece was divided into two equal parts. Once you have your print, attach the PrintrbotMount using M3 bolts in the top holes that were previously used for the cooling fan. Then, snap those ball joints into their respective cup joints on each arm, and use a bolt and nut to secure it all together. To finish off, sandwich your new cooling fan snugly between the hood of your 3D printer and the FanMount itself.
With this file you will be able to print Ball Joint Fan mount for Printrbot Simple with your 3D printer. Click on the button and save the file on your computer to work, edit or customize your design. You can also find more 3D designs for printers on Ball Joint Fan mount for Printrbot Simple.
