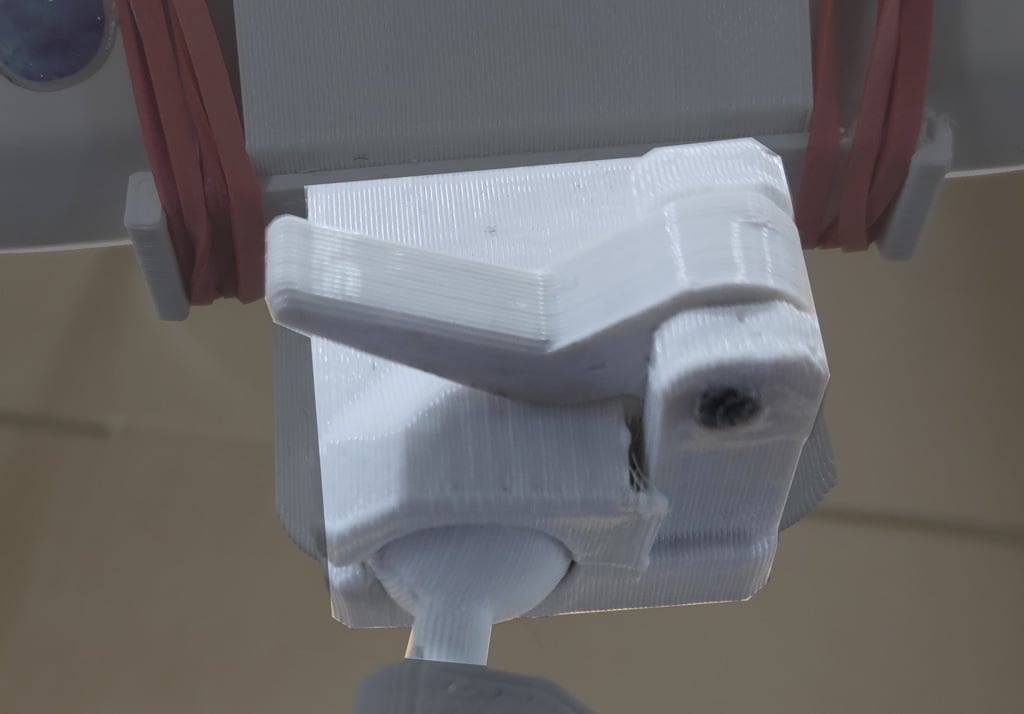
ball and socket mount with lever actuated locking mechanism
thingiverse
I use this to temporarily attach my smartphone, used as a video camera, to a magnifier desk lamp from ELV. Socket part -------------- The socket part features lego-like bores on the bottom side, arranged in a rectangular 10 x 10 mm grid pattern. The bore diameter within the mesh is 5.6mm, and the depth of the pockets is 2 mm. To simplify gluing into place, create nubs for a counterpart around 5.0-5.2 mm diam pads with 1.6mm height for an uncomplicated fit. The socket part has a footprint of 35 x 33 mm. Ball part ----------- The diameter of the stick is 5mm within the mesh. For good stability, it's highly recommended to print it with the stick lying horizontally. No supports are needed; they're baked into the model. Models without supports can be extracted from the attached FreeCad 0.18 project file. Lever ------- To attach the lever, use wire from a paper clip for a regular fit. I ended up using a 2 mm diam steel pin for an extremely tight fit, resulting in a strong locking effect on the ball. Note that once the wire is glued to the socket part with the lever in place, it's impossible to pull the ball out of the socket without destruction, even when the lock is fully disengaged. Printing ---------- I successfully printed it with a 0.8 mm nozzle, 0.4 mm layer height, and 100% infill from PLA. A 0.4 mm nozzle should work just as nicely, apart from the insane printing time. Note that you cannot print this from PETG; it's too slippy, and PETG will result in disappointing locking strength.
With this file you will be able to print ball and socket mount with lever actuated locking mechanism with your 3D printer. Click on the button and save the file on your computer to work, edit or customize your design. You can also find more 3D designs for printers on ball and socket mount with lever actuated locking mechanism.
