Baddeley MKIII Center Vent Frame Attachment Mod
prusaprinters
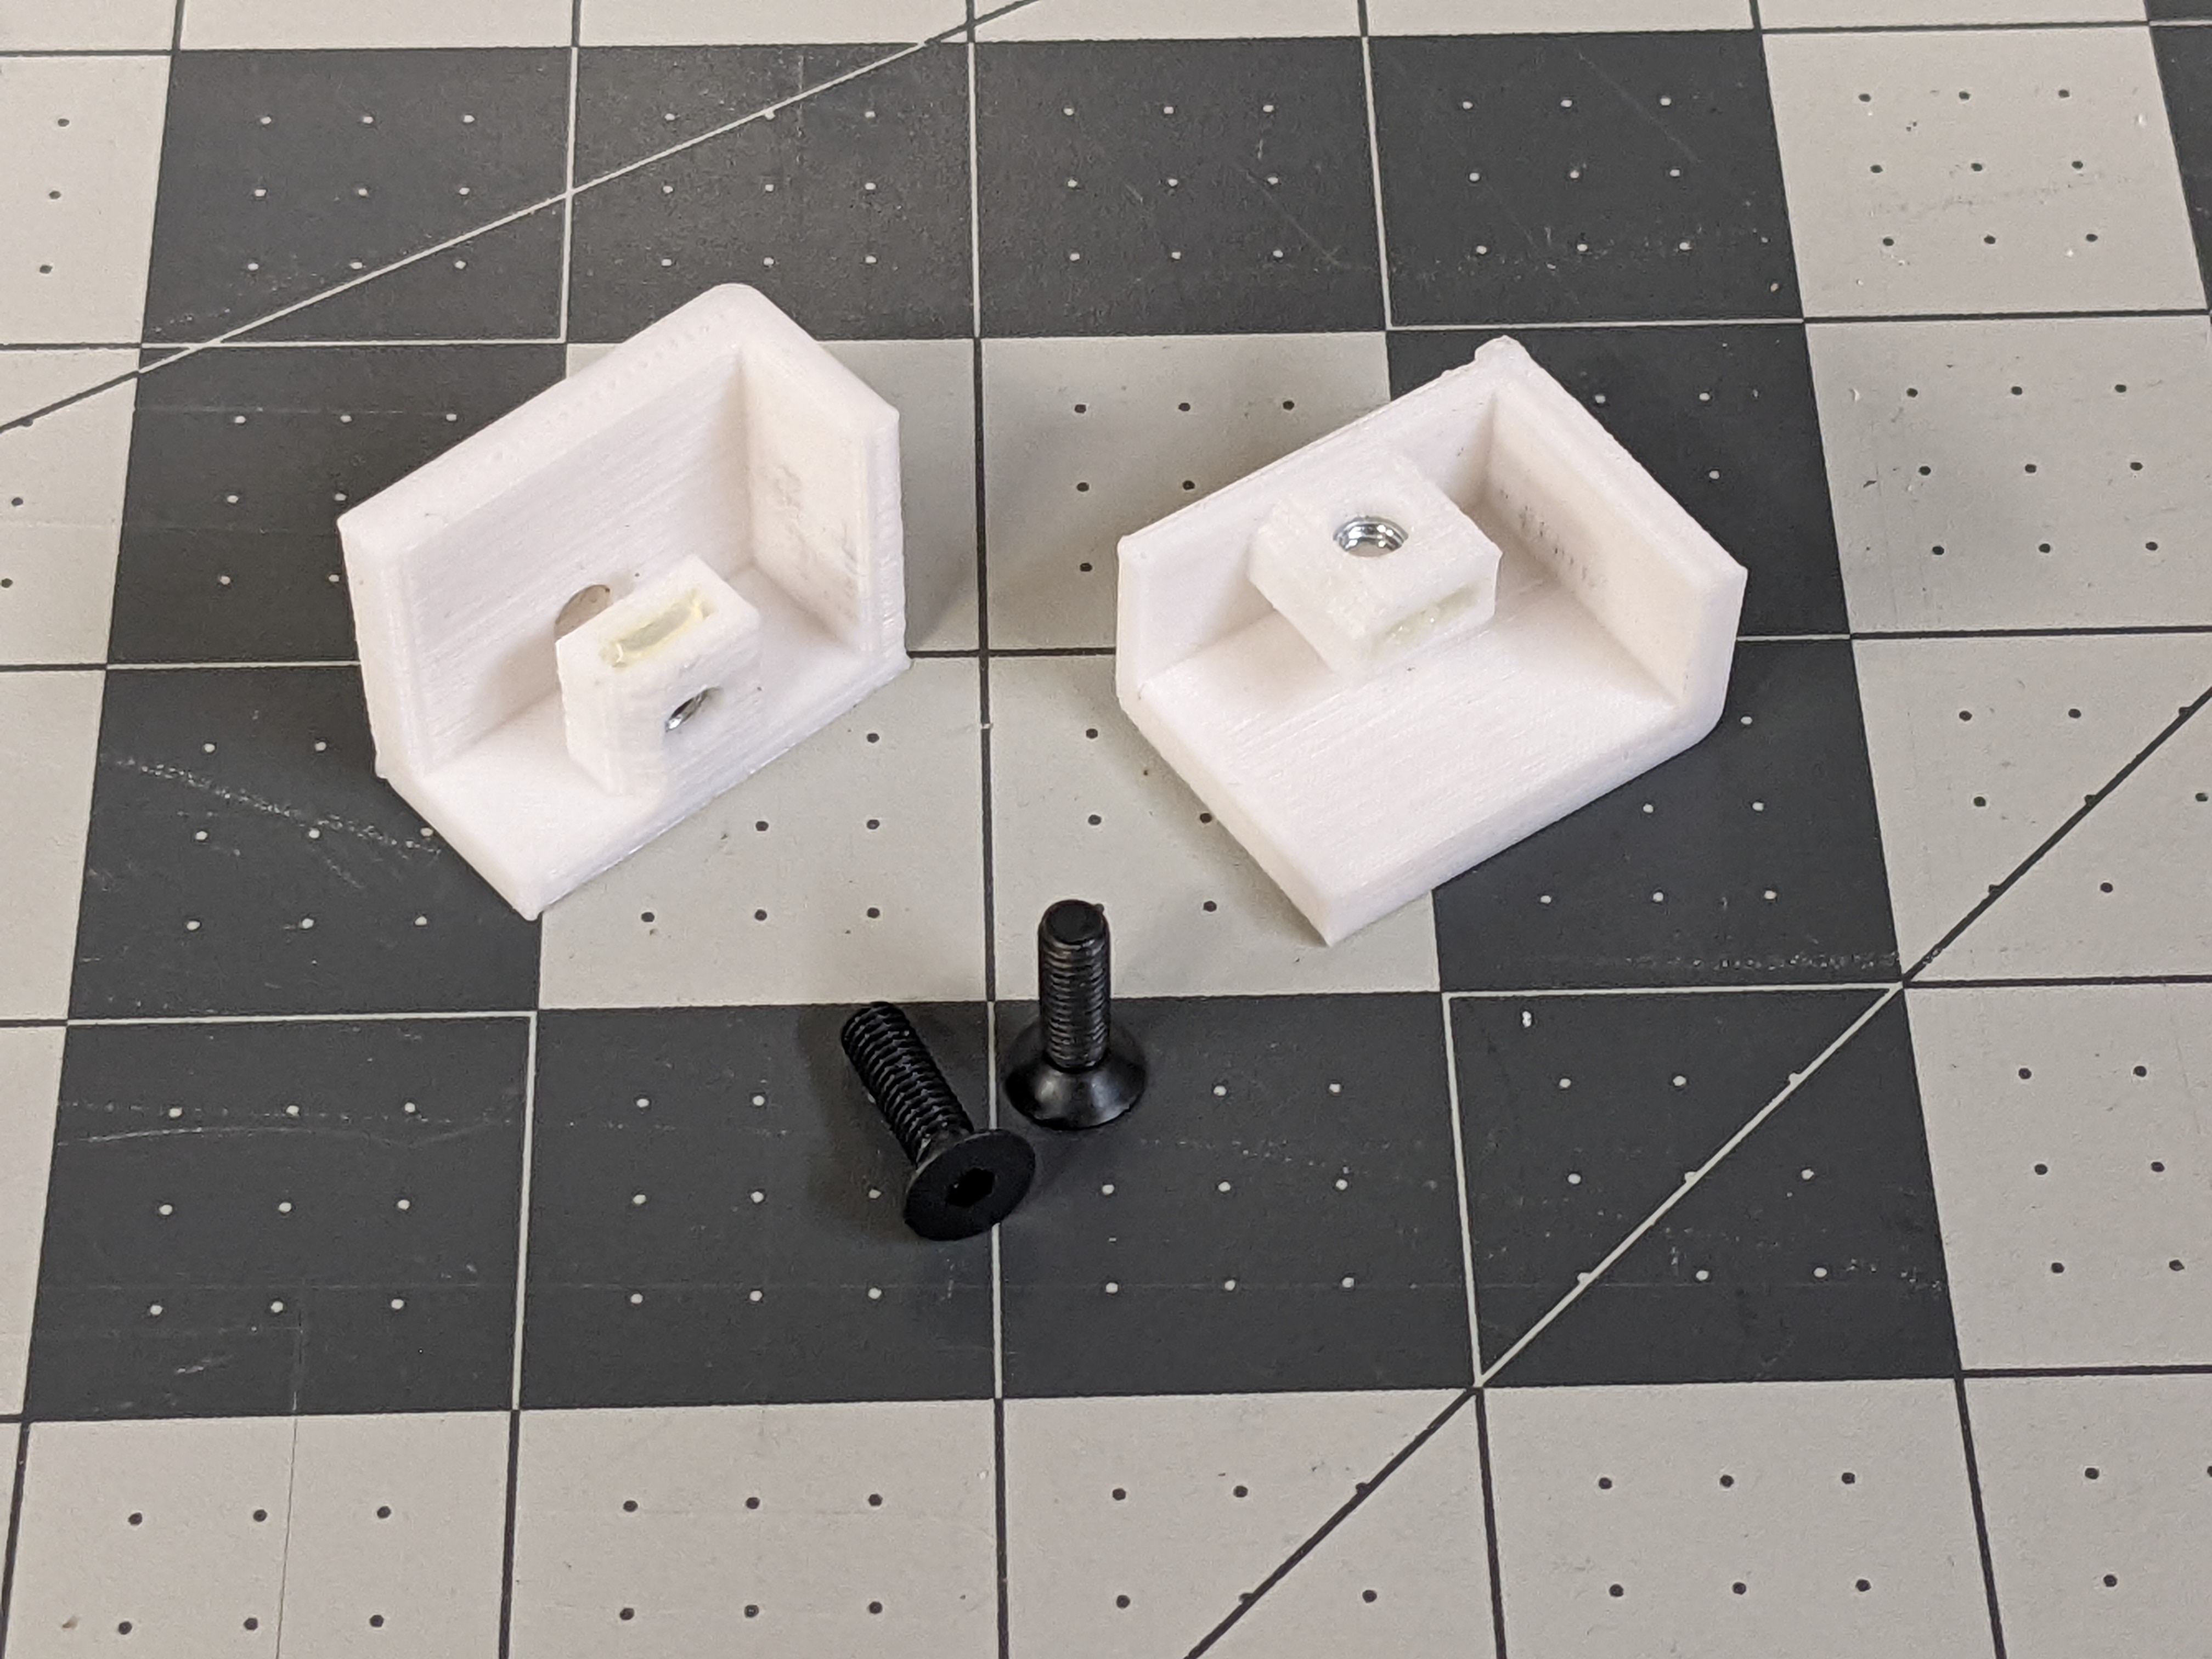
<p>The Baddeley MKIII CentreVentPanel is intended to be held in place via a small round “plug” (VentFrameLowerHold.stl) that drops down through a hole in the bottom of the frame into a divot in the body, and a thin, horizontal piece across the top (VentFrameUpperHold.stl).</p><figure class="image image_resized image-style-align-left" style="width:40.14%;"><img src="https://media.printables.com/media/prints/228879/rich_content/3d1a3823-cb95-46b9-bd3b-e87399937561/pxl_20220619_131343227.jpg#%7B%22uuid%22%3A%226559a575-81e5-4291-9422-a703039f5a14%22%2C%22w%22%3A4032%2C%22h%22%3A3024%7D"></figure><p>Both of these parts are intended to be glued in place, thus making the vent frame permanent and non-removable.</p><p>With the center vent frame permanently affixed in the body, attaching speakers as well as the center vents themselves becomes very challenging, particularly if your MKIII body does not have a removable rear panel. The only access is from inside the body, and it gets very awkward very quickly.</p><p>I much prefer modular assemblies that are easily removed for repairs, replacement, or upgrades. Wouldn't it be nice if the entire center vent assembly (including the speakers) could be easily removed?</p><p>Use two of these corner brackets (mirrored left-to-right) instead of VentFrameLowerHold <i>and</i> VentFrameUpperHold to securely fasten the entire center vent assembly to the body, while still allowing you to remove it later.</p><p>Each bracket has a slot for a thin, square M4 nut to be inserted. I usually secure them in place with some hot glue.</p><p><img class="image_resized image-style-align-left" style="width:32.38%;" src="https://media.printables.com/media/prints/228879/rich_content/696e5055-6b7f-4a54-9a90-8baca2f517d7/pxl_20220620_014133923.jpg#%7B%22uuid%22%3A%22d361132b-b129-422b-b570-845ec2f803f4%22%2C%22w%22%3A4032%2C%22h%22%3A3024%7D">The brackets should slide snugly into each of the top corners of the frame. Once they are fully inserted, mark the location of the two holes for drilling.</p><p>Carefully drill the holes in the top of the center vent frame - I prefer to use wood drill bits as they are typically the “forstner” style that produce a very clean hole.</p><p>Slide the center vent assembly into the body opening from the front. Once it's in place, slide the clips into each corner and secure into place with an M4x14mm screw. That's it!</p><figure class="image image_resized image-style-align-center" style="width:71.69%;"><img src="https://media.printables.com/media/prints/228879/rich_content/761c8e87-986b-4e4d-8834-e928b0332a2b/pxl_20220620_014413148.jpg#%7B%22uuid%22%3A%227d6e5799-b5f0-404c-b6a5-169815cd4481%22%2C%22w%22%3A4032%2C%22h%22%3A3024%7D"></figure><p>You should be able to do all of this with the center vents and even the speakers already attached to the frame - if it fits through the opening, you are good.</p><p> </p><p> </p><p> </p>
With this file you will be able to print Baddeley MKIII Center Vent Frame Attachment Mod with your 3D printer. Click on the button and save the file on your computer to work, edit or customize your design. You can also find more 3D designs for printers on Baddeley MKIII Center Vent Frame Attachment Mod.
