Back Light For Bike
prusaprinters
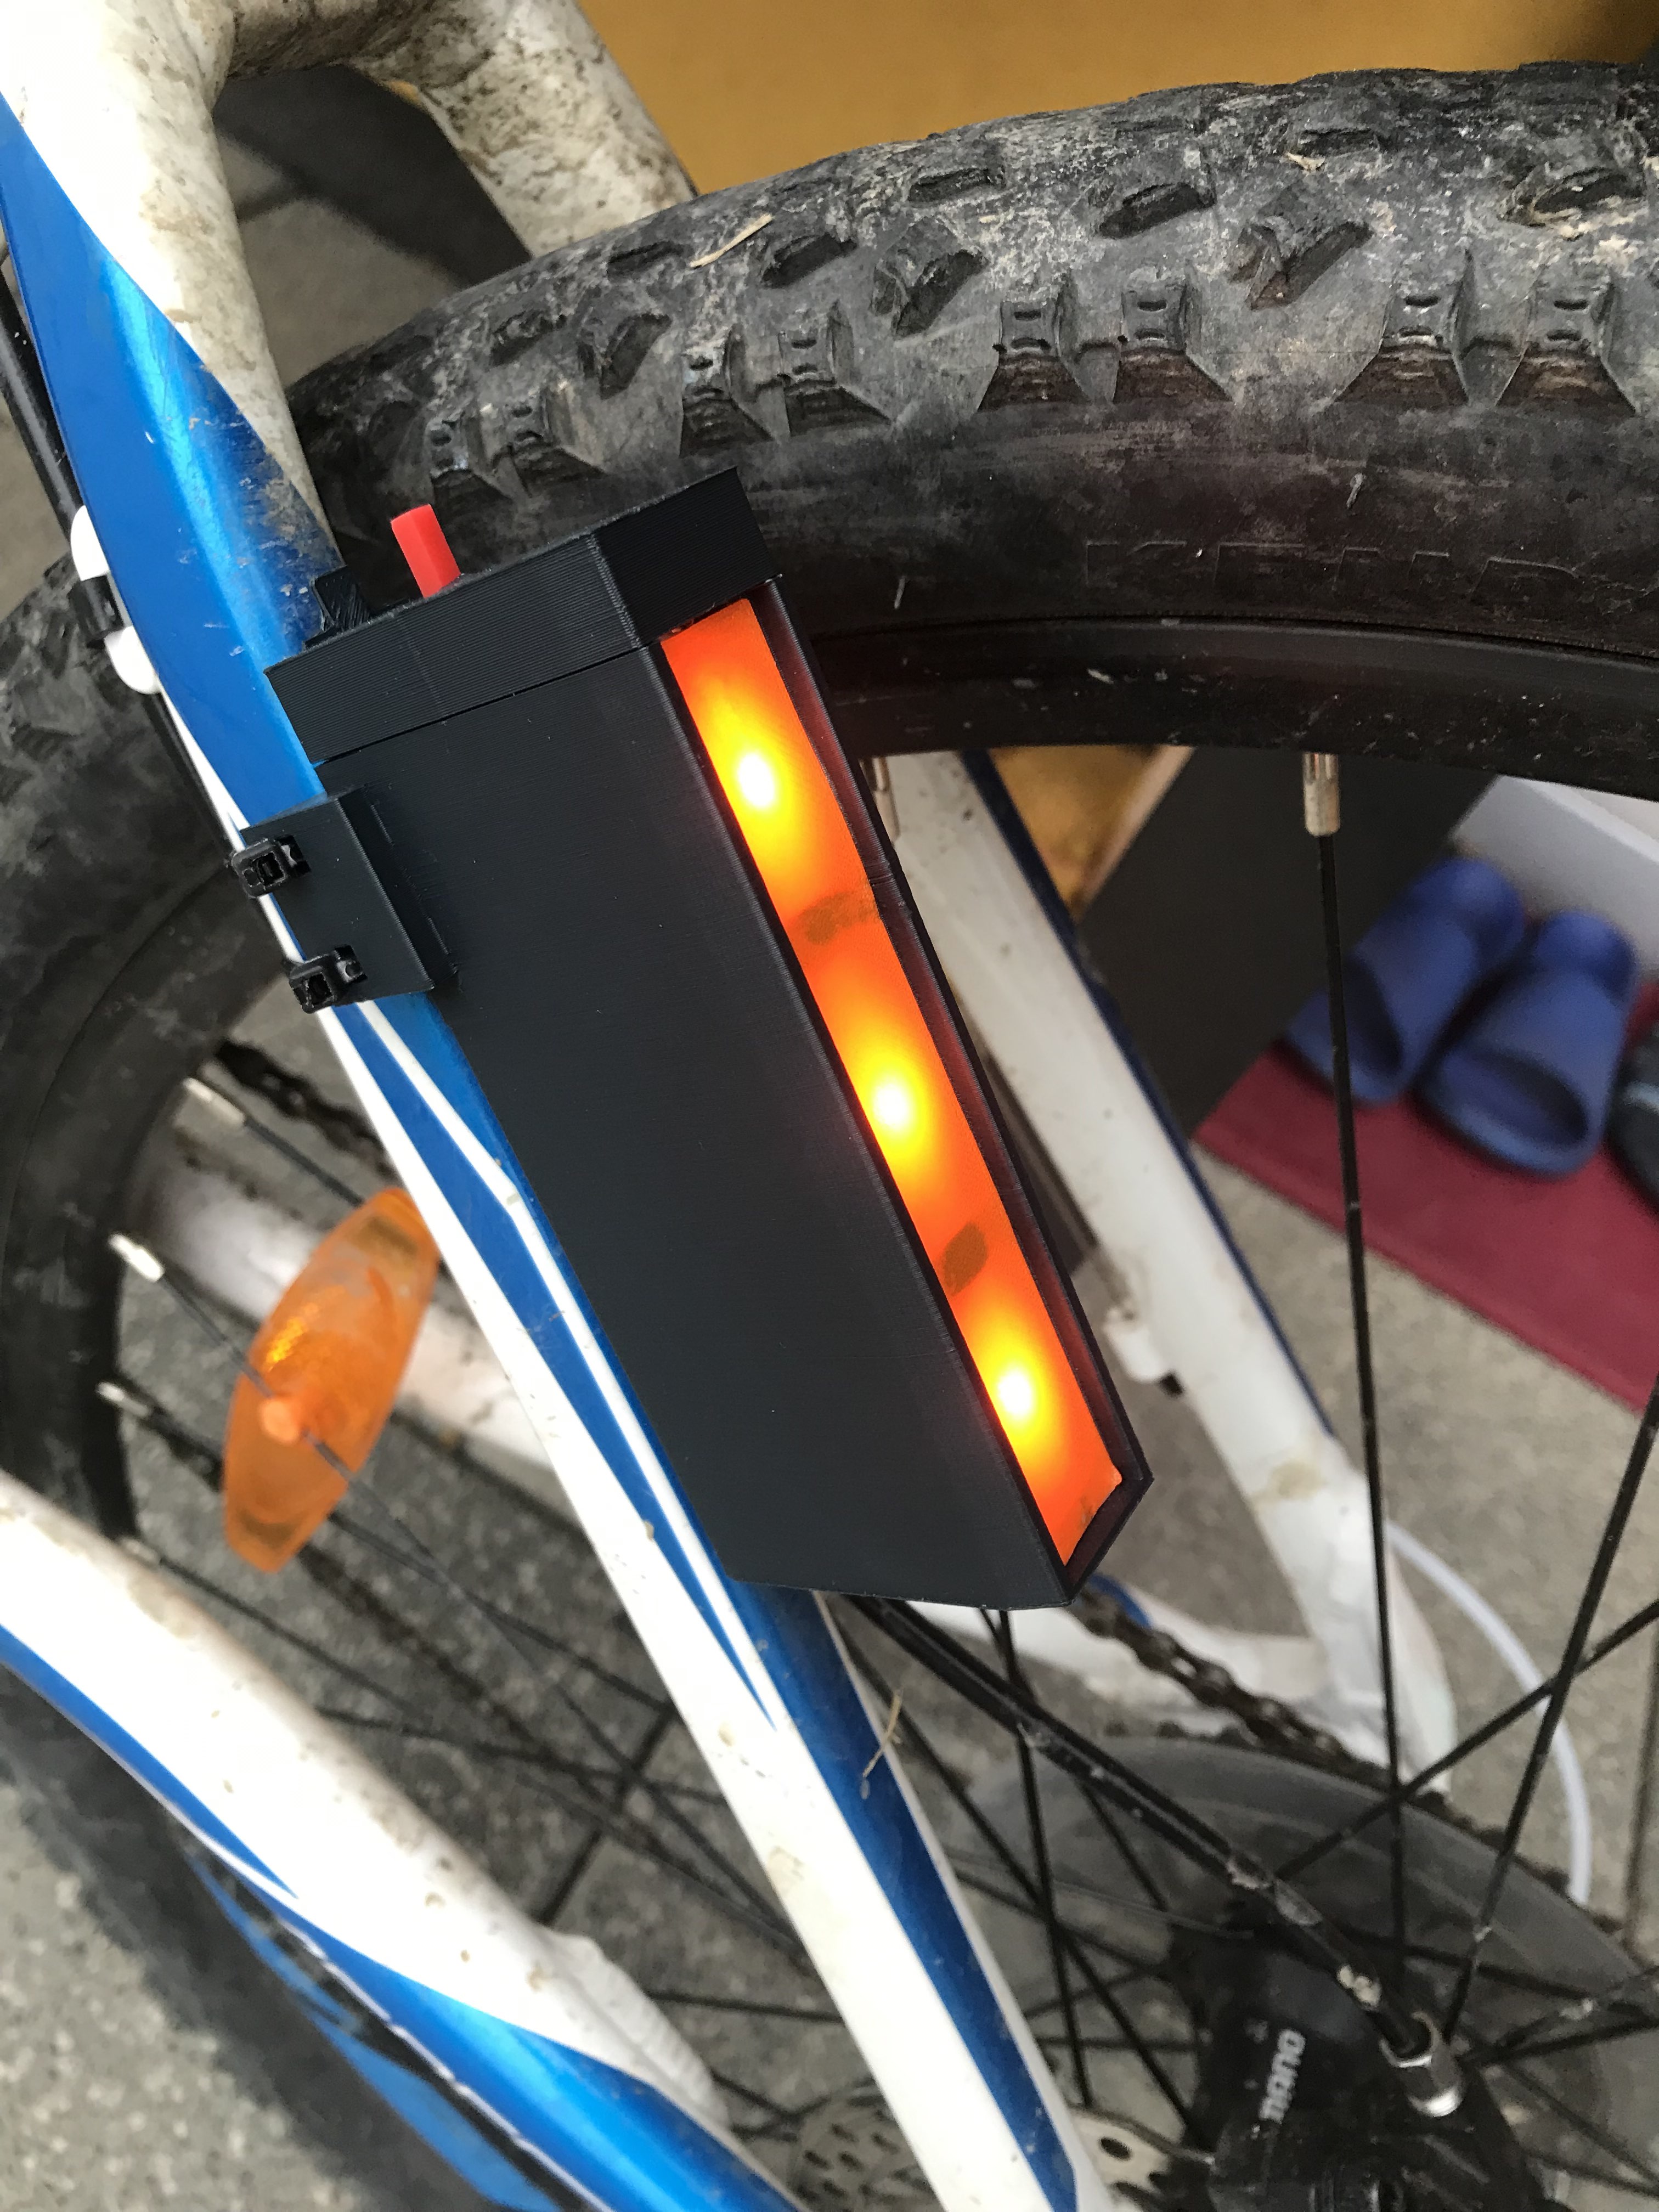
<h3> !My version is a bit different than yours will (I have different switch)!</h3><h4>What you need: </h4><ol><li>12V Led strip like in picture 10 (If you don't have some laying around you can get it pretty cheaply on aliexpres).</li><li>9V battery and conctor for it (<a href="https://www.amazon.com/dp/B09TN7LSJT/ref=sr_1_3?crid=35ZD1TNBVRMRO&keywords=9v+battery+connector&qid=1646155615&sprefix=9v+battery+co%2Caps%2C142&sr=8-3">https://www.amazon.com/dp/B09TN7LSJT/ref=sr_1_3?crid=35ZD1TNBVRMRO&keywords=9v+battery+connector&qid=1646155615&sprefix=9v+battery+co%2Caps%2C142&sr=8-3</a>)</li><li>On/Off switch (model that you can download is made to fit this specific switch. <a href="https://www.amazon.com/DaierTek-250VAC-Rocker-KCD1-101-Plastic/dp/B07S2QJKTX/ref=sr_1_1_sspa?crid=1EPLY8W0TCMC3&keywords=on%2Foff+switch&qid=1646155829&sprefix=on%2Foff+switch%2Caps%2C151&sr=8-1-spons&psc=1&spLa=ZW5jcnlwdGVkUXVhbGlmaWVyPUEyR0pYMkVKVzRLMkJHJmVuY3J5cHRlZElkPUEwMDYzNDAwM0I3SjlLQU1LWTY3RyZlbmNyeXB0ZWRBZElkPUEwNTQyNTA2MVk4RTlOVjFKNFNDMyZ3aWRnZXROYW1lPXNwX2F0ZiZhY3Rpb249Y2xpY2tSZWRpcmVjdCZkb05vdExvZ0NsaWNrPXRydWU=">https://www.amazon.com/DaierTek-250VAC-Rocker-KCD1-101-Plastic/dp/B07S2QJKTX/ref=sr_1_1_sspa?crid=1EPLY8W0TCMC3&keywords=on%2Foff+switch&qid=1646155829&sprefix=on%2Foff+switch%2Caps%2C151&sr=8-1-spons&psc=1&spLa=ZW5jcnlwdGVkUXVhbGlmaWVyPUEyR0pYMkVKVzRLMkJHJmVuY3J5cHRlZElkPUEwMDYzNDAwM0I3SjlLQU1LWTY3RyZlbmNyeXB0ZWRBZElkPUEwNTQyNTA2MVk4RTlOVjFKNFNDMyZ3aWRnZXROYW1lPXNwX2F0ZiZhY3Rpb249Y2xpY2tSZWRpcmVjdCZkb05vdExvZ0NsaWNrPXRydWU=</a>)</li><li>some wire</li><li>super glue</li><li>zip ties</li><li>soldering iron and solder </li></ol><h4>Print instructions:</h4><p>I used PrusaSlicer 0.2 default setings.</p><p>Supports are needed under the piece that secures light to the bike (picture 11)</p><p>If you print in PLA I think it will be alright.</p><p>I recommend printing light reflector in orange of red.</p><p>If you have a different switch then this model is suit for, please adjust the model to your needs.</p><h4>Assembly instructions:</h4><ol><li>First preheat your soldering iron and then solder the plus cable on battery connector to on/off switch and minus cable to R, G, B pads on led strip. Lastly grab some wire and solder the on/off switch to 12V pad on led strip. Now all your wiring is done!</li><li>Put led strip into the front piece of the casing and also put the battery to the back of the light and connect it to the battery connector.</li><li>Glue the on/off switch the the top piece. After glue dries glue the top piece to the main piece (body).</li><li>The last three things you have to do are glue the one layer thin transparent piece to the leds and put cover into the back, dont glue it or either you will not be able to replace the battery. Now grab 2 zip ties and put them thru holes on back just like in the picture and secure the light to your bike. Make sure that it is tight.</li></ol><h5> Everything is done, Enjoy! </h5>
With this file you will be able to print Back Light For Bike with your 3D printer. Click on the button and save the file on your computer to work, edit or customize your design. You can also find more 3D designs for printers on Back Light For Bike.