B3 bearing front wheel
thingiverse
Installing a replacement front wheel for a bearing-style bicycle requires some basic tools and a few simple steps. First, ensure you have the correct wheel size and type for your bike. Next, loosen the nuts that hold the old wheel in place by turning them counterclockwise with an adjustable wrench or socket wrench. Once the nuts are loose, lift the bike and remove the wheel from the fork. Set the new wheel aside and take a moment to inspect it carefully before installing it. Look for any damage or defects that might affect its performance. To install the new wheel, start by inserting the axle into the fork dropouts. Make sure it's securely seated and then tighten the nuts in a star pattern using your wrench or socket wrench. Begin with one nut and work your way around the wheel, tightening each nut slightly before moving on to the next one. As you tighten the nuts, check that the wheel is properly seated in the fork dropouts and that there are no signs of play or movement. If everything looks good, continue tightening the nuts until they're snug against the rim. Be careful not to overtighten the nuts, as this can damage the wheel or brake components. Finally, double-check that the wheel is securely attached by giving it a gentle tug while holding the bike steady. If the wheel feels secure and there are no signs of movement, you've successfully installed your replacement front wheel for a bearing-style bicycle.
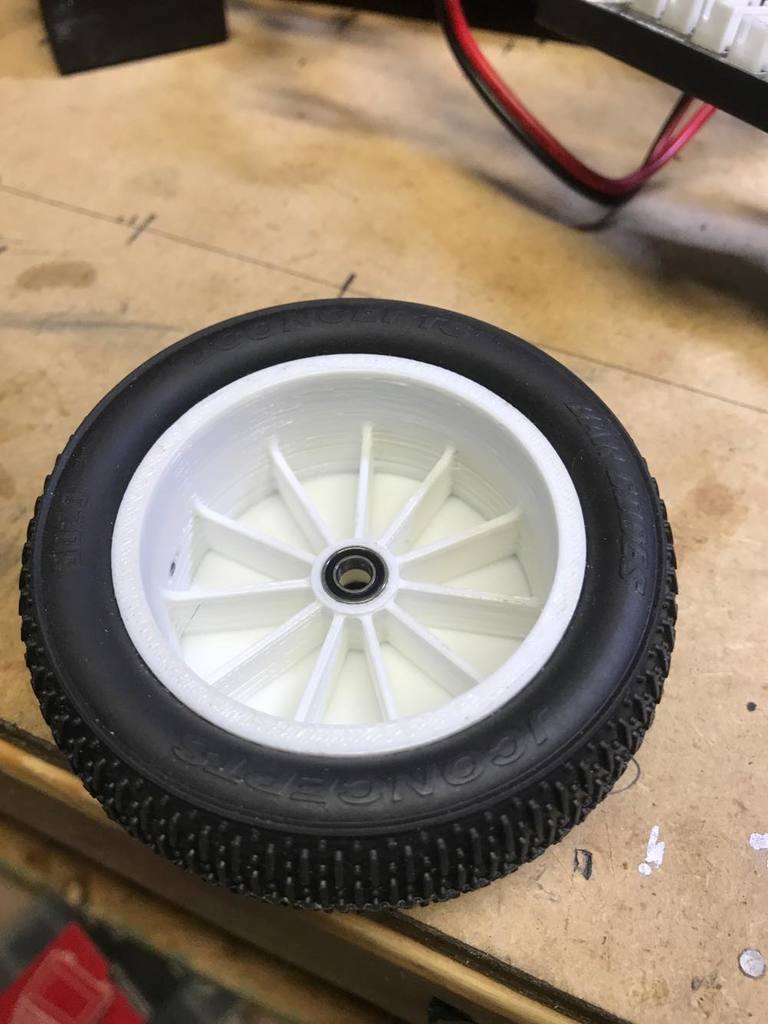
With this file you will be able to print B3 bearing front wheel with your 3D printer. Click on the button and save the file on your computer to work, edit or customize your design. You can also find more 3D designs for printers on B3 bearing front wheel.