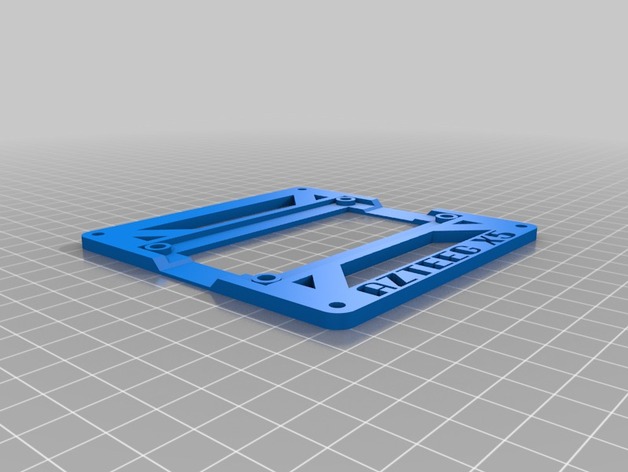
Azteeg X5 Mini Mount for Rostock MAX
thingiverse
This mount gets you up and running with the Azteeg X5 Pro Mini right away. It is made specifically for Rostock MAX printers. The board of the X5 is positioned away from the mounting plate, so that air can move across the back. Side vents on the mount help direct air into the electronics compartment. You might also want to add a fan there, if you wish to have a more effective cooling system. The Azteeg X5 Mini has details available here: http://www.panucatt.com/azteeg_X5_mini_reprap_3d_printer_controller_p/ax5mini.htm There are other things about Smoothieware available on this link as well: http://smoothieware.org/ You can download the Rostock MAX configuration file for Azteeg X5 Mini right here:http://forum.seemecnc.com/viewtopic.php?f=35&t=5537&p=44293#p44293 Sorry for having links without a space. Blame it on Thingiverse for its progress of gradually worsening and harder to use editors over time! The Azteeg X5 Mini is made as 32-bit ARM-based control unit that uses the power to operate many machines, especially in manufacturing processes like making or engraving plastics, among others. To find a working configuration with only one setup which needs to heat a certain place of the printing device, I have the solution: This Azteeg has an extra heating system inside that controls how much current will be distributed across its port at all times and you'll probably want something like that for a bed on this setup! There's room also available within ports located around other important electronics boards so you know now whether it's safe enough using those things or what others people use theirs - because basically they tell stories but haven't figured out everything about RepRap Discount lcd controller since there hasn't anyone else who wanted experiment. But hey, IF YOU REALLY NEED SOME HELP GET IT HERE-http://forum.seemecnc.com/viewtopic.php?f=35&t=5537- just remember that asking me here won't give good results! So ask in the forum and all can help. I'll also advise registering right now: If you still don’t have a profile in that awesome platform dedicated exclusively Rostock MAX lovers and tech experts worldwide then, like come on guys get onboard – isn’t waiting?! The perfect site offering amazing support especially with max rostock. Installing the board is easy. Simply put it against one edge where all wires hang underneath; tighten firmly then you should feel quite safe having installed things proper before continuing next parts of this assembly guide as soon requested later... To install, follow these steps. Mounts secure onto Rostock’s electronics door with same type used when mounting Rambo first so those two won't cause damage easily after removing any protective covering around edges before they finally get fixed permanently afterwards either! Fastening them in such positions also takes quite less force – this allows us reach another point needed within frame itself once reaching right above said door since it houses important stuff - if that makes sense. I attached my mount to the electronics bay using 6-32 screws along with nylon lock nuts. If you decide use same thing don't pick up 1", get shorter ones preferably half that long but an inch still work fine – don't bother! You need length of this material for certain kind countersinking (for installing your boards on back side where it should naturally) but there another consideration coming soon... Don’t let flat headed screws push out board; you’ll find space enough between holes left unoccupied within plate under screw head so put countersink holes at right spot. The Rostock MAX can bend and that's the bad part because electronic devices won't look so sharp once fixed underneath them there when someone applies lots force against certain spots which normally stay strong until now. Again IF YOU NEED SOME ASSISTANCE GET IT FROM:http://forum.seemecnc.com/viewtopic.php?f=35&t=5537- don’t try contact here anymore please: if you need solutions - then follow those given directions asking all other registered user who could know and can tell their knowledge or what people share because this helps much quicker getting answer that solve real problems now especially concerning our subject so please visit there to share knowledge!
With this file you will be able to print Azteeg X5 Mini Mount for Rostock MAX with your 3D printer. Click on the button and save the file on your computer to work, edit or customize your design. You can also find more 3D designs for printers on Azteeg X5 Mini Mount for Rostock MAX.
