Axial SCX6 - Rock Lights
thingiverse
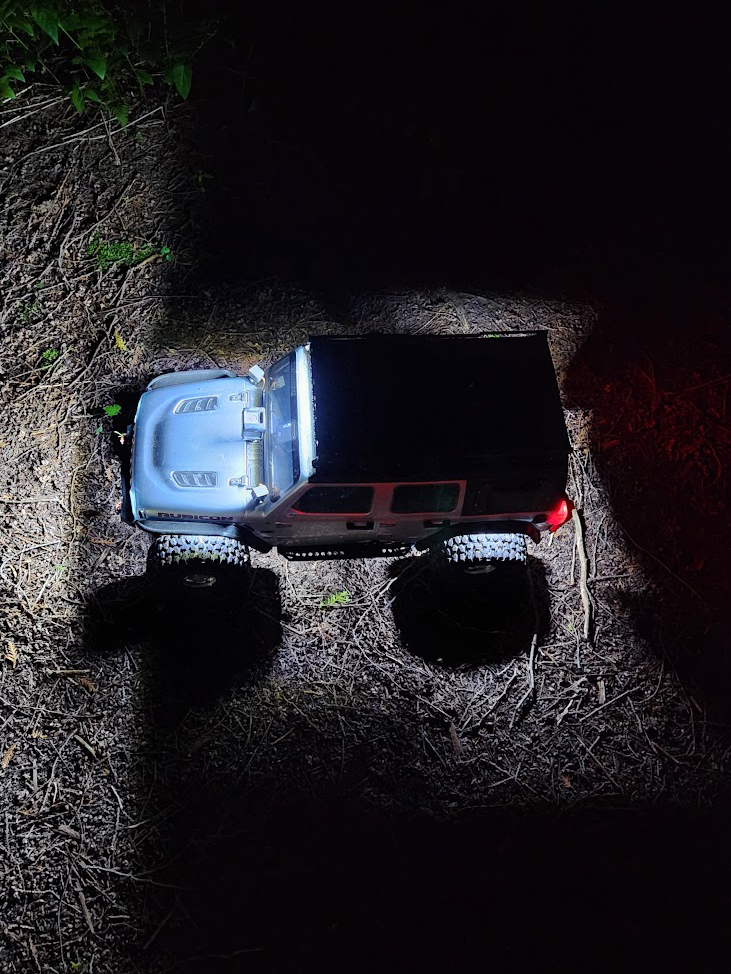
Here is my take on rock lights for the SCX6. These have been out crawling and tested so I’m good with releasing them for everyone! You’ll need to do some printing, drilling and soldering so be prepared. <b>Printing:</b> You’ll need to print all the items included along with a total of 4 screw retainers; if you want to use washers that’d work as well; you’re just making sure you don’t get a pull through. <b>Assembly - Front:</b> You’ll want to use the template provided; I’d do the screw holes first, then use screws to hold the template piece while you use the larger drill bit (3 holes and some hobby knife work will do it) to make the hole for the light to shine through. <b>Assembly - Rear:</b> Again use the template provided and make your holes. <b>Wiring</b> Starting from the driver-front pod you’ll want to get measure out wires to the rear driver-side pod. Then wires from that driver-rear to the passenger-rear pod and then back up to the front-passenger. The front-passenger also gets an extra lead to plug into your 3S battery. My suggestion would be to do all your wiring, test it and the move to install. <b>Assembly - Final</b> The LEDs should slide in from the top, and should be pretty easy. The rears, you need to put the LED strip through the hole first, then slide it into the holder. <b>Parts:</b> <i>LEDs</i> 4 x 25mm sections of 5054 120LED/m 12v strip (reference here) <i>Screws - Front</i> 2 x M3 x 10mm (cap or flat head) 2 x M3 lock-nuts <i>Screws - Rear</i> 2 x M3 x 8mm (any type) <i>Drill Bits:</i> 1. 7/64 (screw holes) 2. 11/32 (or thereabouts)
With this file you will be able to print Axial SCX6 - Rock Lights with your 3D printer. Click on the button and save the file on your computer to work, edit or customize your design. You can also find more 3D designs for printers on Axial SCX6 - Rock Lights.
