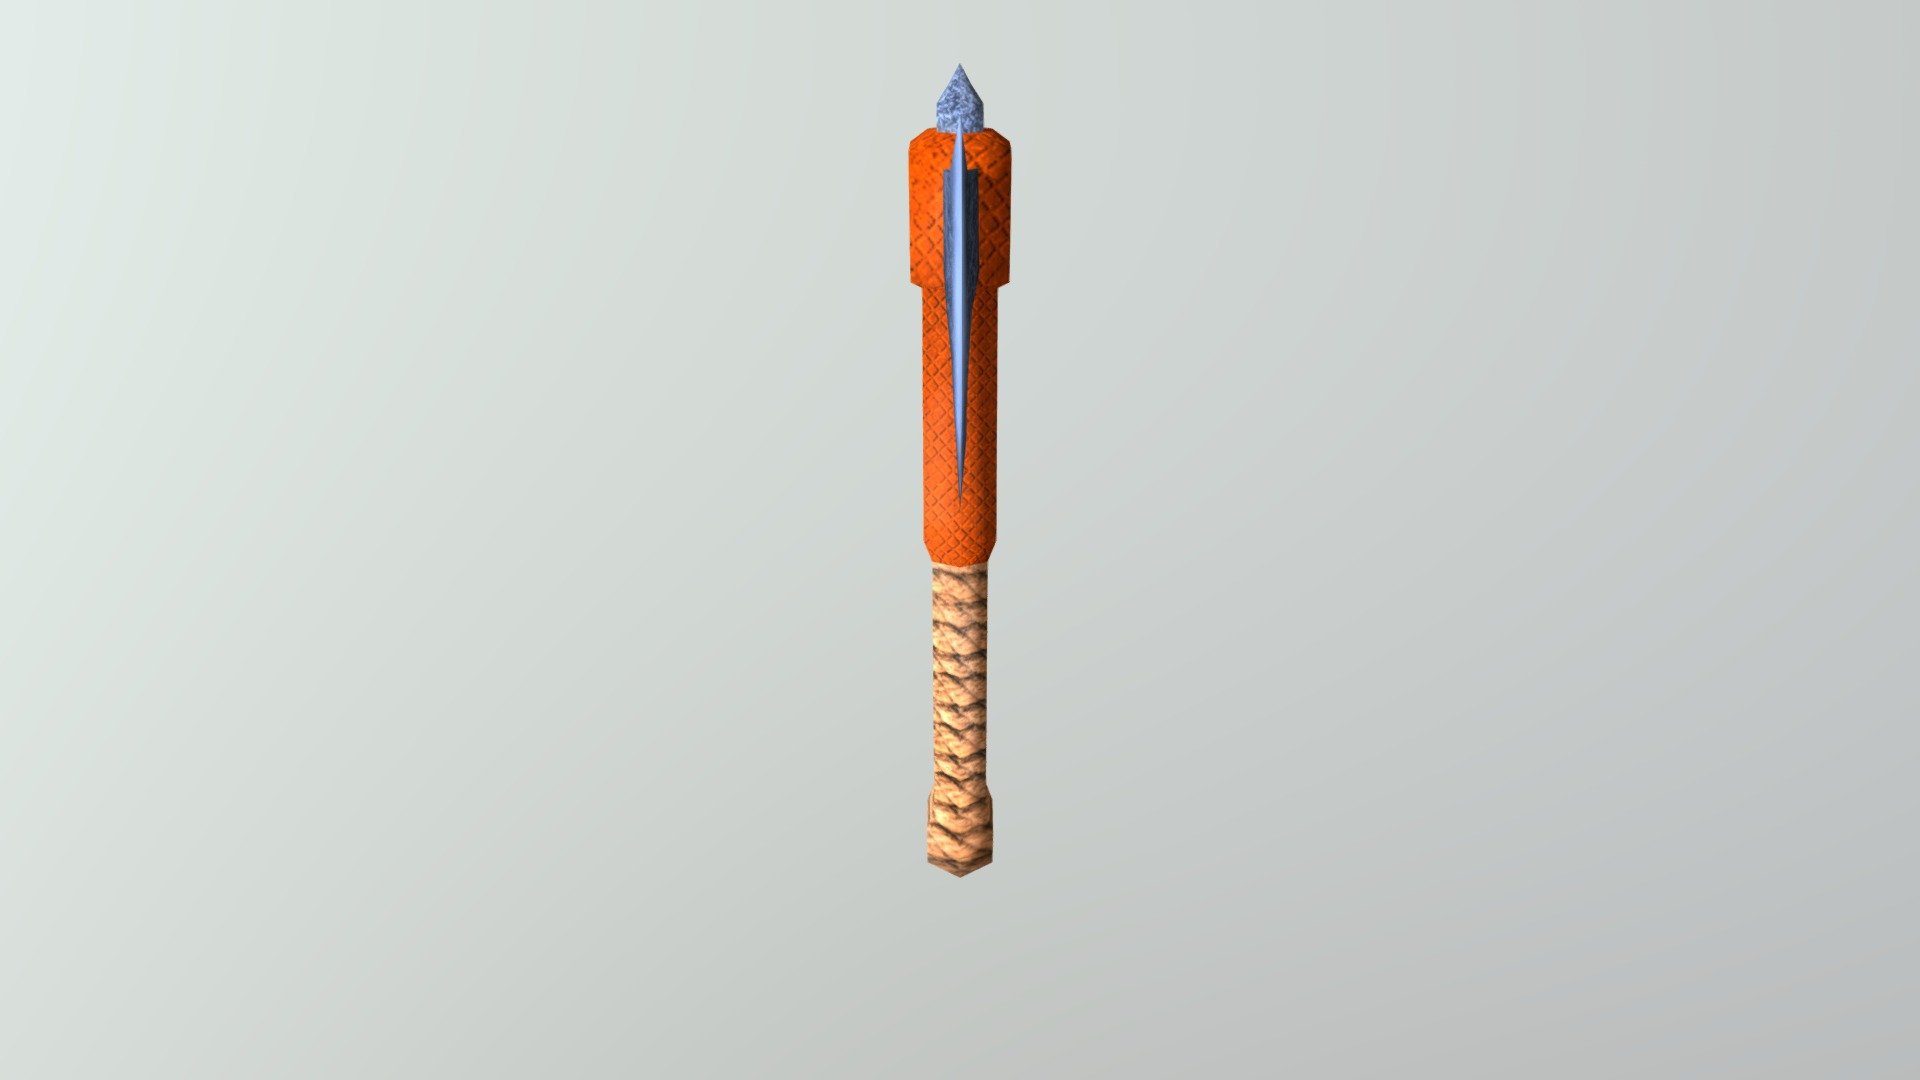
ax_texturingTutorial
sketchfab
Model Texturing Tutorial: Bringing Your Characters to Life In this step-by-step guide, learn how to create stunning textures for your models using Blender's powerful 2D and 3D painting tools. First, let's get started by creating a new texture in Blender. Open the 2D paint tool and select the "New" button to create a fresh canvas. Choose your preferred brush settings and start painting your first texture. For this example, we'll be creating a simple skin texture for our character model. Start by painting a basic color scheme using flat colors and subtle gradients. Don't worry too much about details at this stage – we can refine them later. Next, switch to the 3D paint tool and select the "Texture Paint" mode. This allows you to paint directly onto your 3D model. You'll see your texture being applied in real-time as you paint. To add more detail and realism to our skin texture, try using Blender's built-in texture painting features like sculpting and masking. These tools will help you achieve a more organic look for your character's skin. As we continue with the tutorial, we'll explore more advanced techniques for texturing and detailing your model. But first, let's take a closer look at how to use color and shading to create depth and dimension in our textures. By mastering these fundamental skills, you'll be well on your way to creating stunning textures that bring your characters to life. So, let's get started and see where this journey takes us!
With this file you will be able to print ax_texturingTutorial with your 3D printer. Click on the button and save the file on your computer to work, edit or customize your design. You can also find more 3D designs for printers on ax_texturingTutorial.
