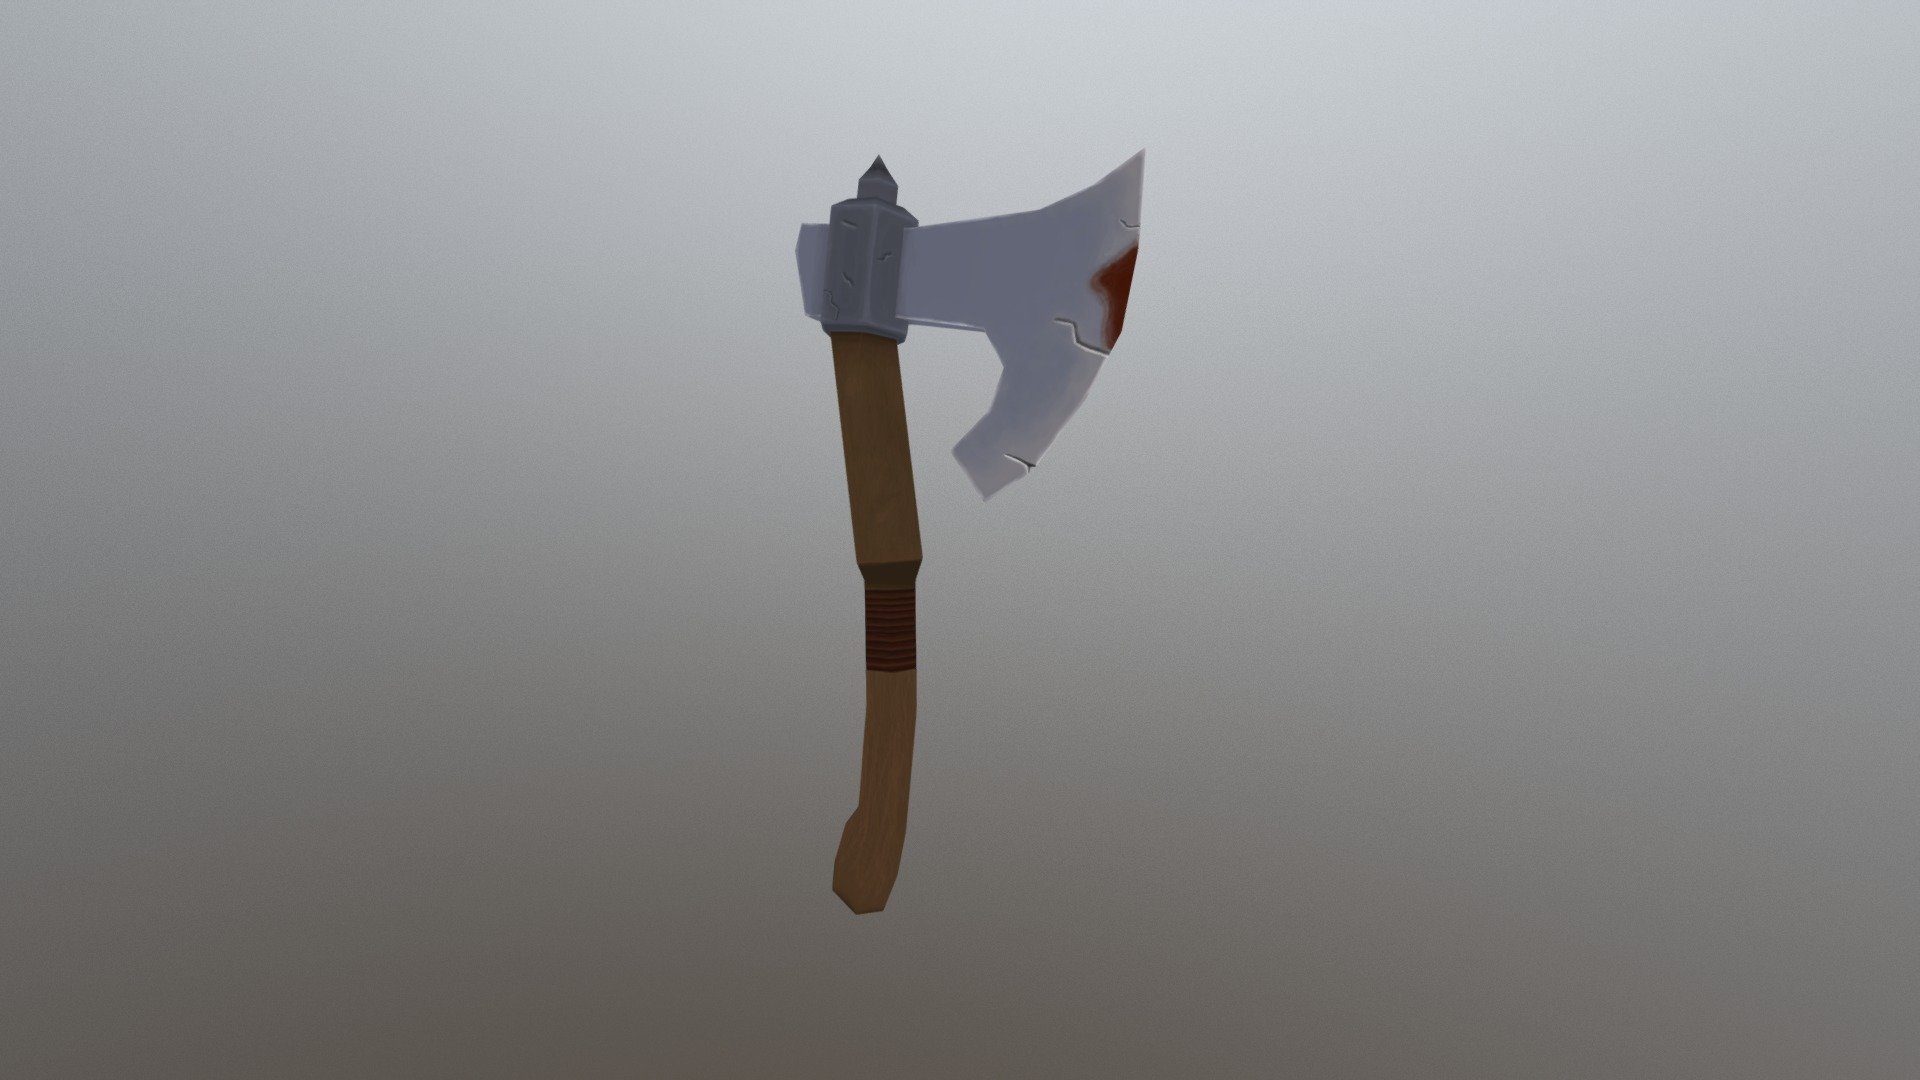
Ax-model
sketchfab
Painting Textures on Axes: A Training Excercise Learning to apply textures to a metal axe head is a great way to practice your skills as an airbrush artist. This exercise will guide you through painting a realistic texture that mimics the look of wood grain. Materials Needed: - Metal axe head - Airbrush and compressor - Texture paint or specialized paint for axes - Clear coat Step 1: Prepare Your Axe Head Before you begin, make sure your axe head is clean and dry. If it's made of a material that can be sanded, lightly sand the surface to create a better texture for painting. Step 2: Choose Your Colors Select a variety of colors that match the natural hues of wood grain. You'll need a base color, a mid-tone, and a highlight color. For this exercise, we'll use earth tones such as brown and beige. Step 3: Apply Base Coat Using your airbrush, apply a thin layer of the base coat to the axe head. Make sure to cover the entire surface evenly. Step 4: Add Mid-Tones With the mid-tone color, add texture to your axe head by using short, smooth strokes. This will create the illusion of wood grain. Step 5: Highlight Your Work Using a small brush, apply highlight colors to the raised areas of the axe head. This will help bring out the texture and give it a more realistic look. Step 6: Seal Your Work Once you're happy with your texture paint job, apply a clear coat to protect the finish and make it last longer.
With this file you will be able to print Ax-model with your 3D printer. Click on the button and save the file on your computer to work, edit or customize your design. You can also find more 3D designs for printers on Ax-model.
